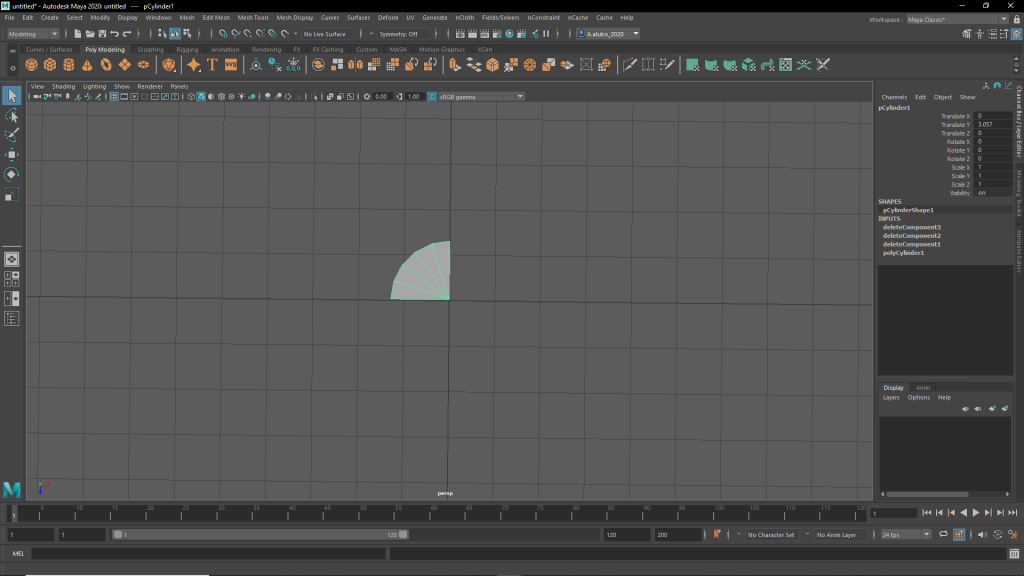
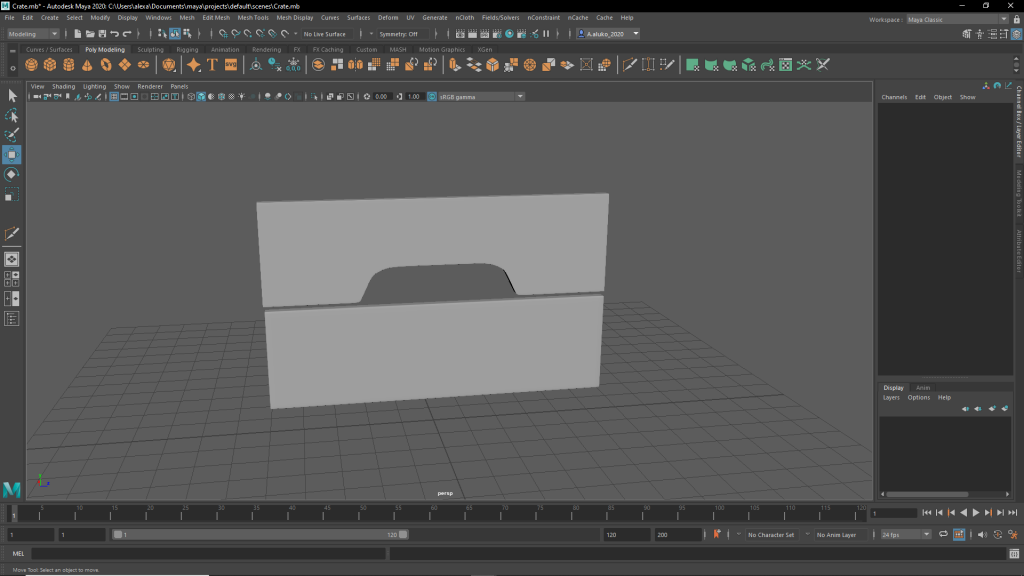
As with the tutorial I also started with the handle, to do so I created a cylinder and removed all the vertices until i was left with a quarter circle plane.
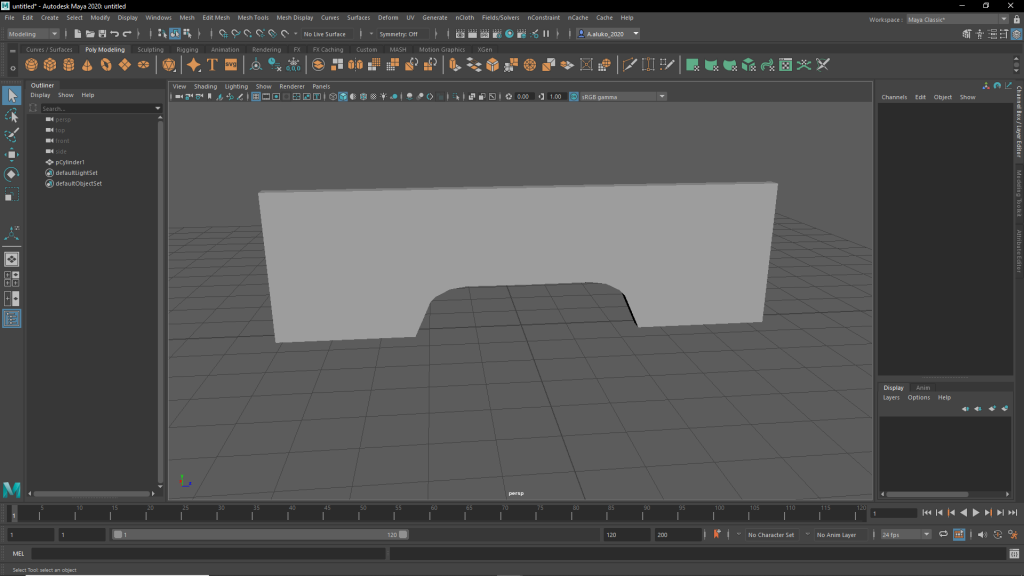
I then extended out the plane to for the shape of the handle plank. after I had the shape I then had to extend it out to make it a 3d polygon. As the reference image I used had a slightly differently shaped handle I had to adjust accordingly, to do so I removed more of the faces from the cylinder then extended out one of the vertices. After I had the shape I then reflected it to create the full plank.
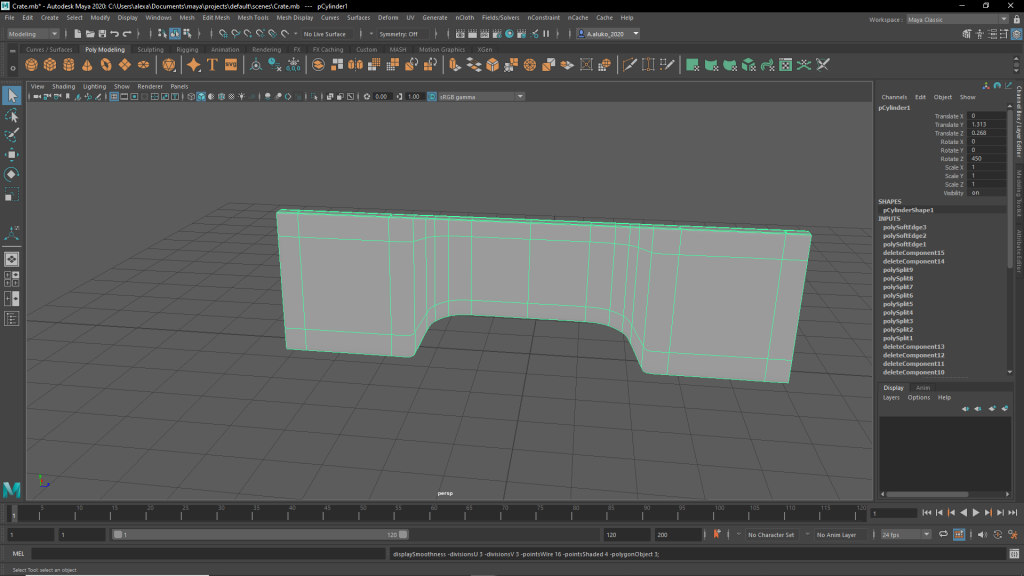
I continued to follow the tutorial by adding edge loops that would allow for smoothing. Once I added all the edges I then smoothed the object.
Once I finished the handle I then created another plank from a cube. Like the first, I added more edges to the plank and then smoothed it.
I then duplicated the two planks to create the back of the crate. I also duplicated the lower plank and adjusted the size to create the planks on either side of the crate.
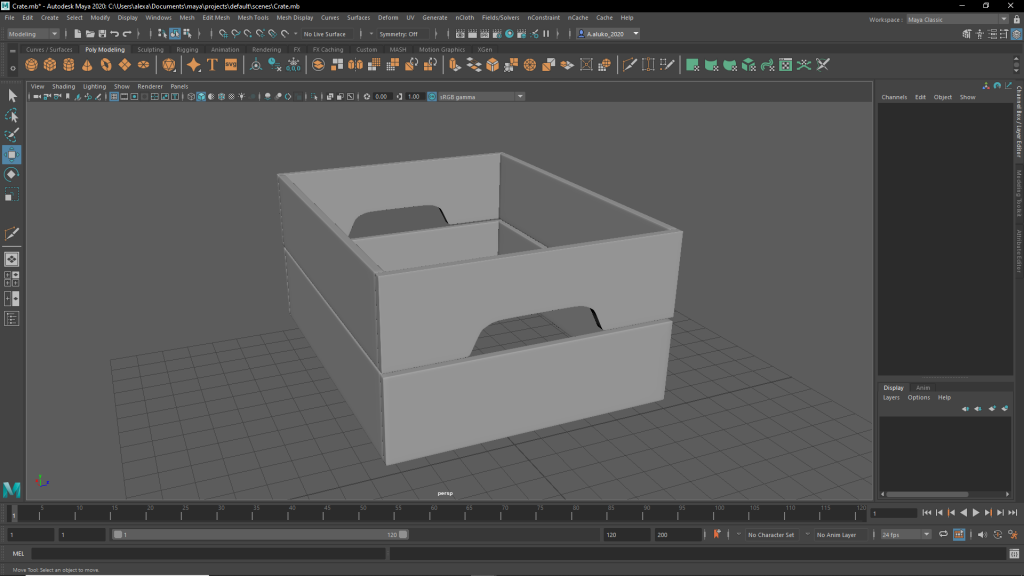
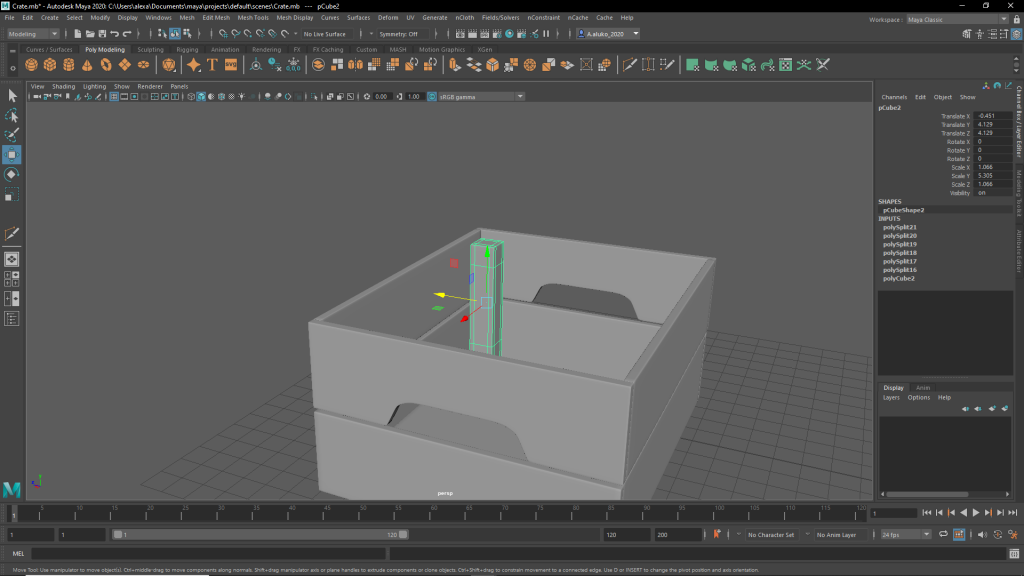
In the reference image I used there was wood on the inside to support the crate so, therefore, I also created theses with the same method as the planks.
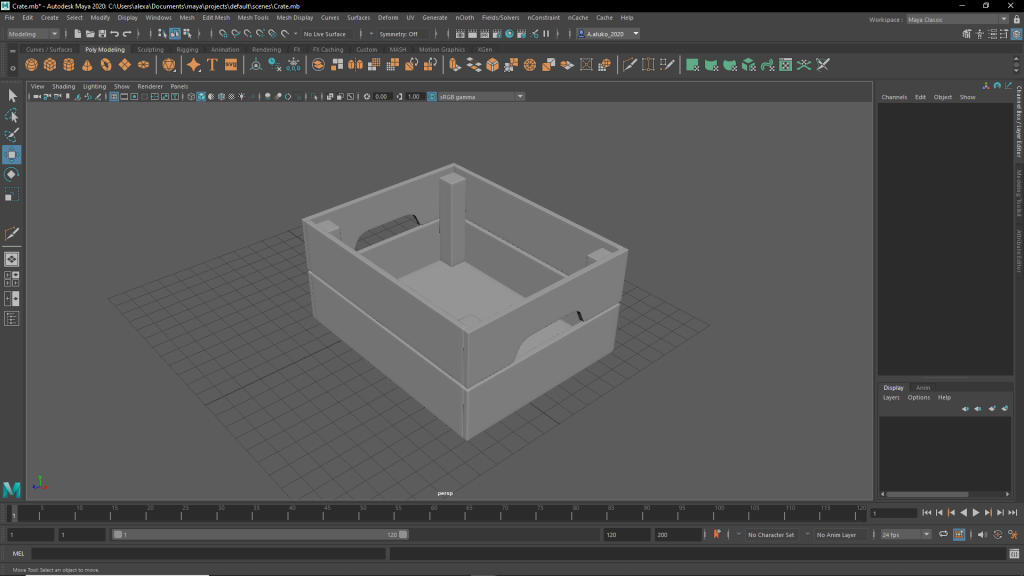
The final part was adding the bottom of the box which I did by duplicating one of the planks and changing the size. Below is the final model.