
With everything in place, I could now use the materials I have been creating to populate this scene.
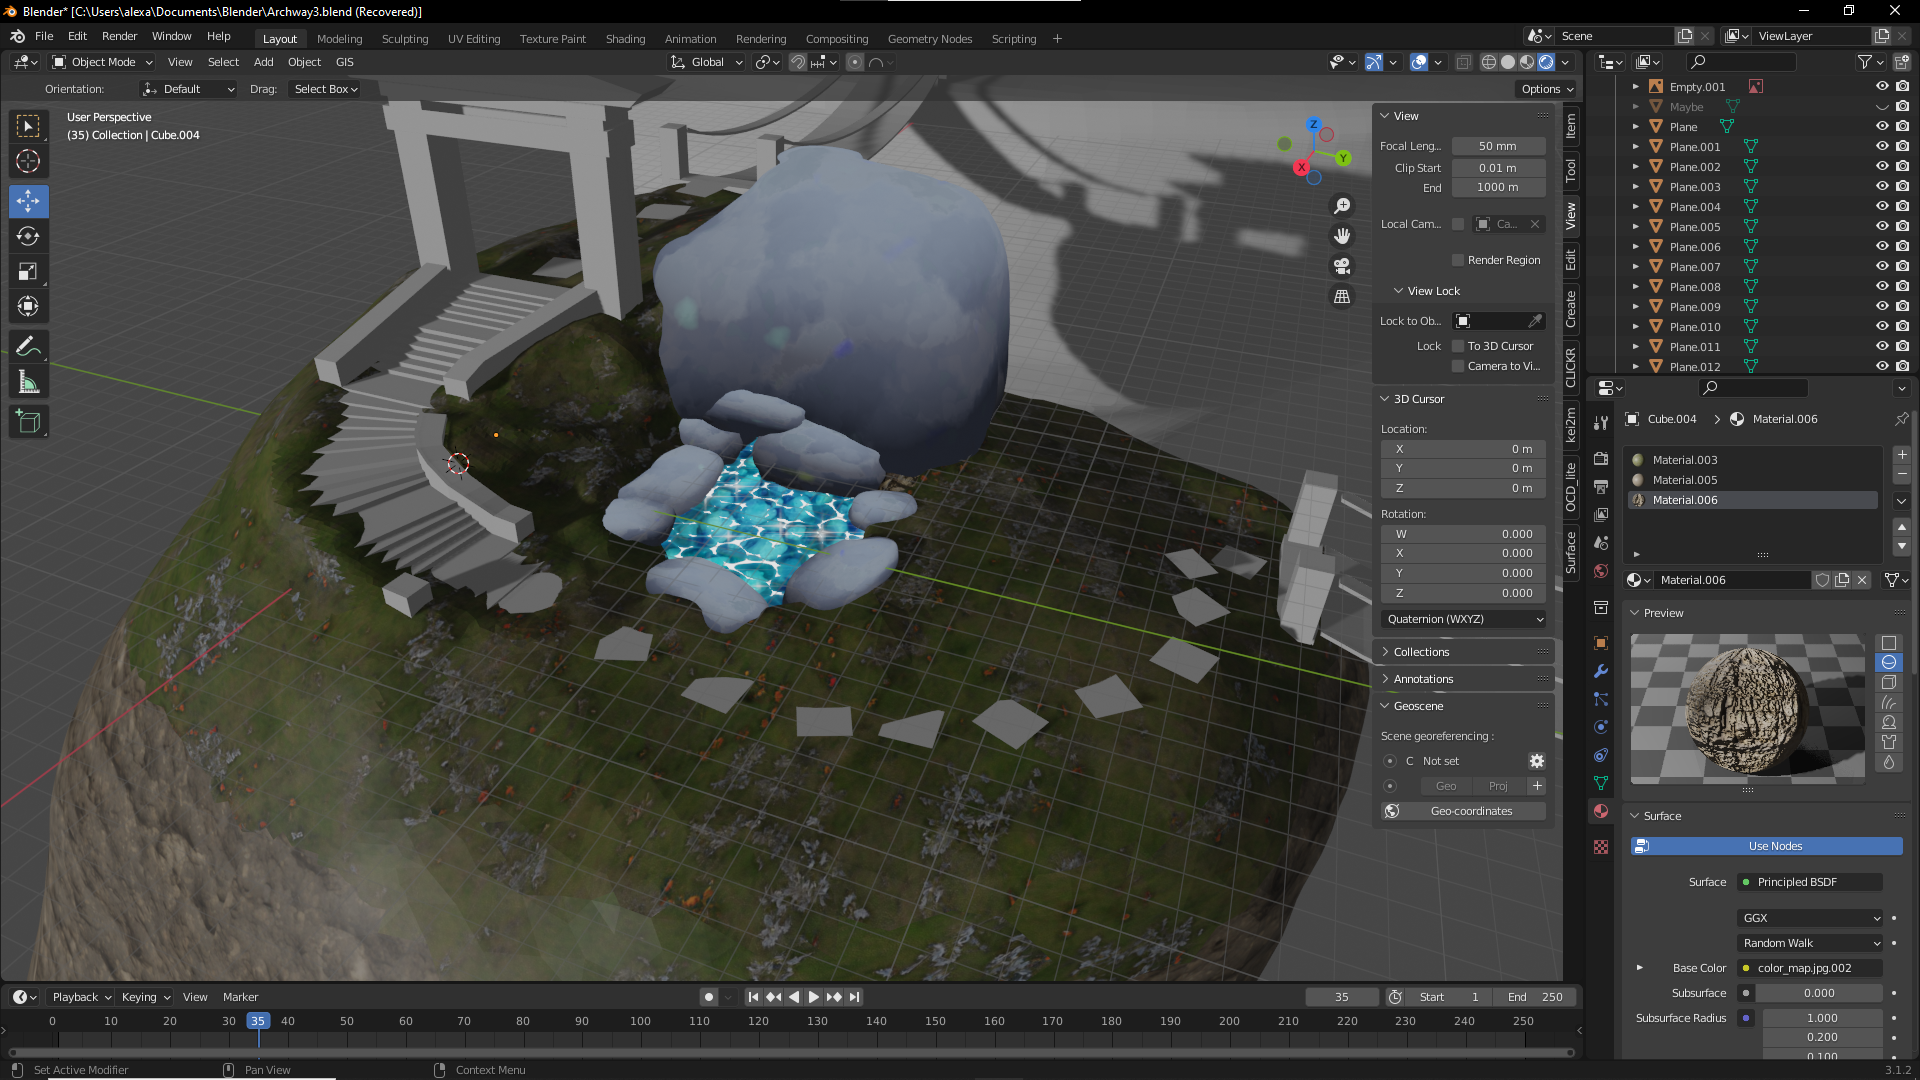
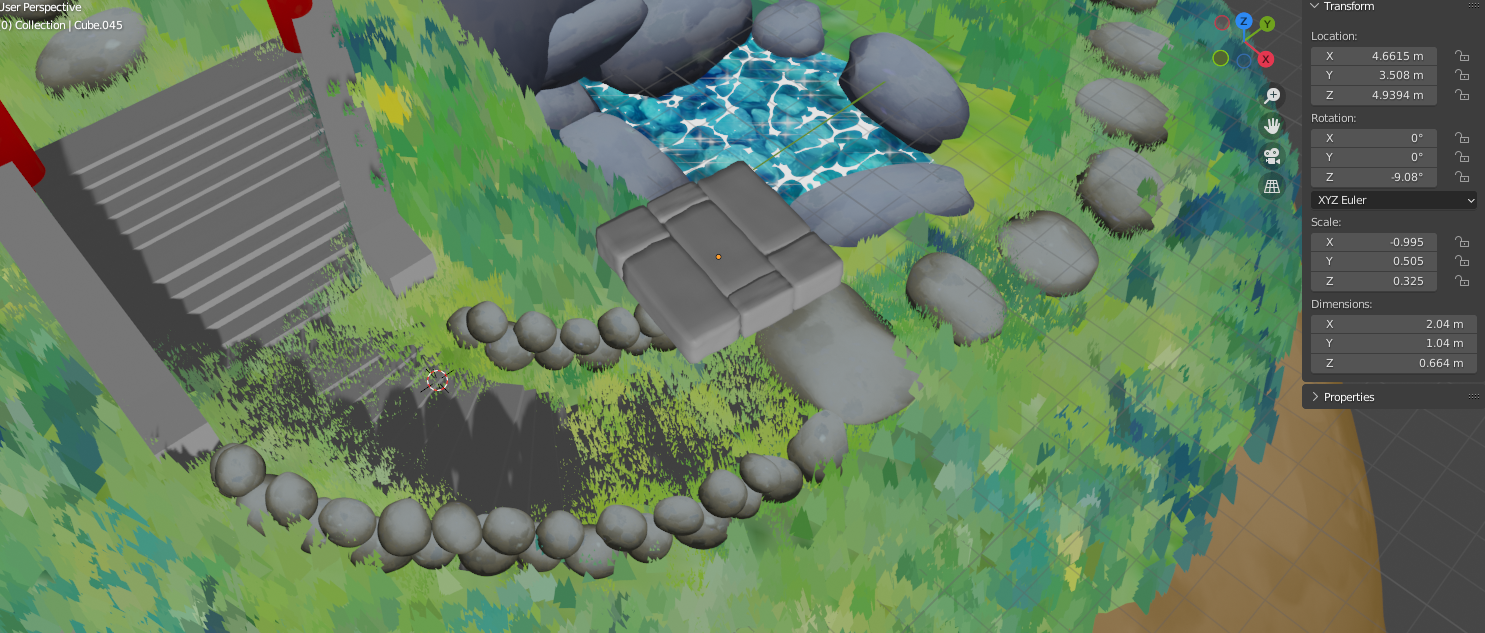
I decided to go with this blue rock material I named Pond Rock. The blue and smooth nature works well with the setting of the pond.
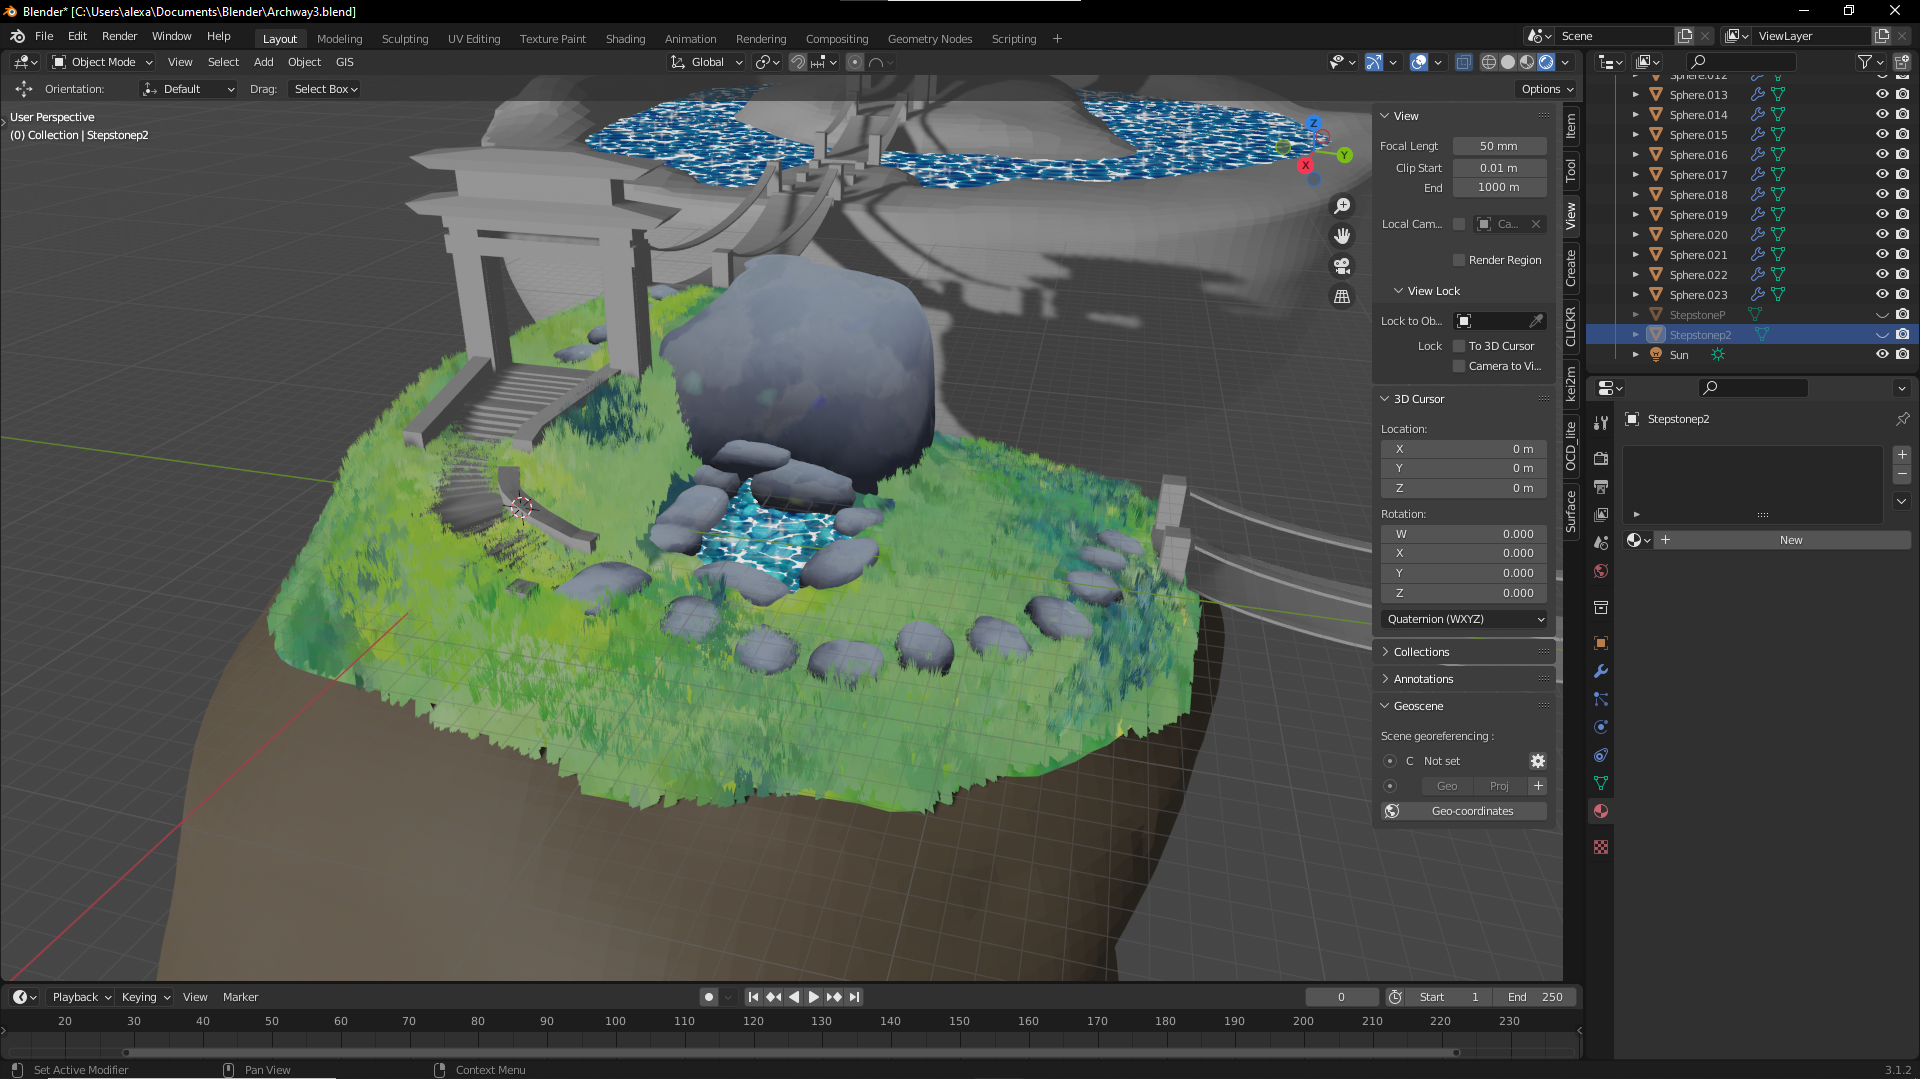
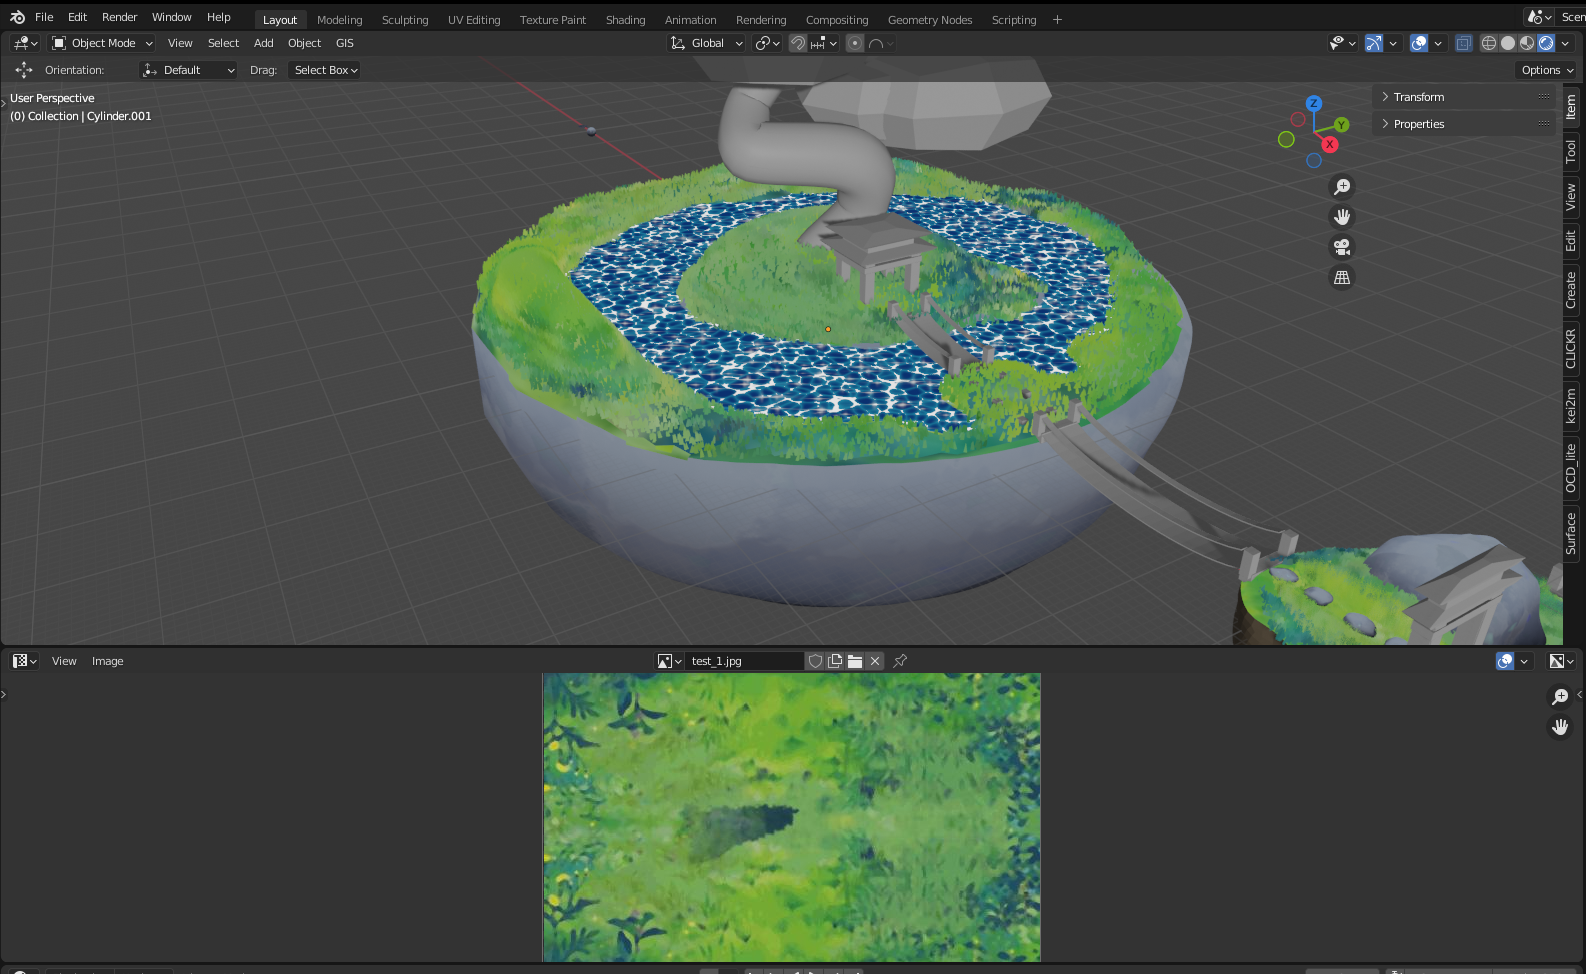
To expand on these placeholder ground textures I would then add some vegetation. I achieved this using the hair particle system in Blender, by marking the areas I wanted to cover and adding a material underneath I could create a grass-like look. To make this look better I created several instances of this grass in different sizes to match the difference that would appear by a path compared to more untouched areas.
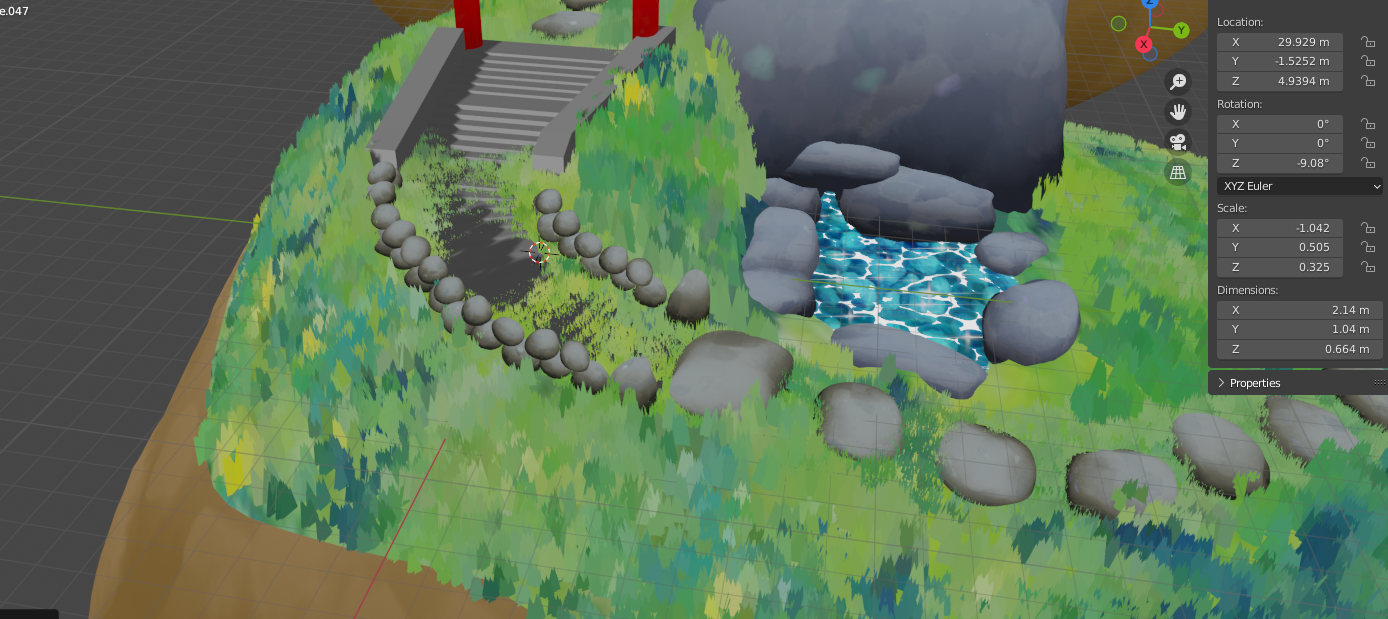
I also expanded upon the walkway adding some stone assets to replace the placeholders.
I would then add some of these features from the first area onto the second.
At the moment I still haven’t used too many materials so next when moving onto some more rock structures I would use a different rock texture to better match the environment and its story. I would also change the previous stepping stone material as It would work better.
With this stone wall in the making, I would also visit the stairs themselves. For this, I used some displacement modifiers to create blocks with a warn look, placed them into a pattern then repeated that pattern on a rotation up the incline.
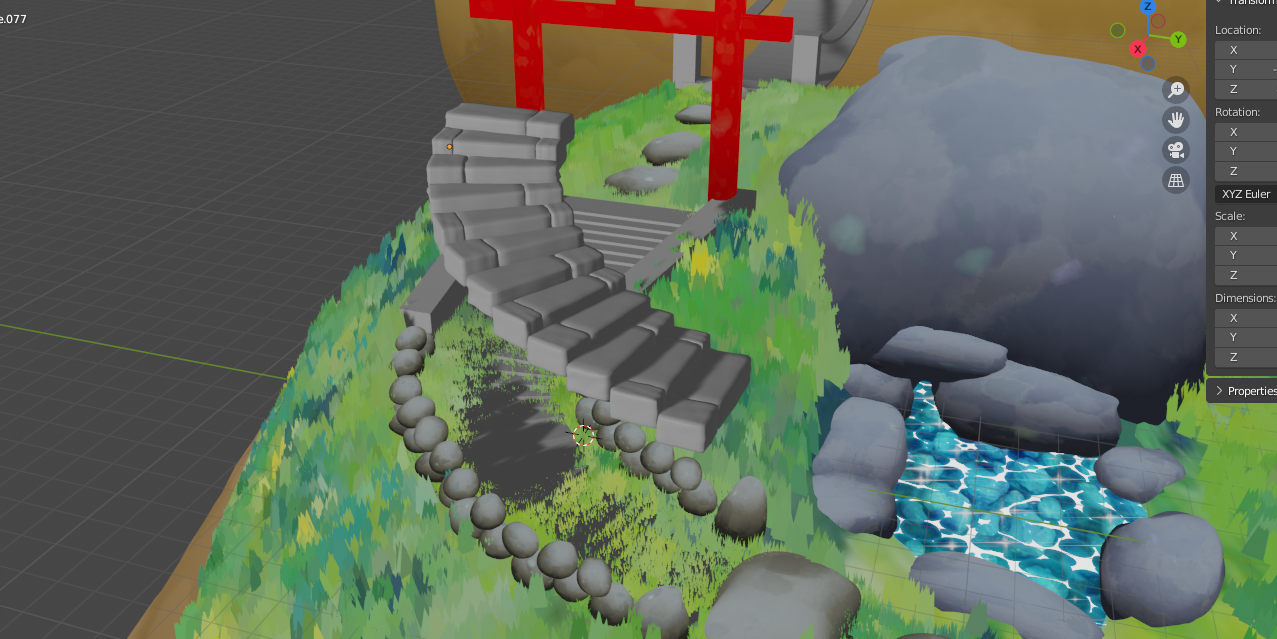
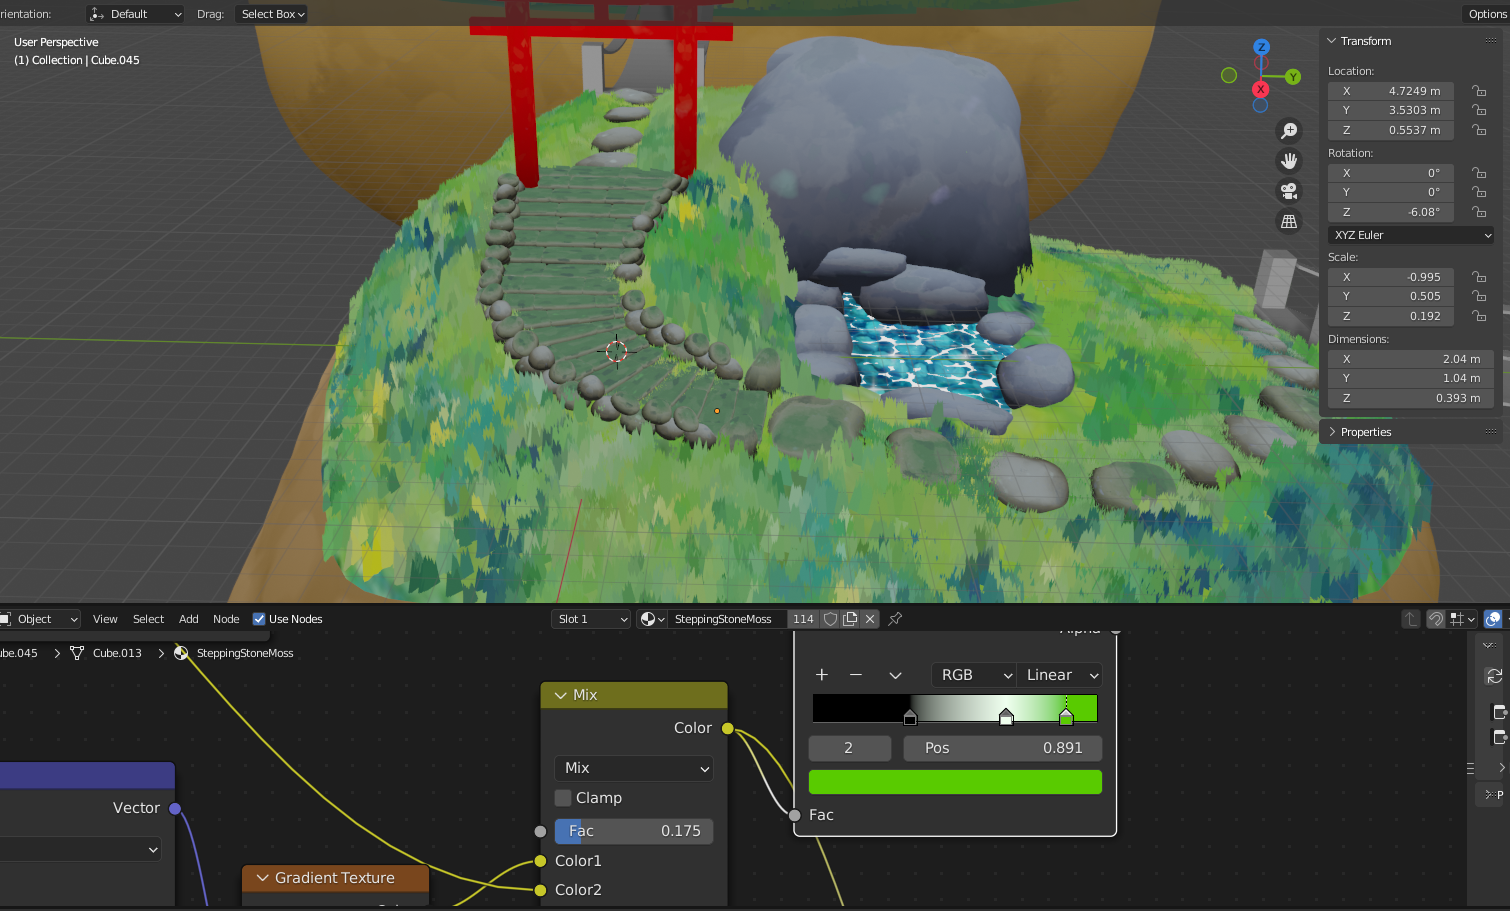
I once again decided that some of these materials could be changed so I added the Stepping Stone with moss texture for the stairs and barrier along with replacing some of the stepping stones themselves.
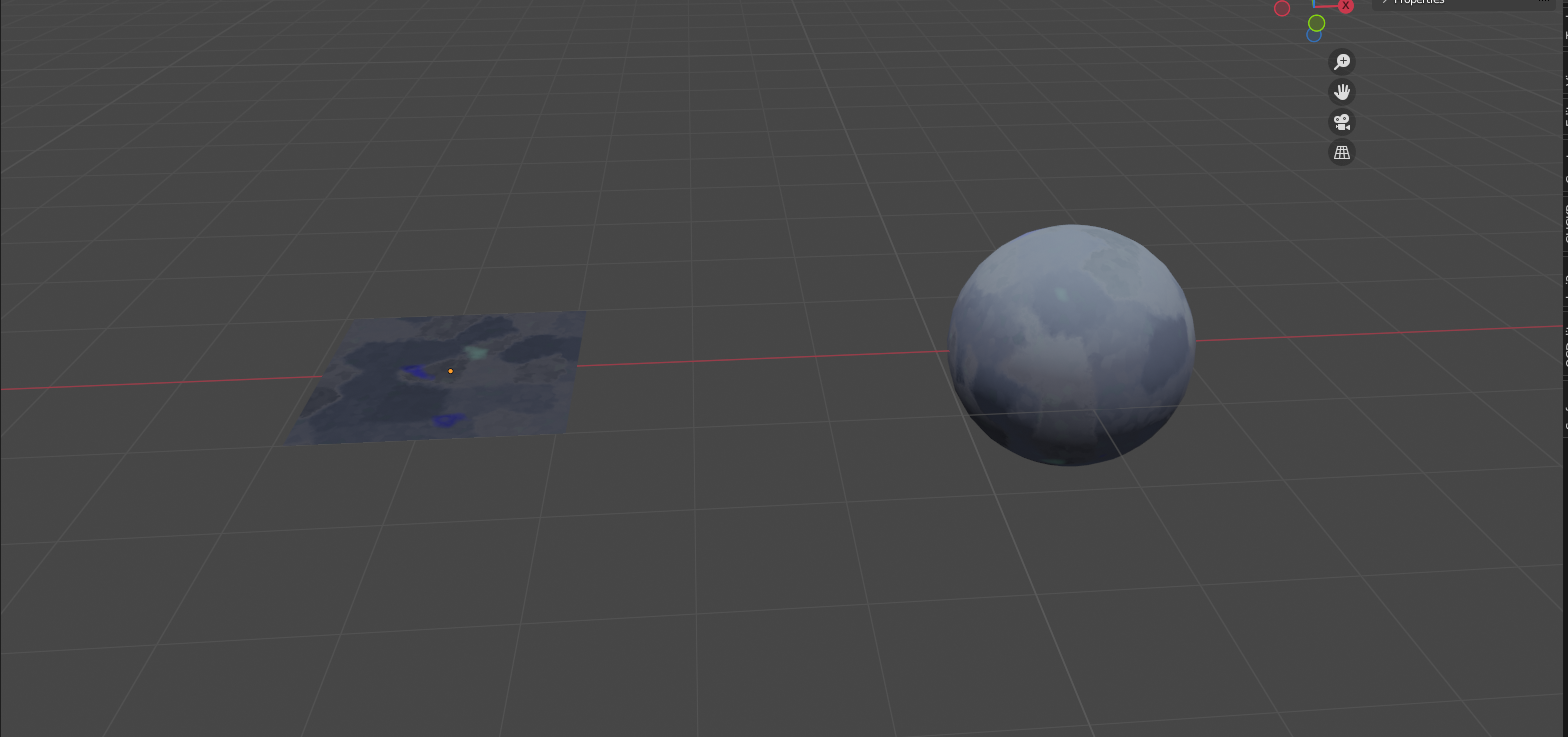
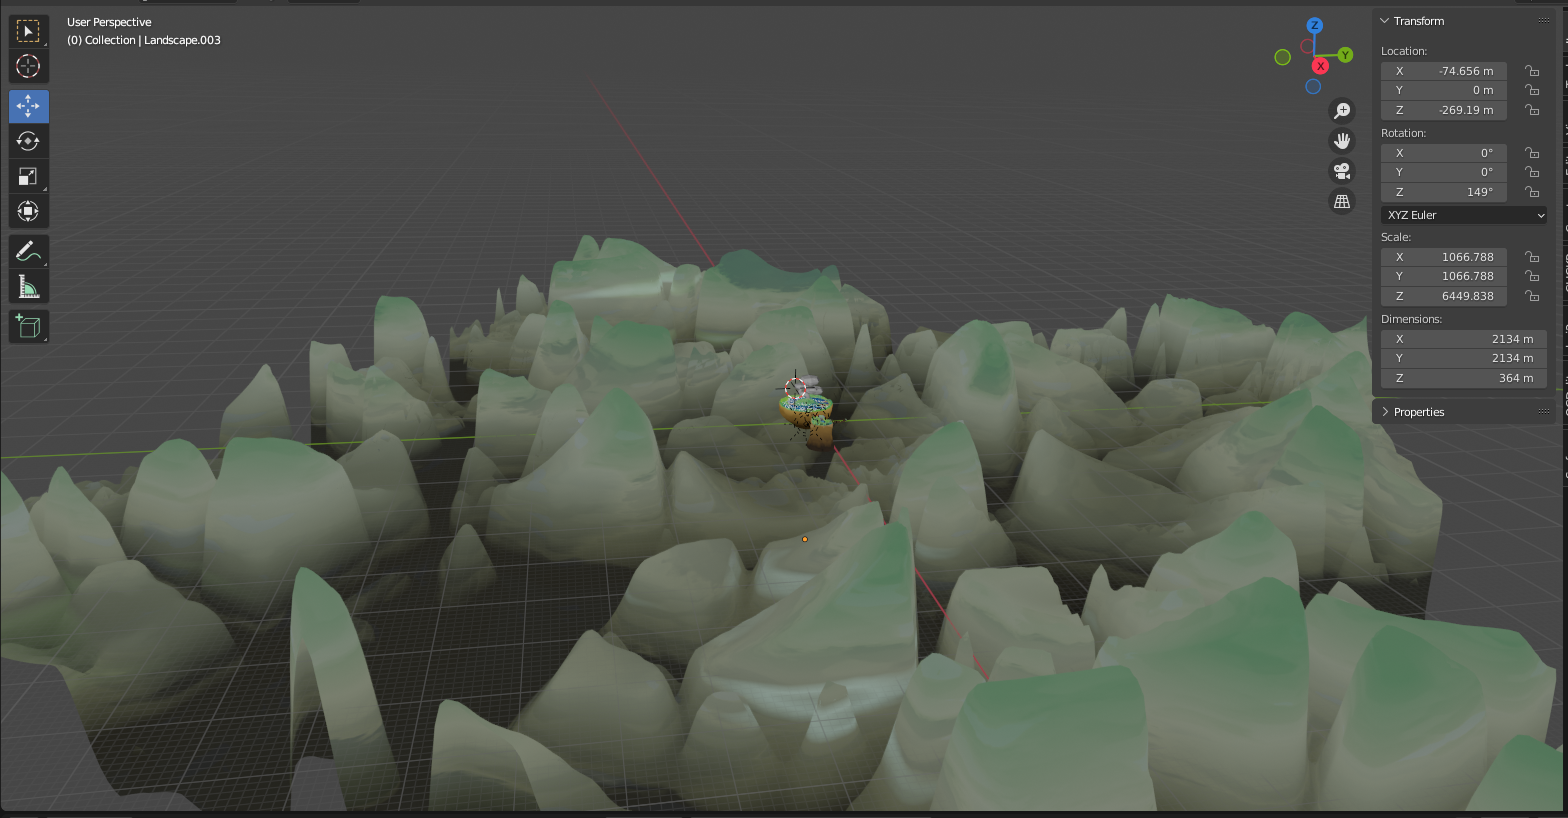
After adding some more materials like done above I was close to done with the setting as a whole, however, I wanted to tackle how I would approach the background. I did think of using skyboxes however that didn’t feel like enough so instead I created a bunch of distant mountains. I did this with a displacement modifier on top of a plane and then added a material and due to the properties of the materials they created a nice illusion of vegetation on the mountain-tops.
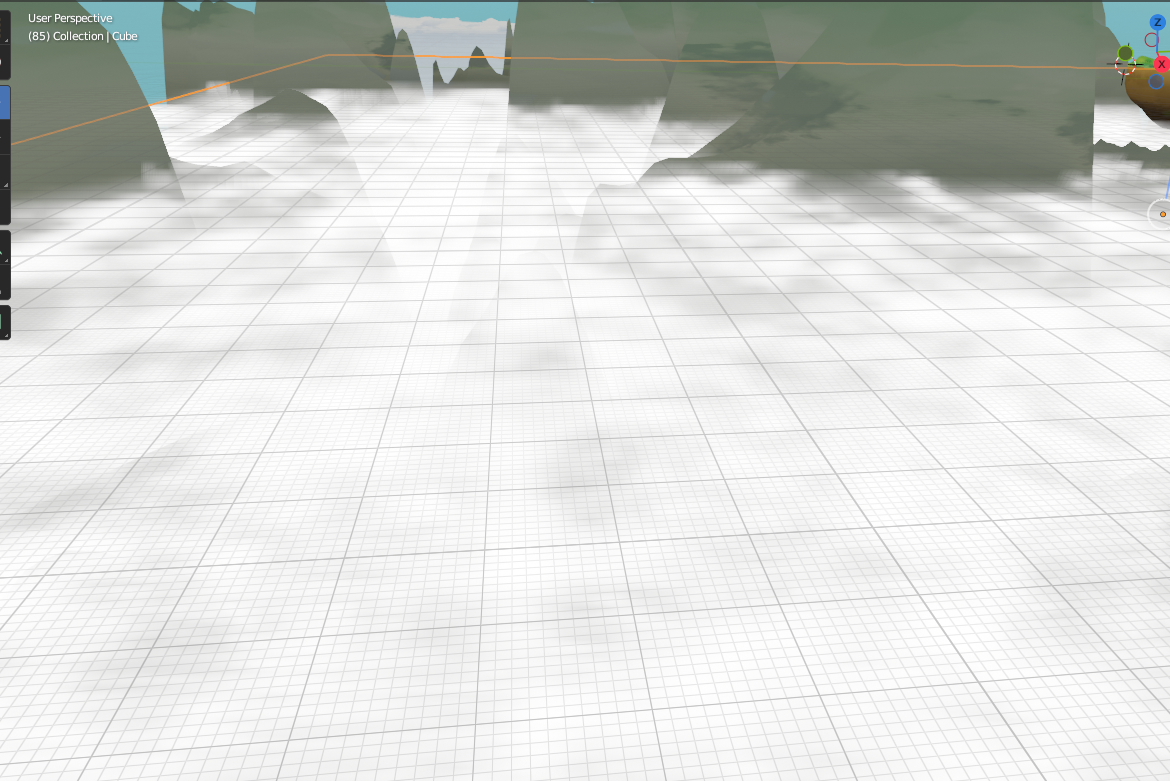
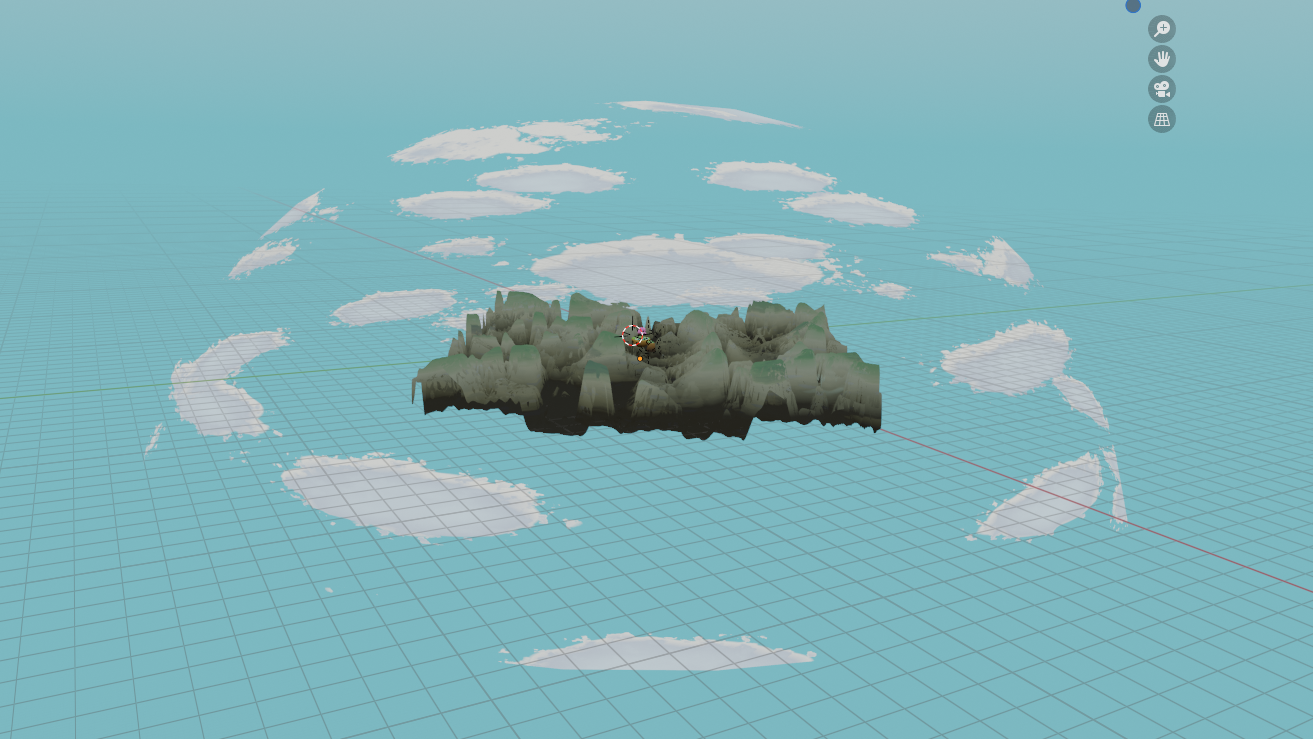
To give more atmosphere to the greater setting I decided to add some volumetrics. This would come in the form of a layer of cloud covering the bottom of the scene, this is very useful in providing a scale to the whole scene so the viewer knows this is set high up. At first, I did have problems with the viewing distance of these volumetrics however after some searching I found a setting in the render properties under volumetrics to change the start and end clipping.
Along with the ground, I would also need to cover the sky. To do so I created a large dome around the scene and using the node editor I created some clouds out of Voronoi and Musgrave textures.
By this stage, I had already created all the assets and materials and compiled virtually everything together so the scene was only one step from being done. The last thing to do was create this tree, this came as a late occurrence simply because I wasn’t sure for a large time on how to do it. The shape of the trunk wasn’t too difficult just using a curve to get the shape and then using a skin modifier to give it more volume, however, I wasn’t too sure as to how to create the leaves and for this reason I hoped to leave it until I had an answer but that sadly didn’t happen. In any other case, I would simply search for a way online however that when against how I wanted to tackle this project so instead I took a look at what I have already done and looked for the best similarity. I looked back at creating the grass texture and decided that a particle system would be the way, and it was. Using a custom object as the repeating particle I could create a emitter that would give the look of a collection of leaves.
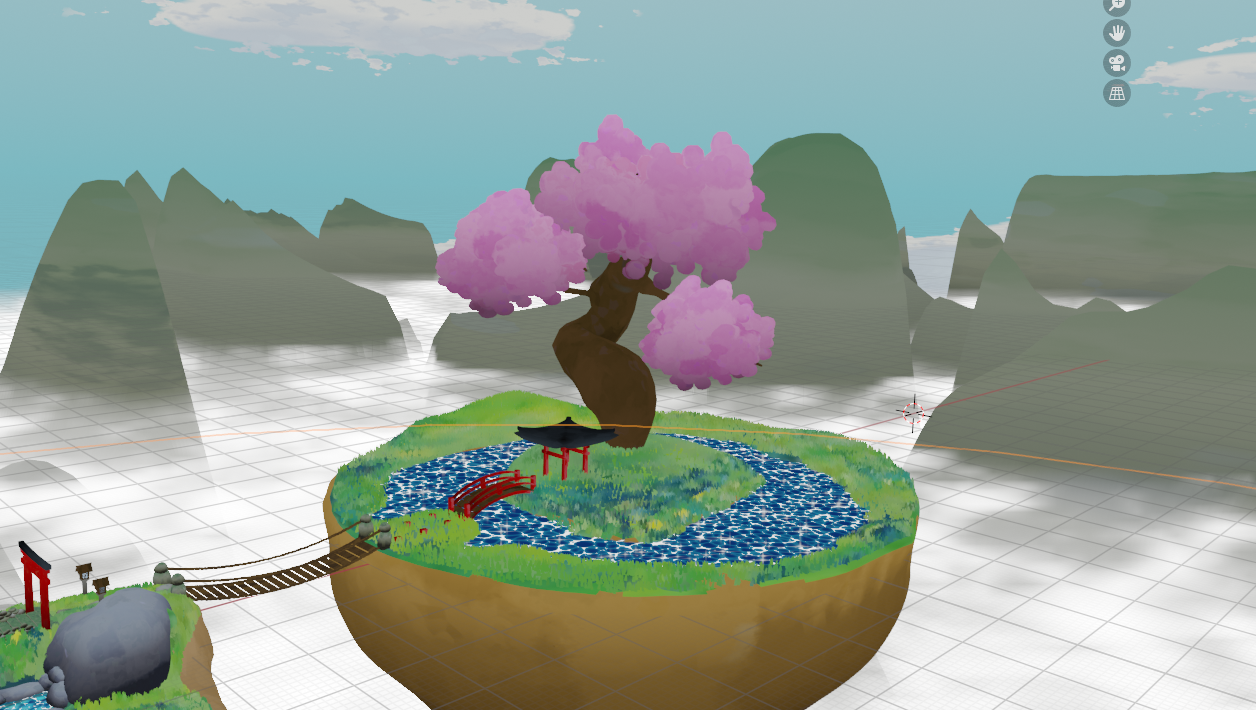
With this last problem solved I was officially complete with the scene.