
Due to the quantity of assets, instead of explaining the process of each one individually, I will give an overview of the general design process of an asset for this project. I will also include any unique problems and occurrences.
Below I will go through the process of creating an asset and applying materials to it. To give an idea of the different styles of materials and how they are applied I first will show a different material set-up using some image textures, this was done during some early prototyping as I was planning to initially use this texture setup however I came to find a better/preferred alternative, which I discuss in the Materials post and will show applying after.
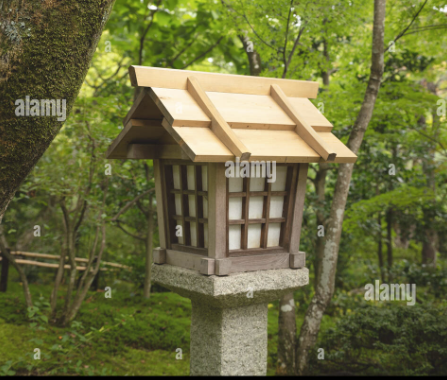
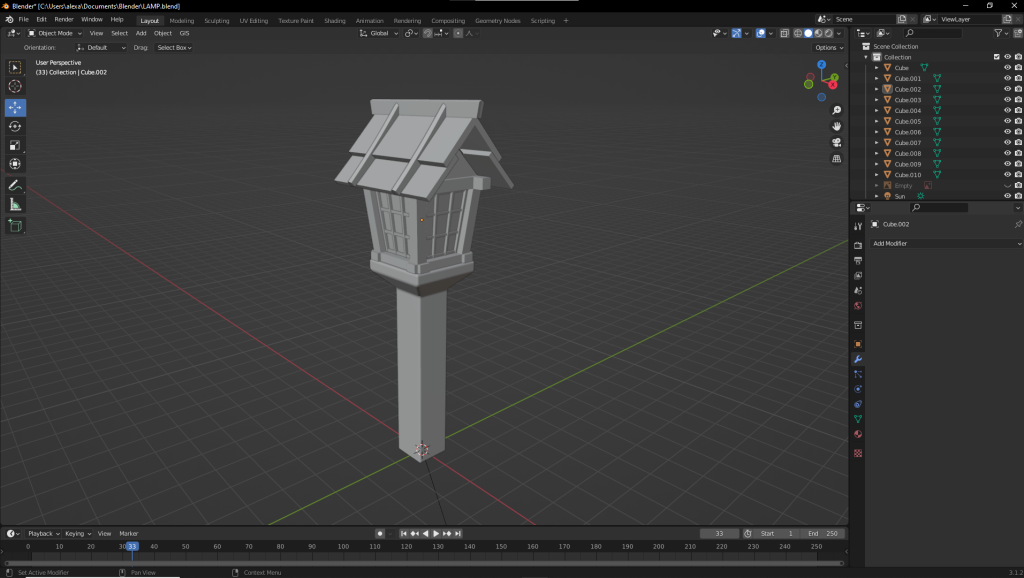
Of course, I first have to create the model. The object is a Japanese-style wooden lantern and I based the design of this image below.
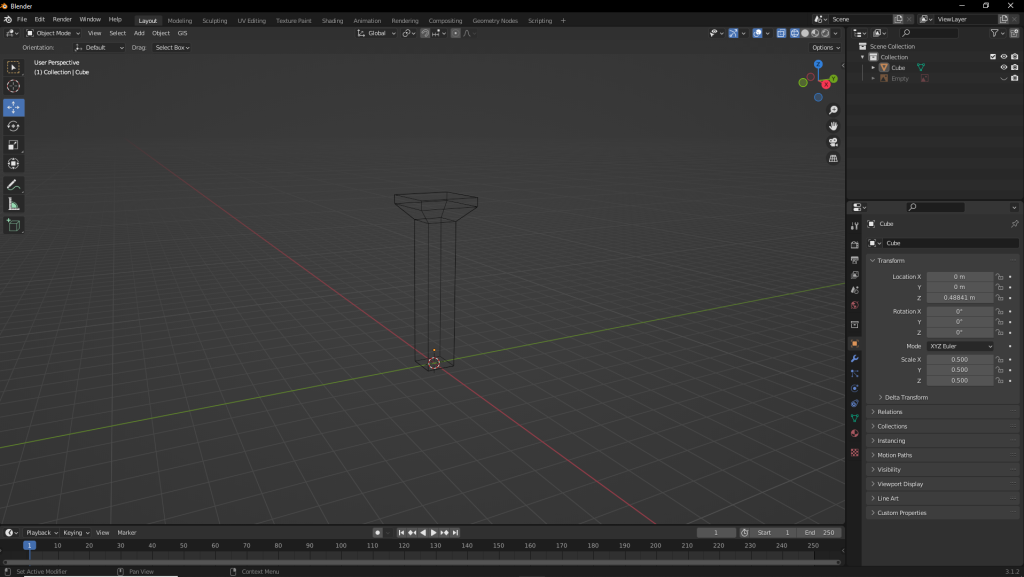
I started with the base as it would give a better sense of size so I could fit it into my scene. Once I had the scale right I could then carry on with the rest of the asset.
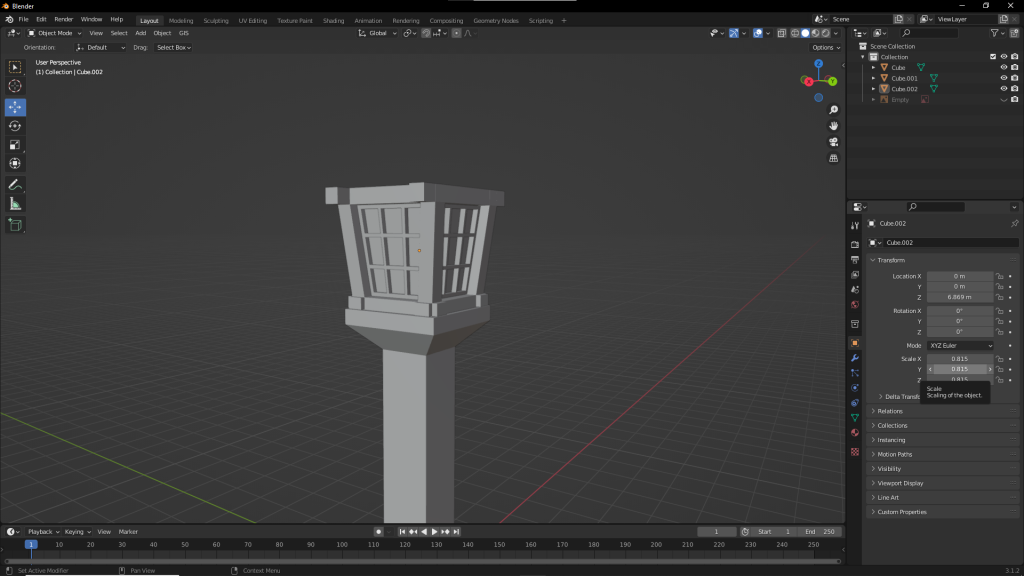
When designing it can be important to consider how materials will be applied, if not materials can appear stretched and malformed causing difficult to reverse problems. In this case, since the central part of this lantern is made up of wood I would need to separate it from other inside white material to avoid creating a UV that would unwrap badly. To do so I separated the different parts into two separate objects with different materials.
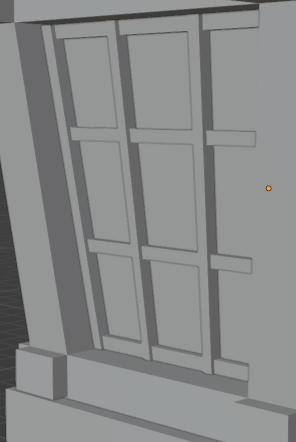
It is important to pay attention to the reference material as if detail is lost that creates a less realistic/believable object. In this case, I noticed the wood sections of this lamp are raised for the columns and lower for the rows so I would make sure to mimic that.
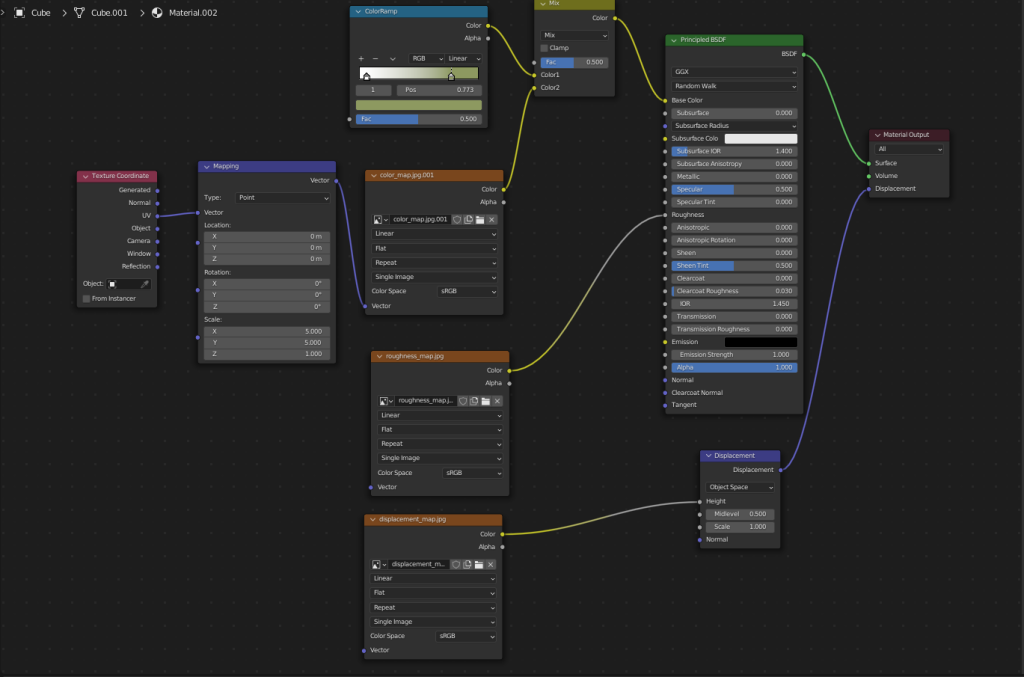
For this material setup, I imported several image textures and connected them to their appropriate socket. In the case of the top image, the sizing was off therefore I had to use its mapping to adjust the scale. Also, the colour of the image wasn’t the exact colour I wanted so I mixed it with a colour ramp until I had the desired colour.

I then used the same process to add materials to the rest of the assets.
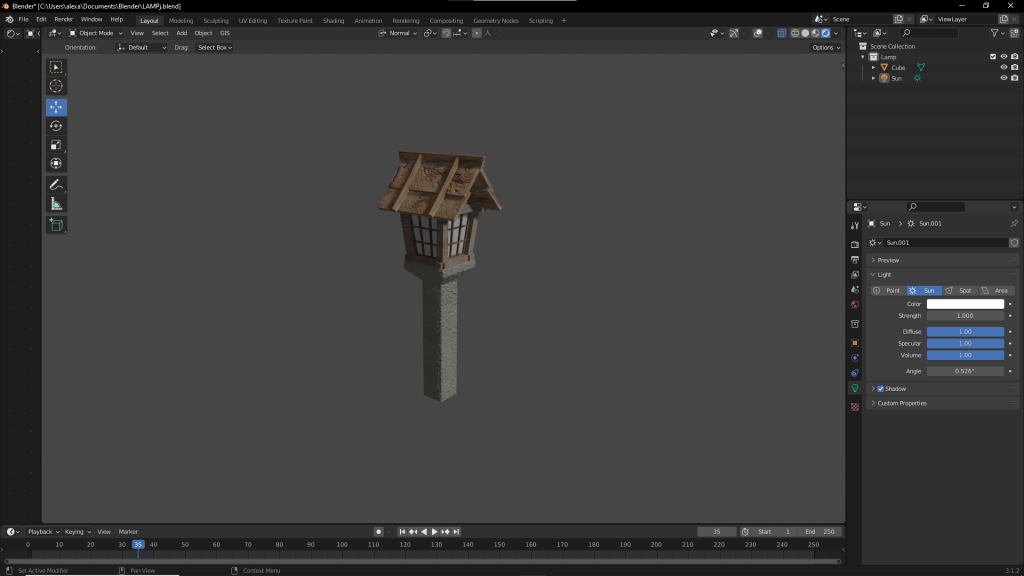
The overall look of the asset is good when isolated however it doesn’t mesh well with the overall style of my scene, therefore I eventually would come to change the materials to my updated ones.
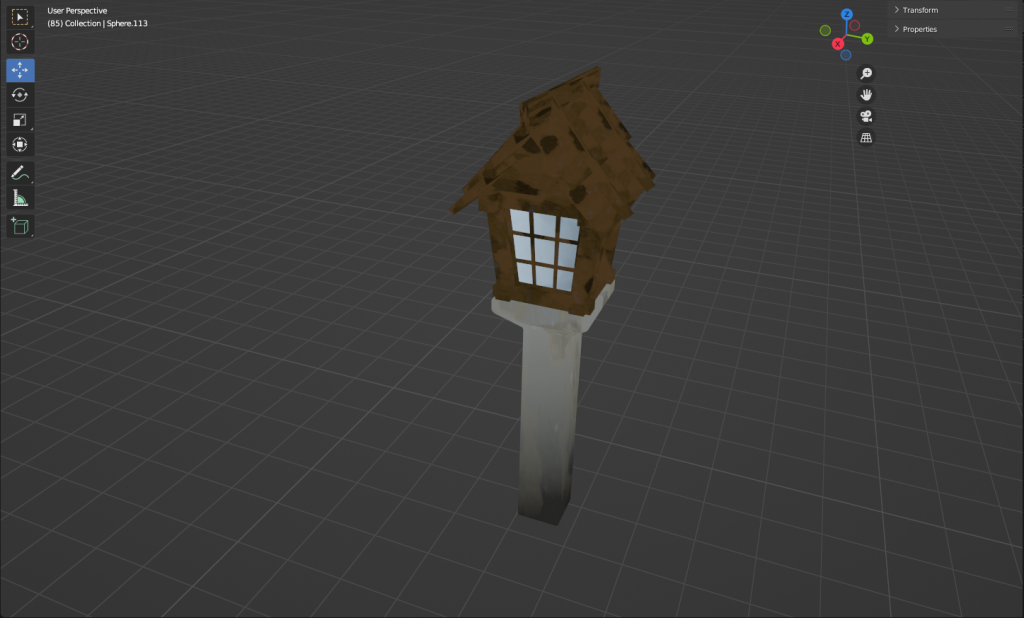
Although simpler in look the materials used for the asset work much better with the overall scene including lighting and shadows.
References:
‘japanese wooden lantern in the park’ Available at: https://www.alamy.com/japanese-wooden-lantern-in-the-park-image246132012.html Accessed 20/07/23