
Before going through with the creation of the animation, I first performed some experiments to see if what I was trying to achieve was possible with my current skill/knowledge.
Sparks
For this first experiment I wanted to try and make a somewhat simple particle effect that I could use in the animation. I decided on sparks as it would work for when the lift is in motion. The process involved creating an origin point then adding a particlesystem to that object, then after changing a few settings to make the particles closer to that of a spark, then add a force field in order to make the sparks shot off in a direction. I’m quite pleased with the results and I think I could still easily tweak a few settings to make it better. I believe this experiment proves making sparks is possible.
Earth
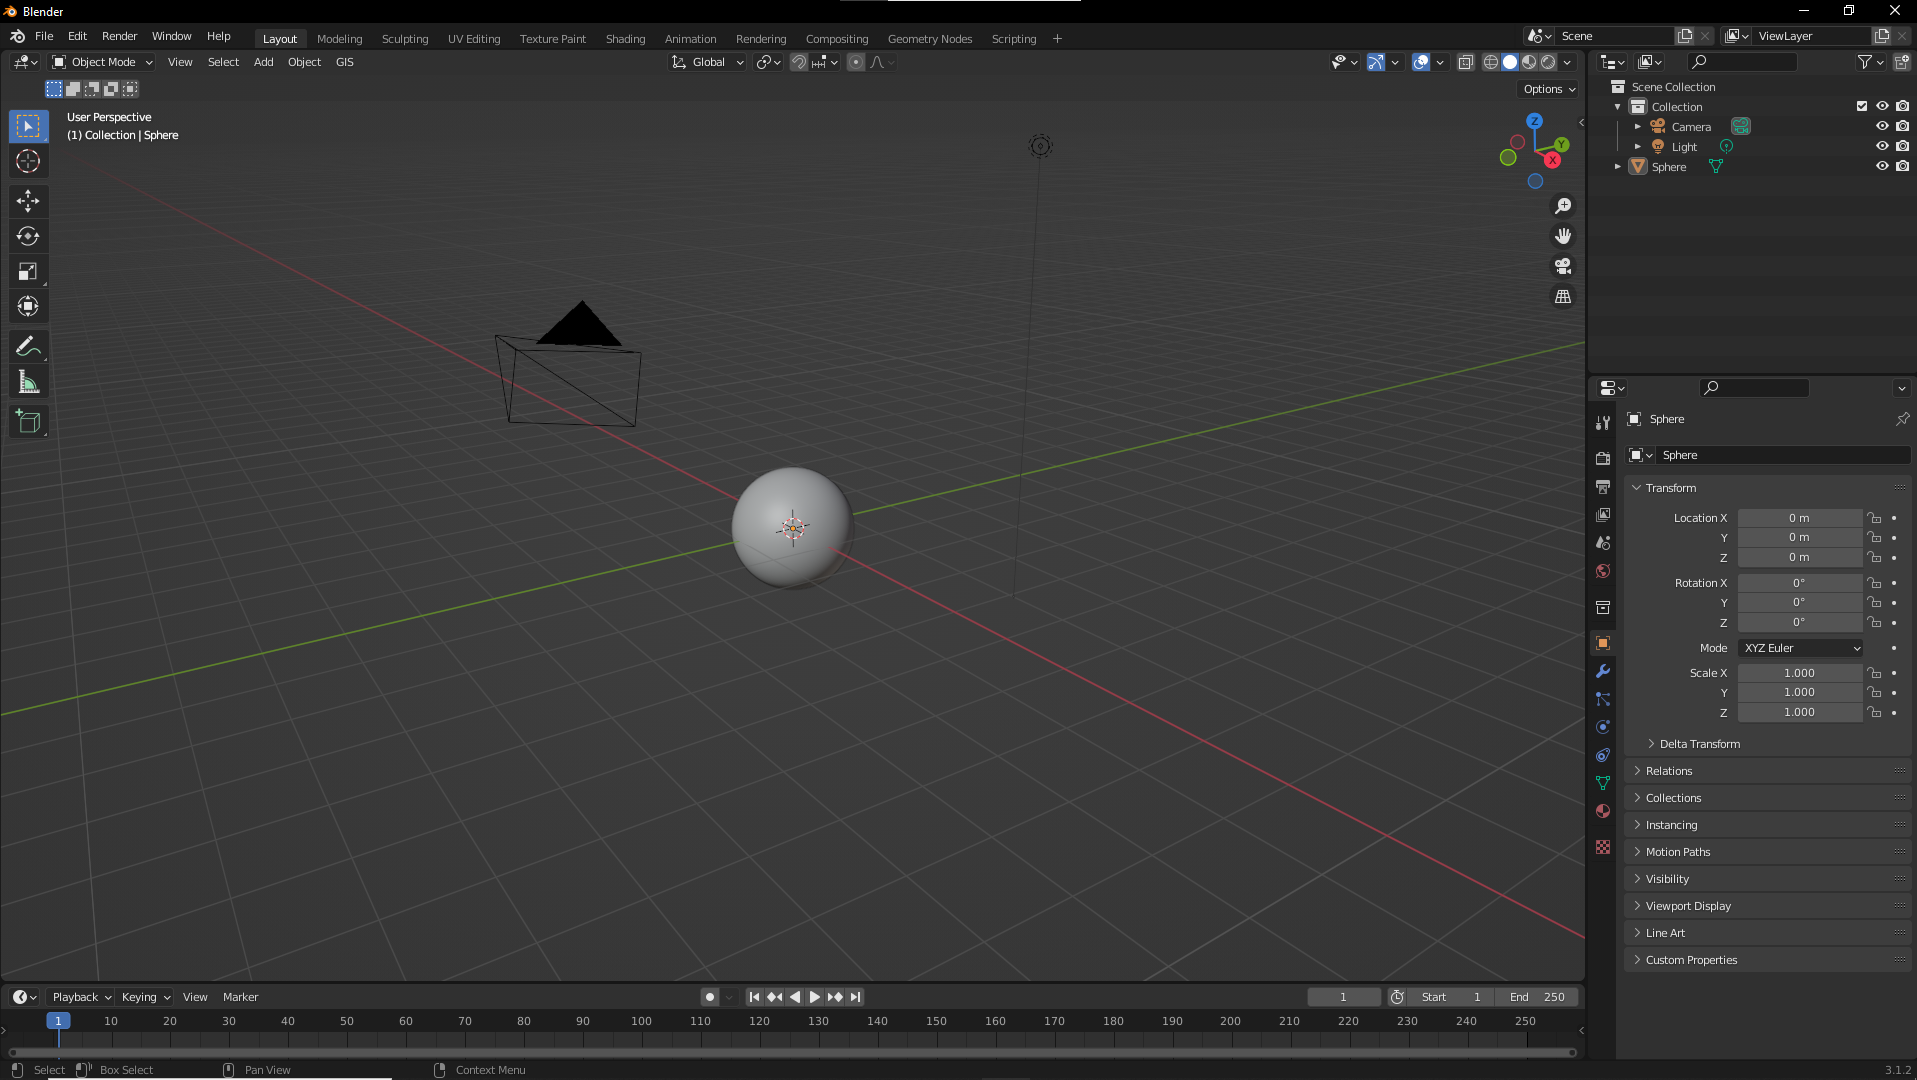
The next experiment was to test if I could create a realistic enough earth asset to use for long shots. This would also utilise some composition. The first step was creating a simple sphere with subdivisions.
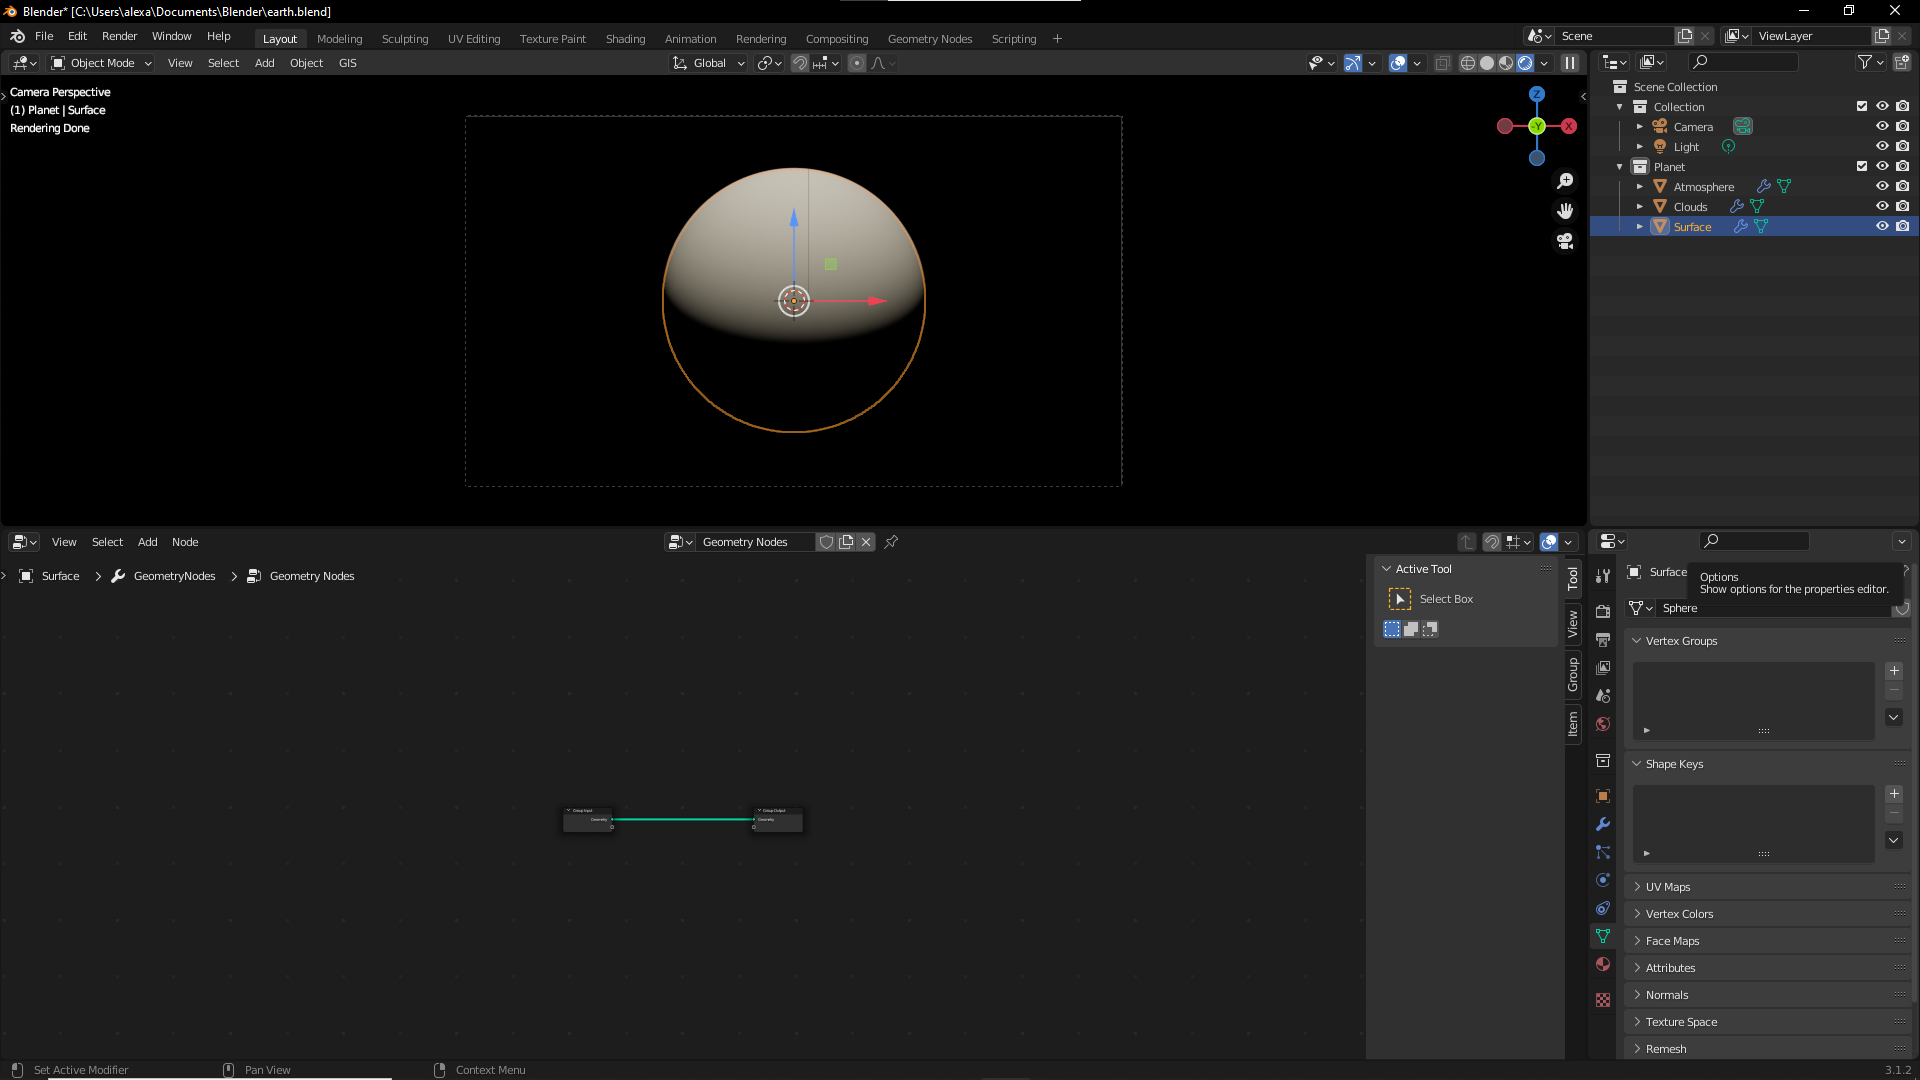
Next I would create two additional spheres on top that I would later use for the atmosphere and clouds respectively. I also added a light source atop the sphere for a more professional composition.
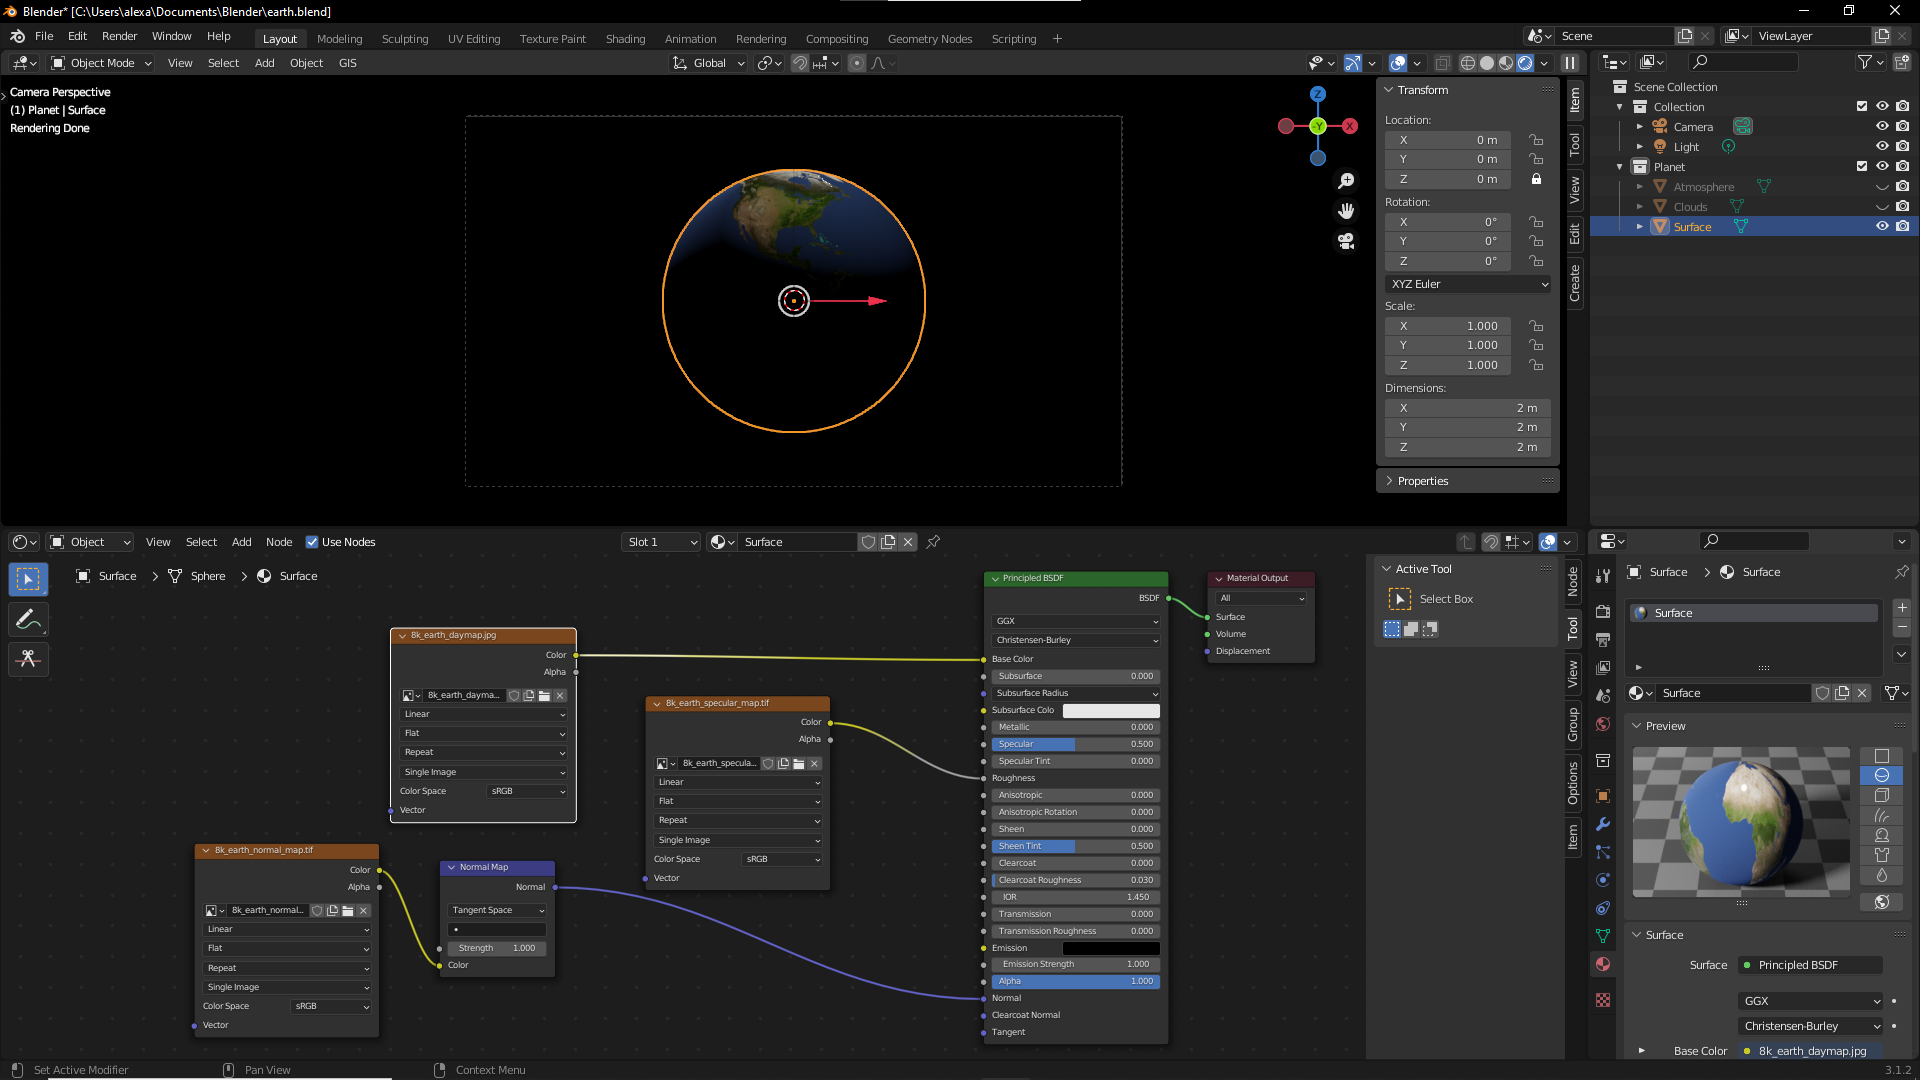
After that I would add a texture to the first sphere. I got this earth texture and all other textures from this website: https://www.solarsystemscope.com/textures/ and all textures are CC by 4.0. Adding the textures also involved adding the normal and specular maps.
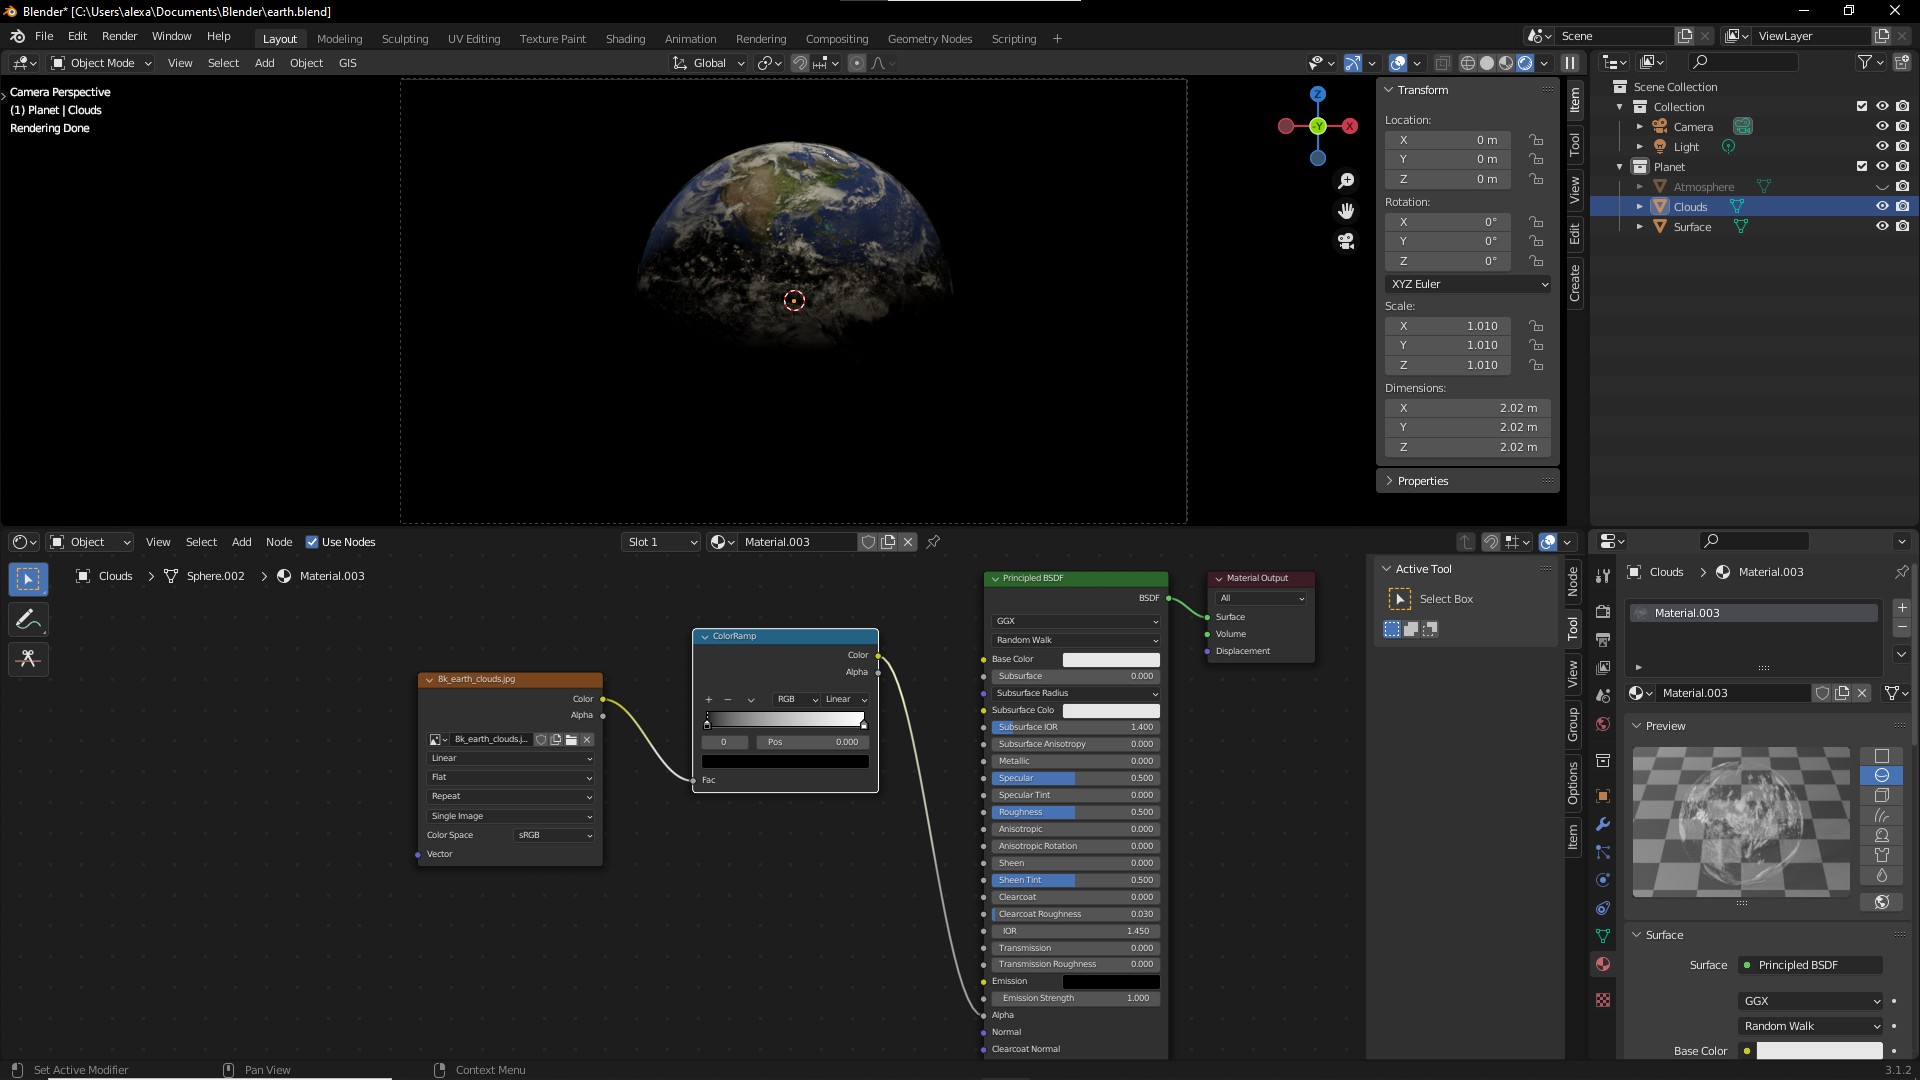
Then was the addition of the cloud textures. In order to not have the whole earth covered I used a colour ramp to alpha out the black on the texture making it translucent.
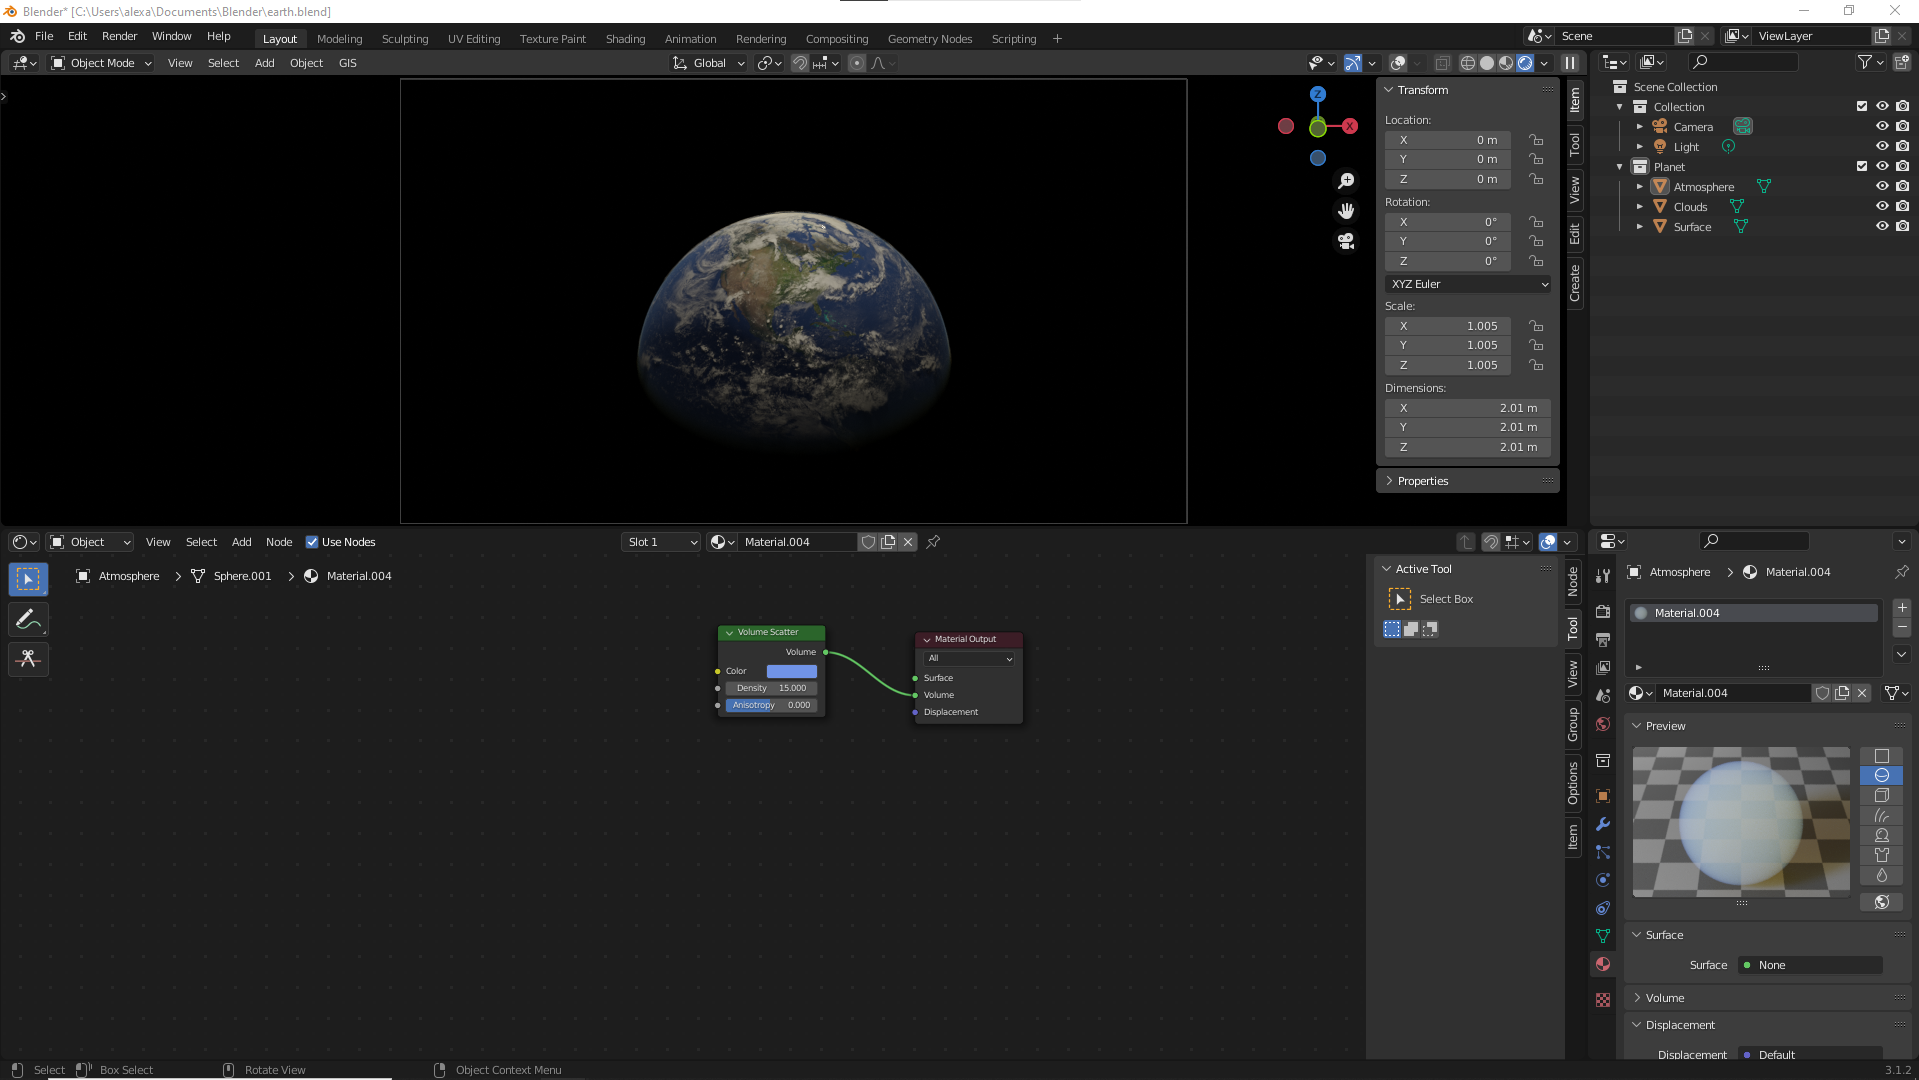
For the last step was the atmosphere. I decided to use an volume scatter, this would give a foggy effect emulating the earths atmosphere. I made sure after doing this to adjust the size of the atmosphere in proportion to the earth to make sure it didn’t look abnormally large. After this the asset was done.
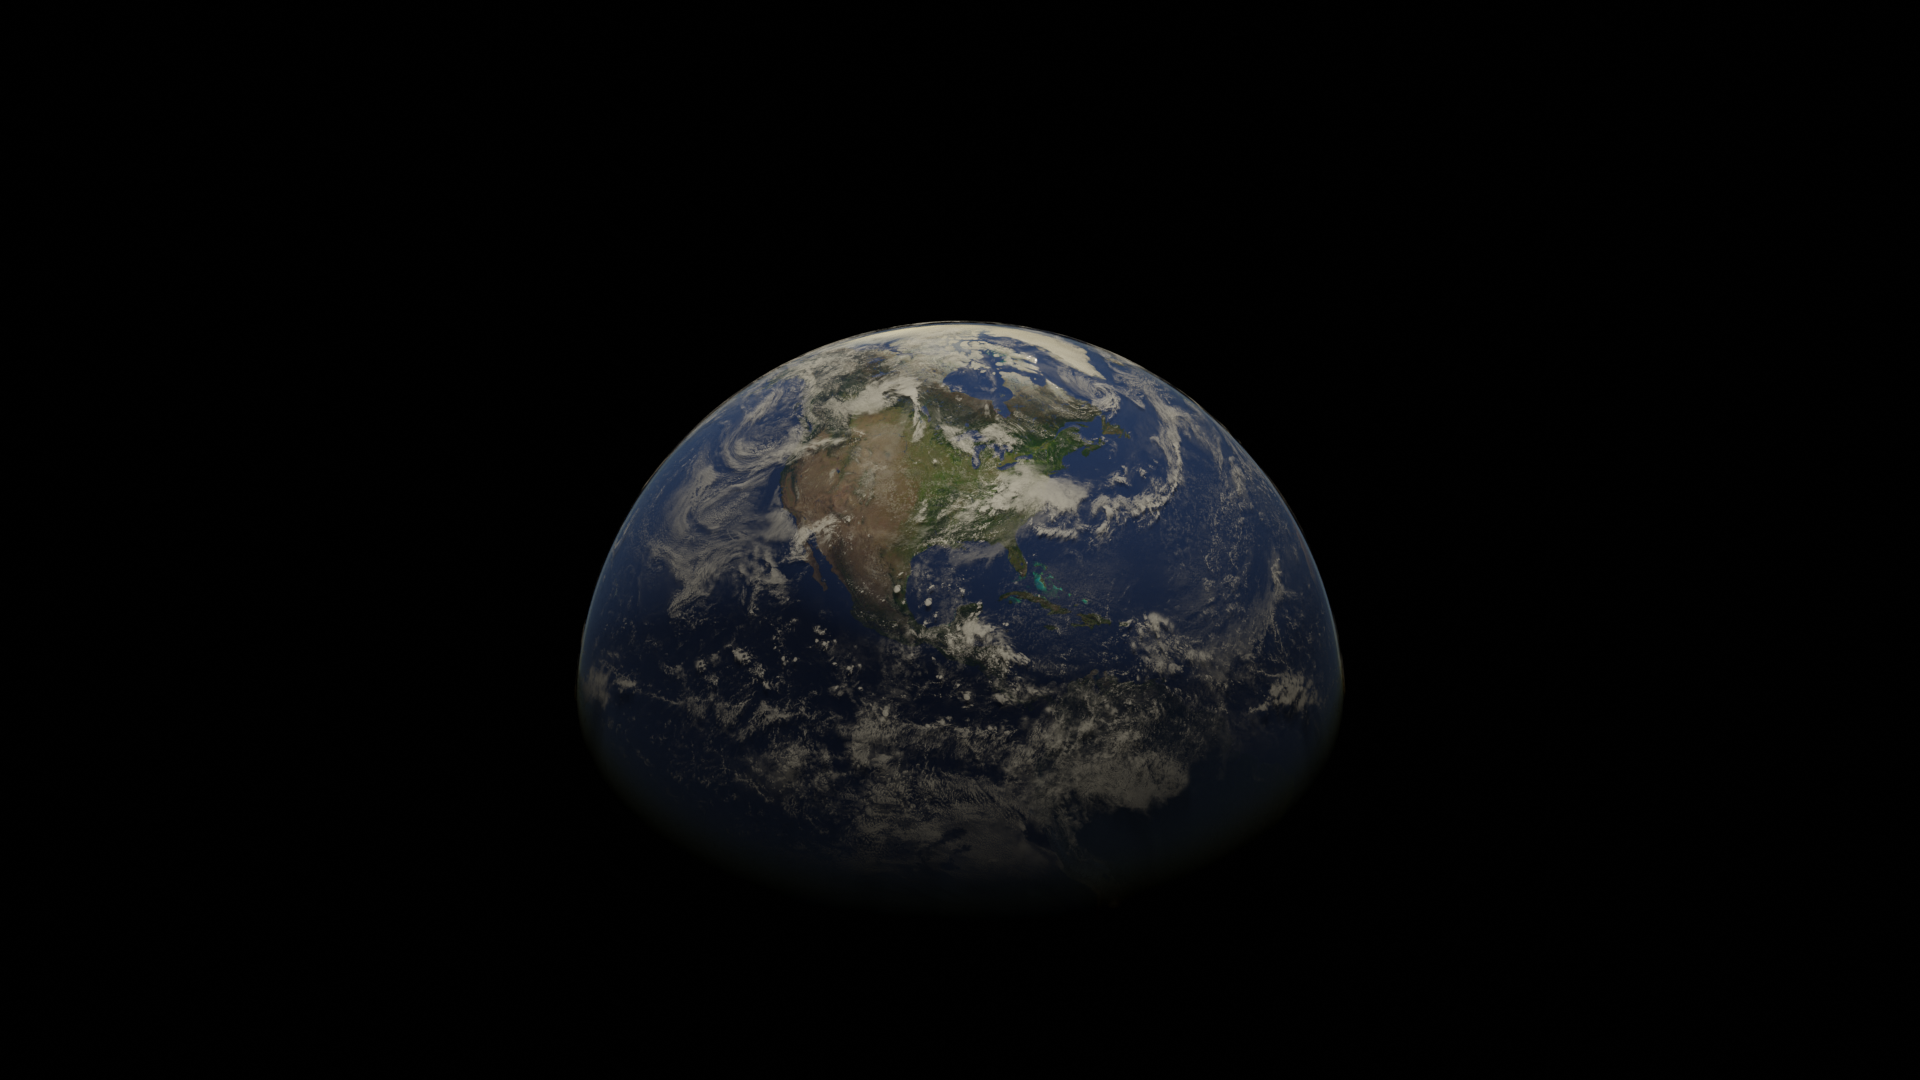
From the result I was confident I could create a realistic earth for the animation. I also came to the conclusion that it would be a good idea to add stars to the background when creating the real thing.
Camera Effects
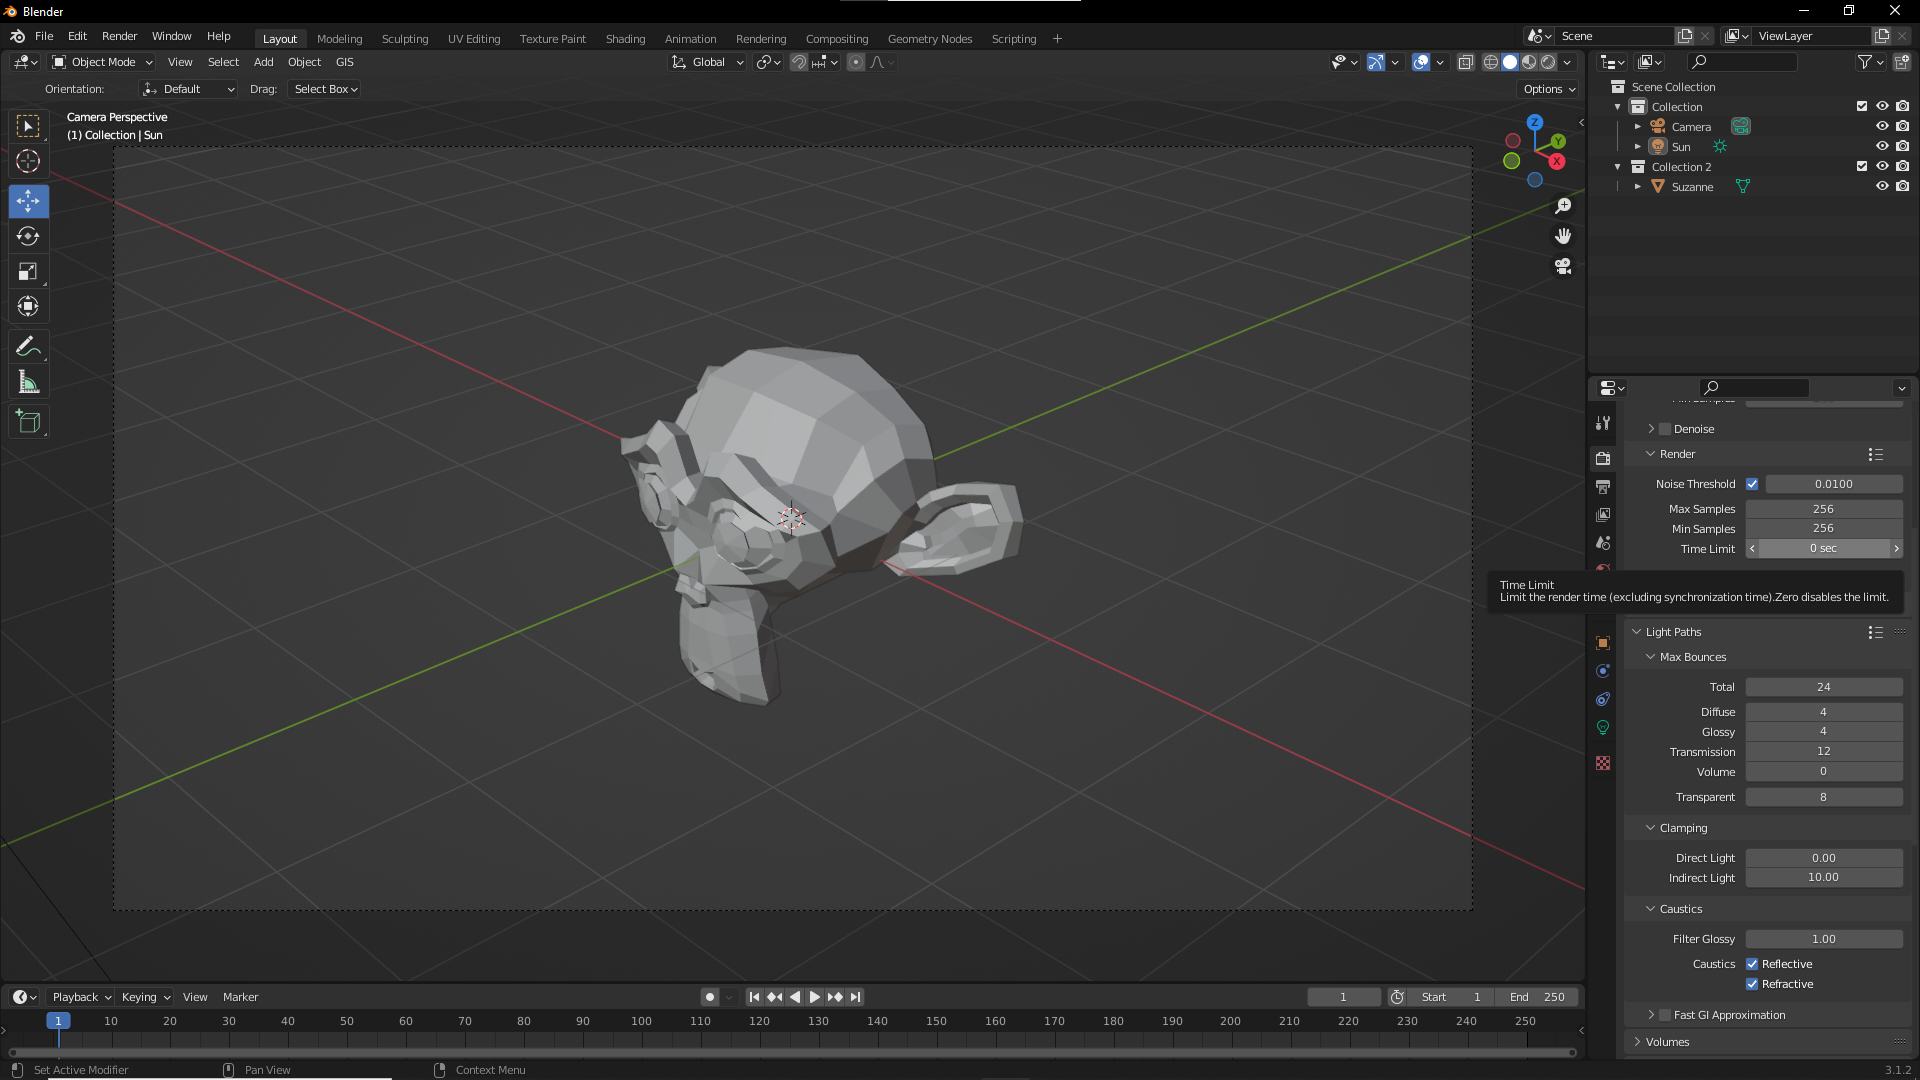
For the last test I wanted to see if I could create a filter for the scene that would give off the look of a space scene. For this test I used the Suzanne object in blender as the test subject.
I first changed the world colour to black to mimic space and added a sun light to allow for shadows. I also added a metallic material to the Suzanne as it was more appropriate for a space scene.
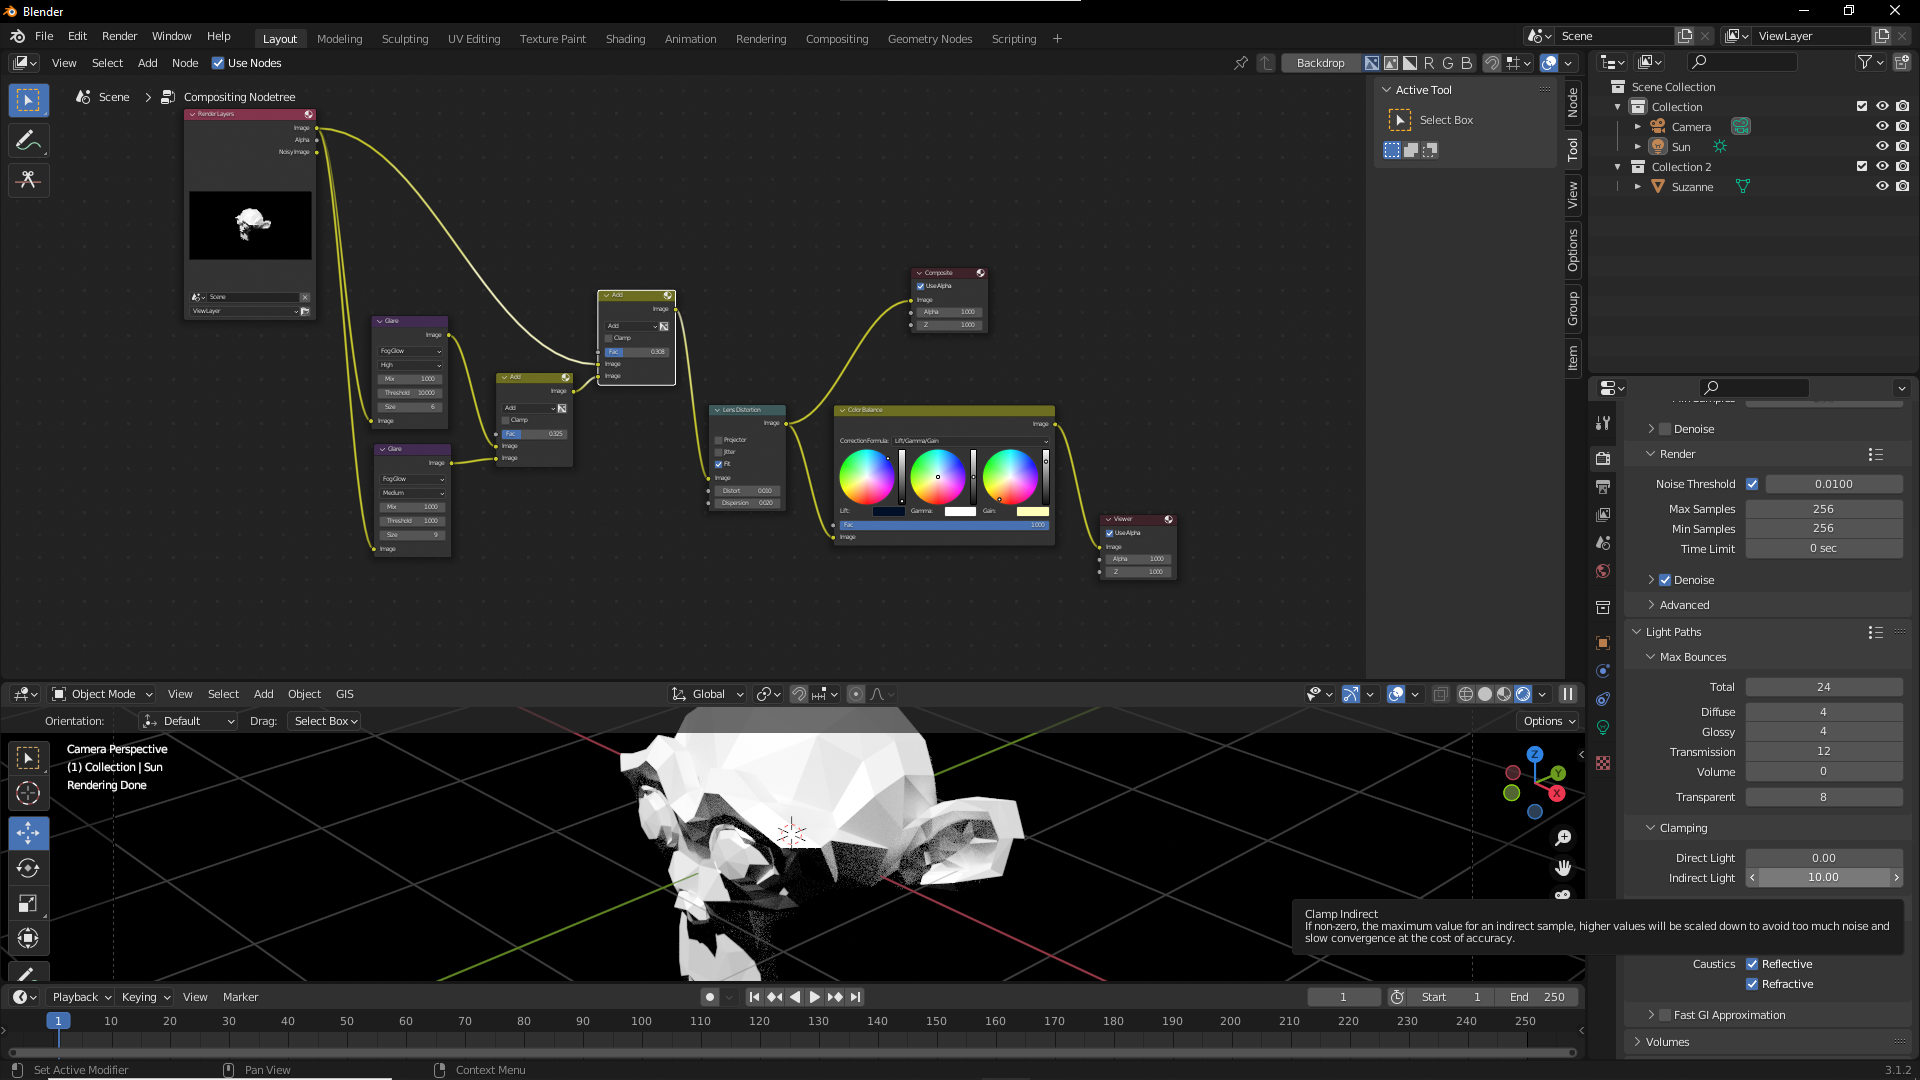
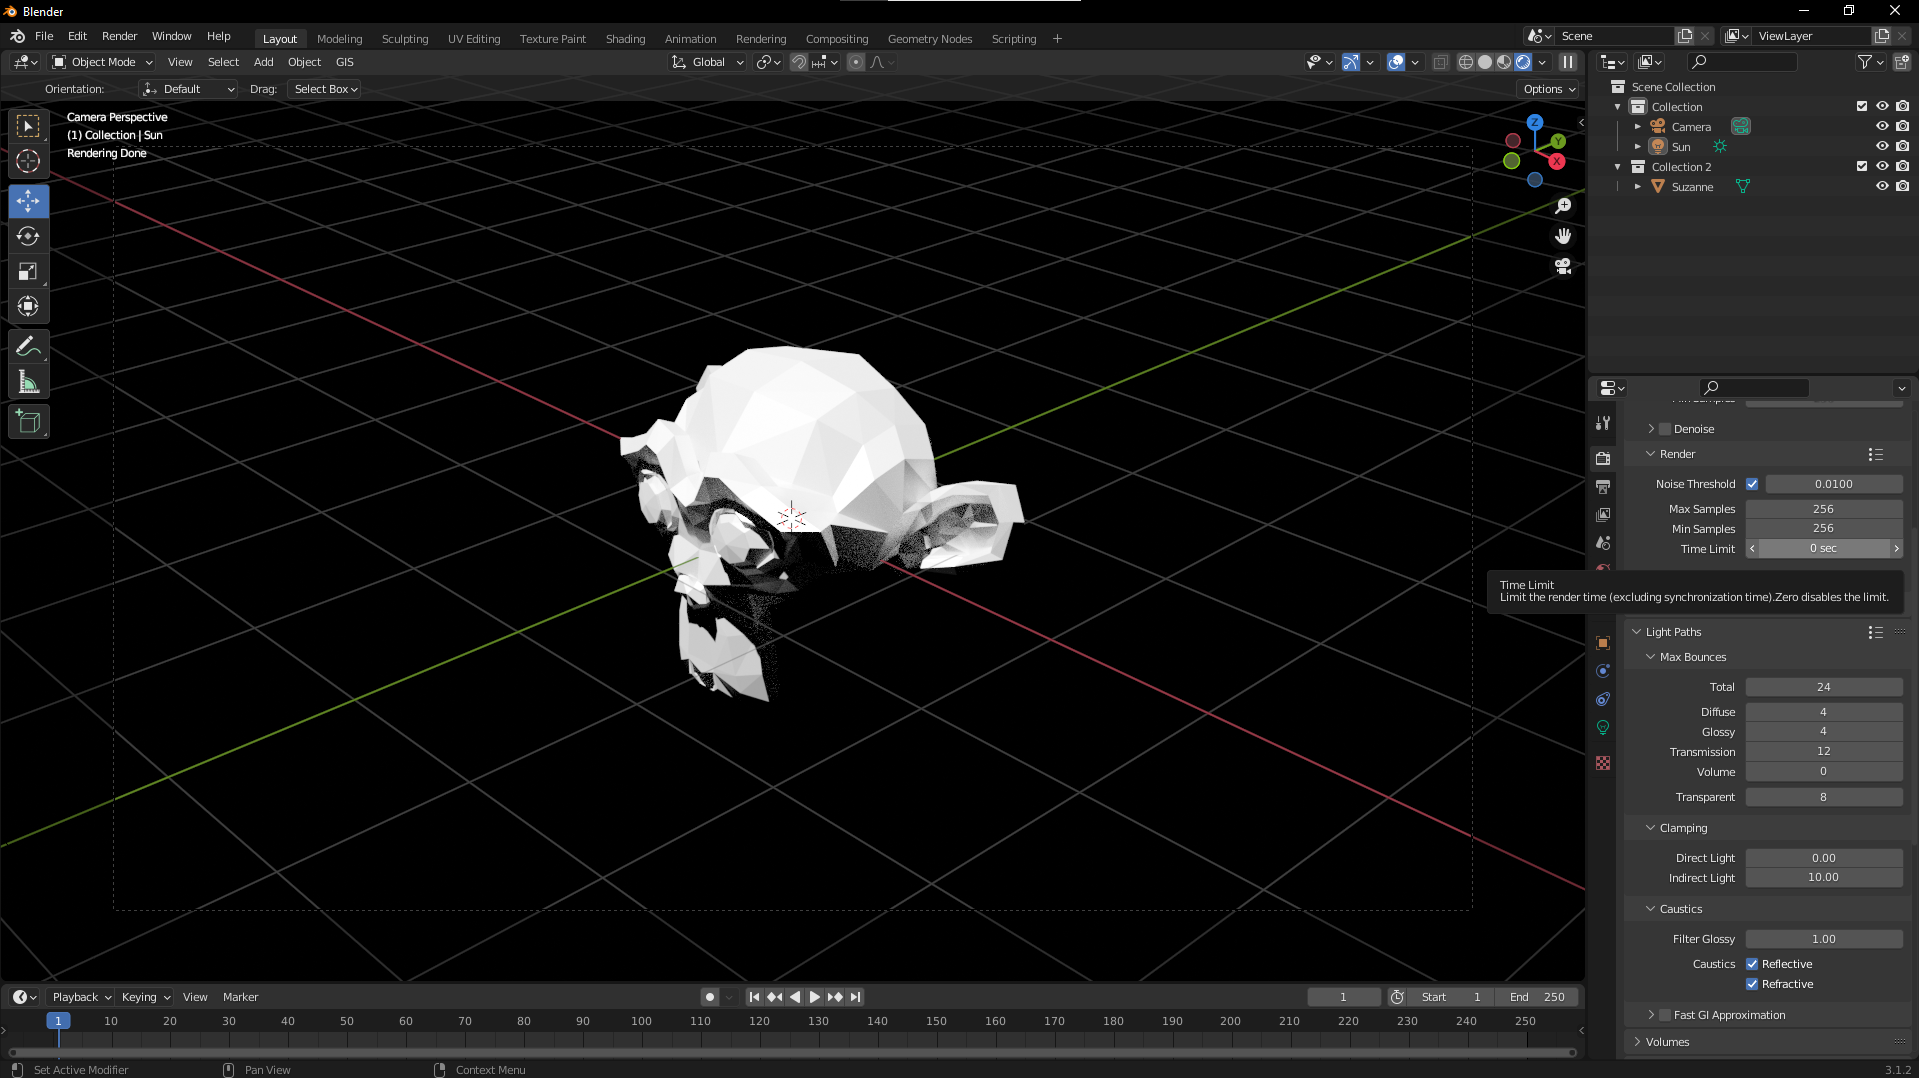
Now I was ready to composite. The first effect I added was glare as the lights present didn’t create harsh enough reflections on the model. I then used a lens distortion effect, this would help with realism as it would make the scene look like it was captured with a real camera. Finally I added a colour balance node to bring out the colours better associated with a scene of this nature.
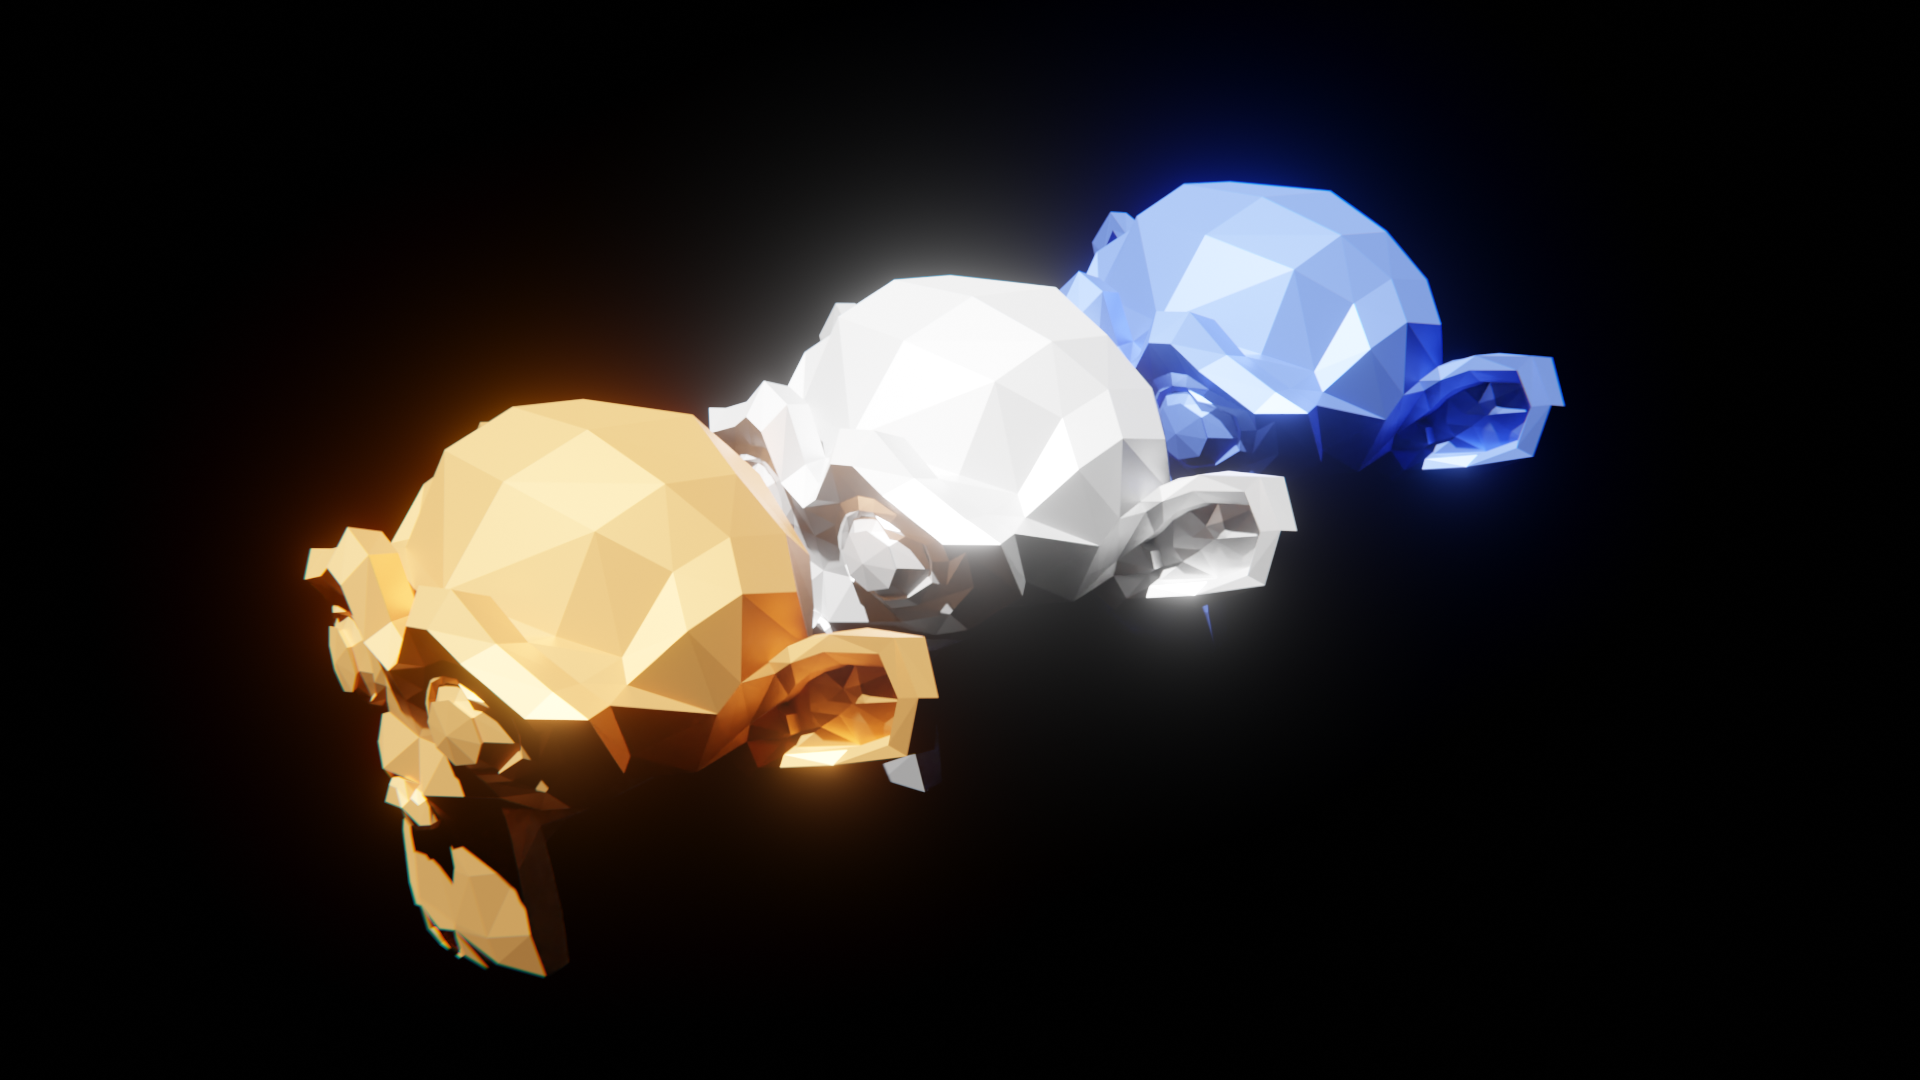
When rendering I also decided to add more Suzannes with different colours as it would better highlight the changes made. I am pleased with the final product as I think it does have a more space inspired theme.