
When heading into the start of this project which would involve animating a character, I quite quickly assessed that using my model from the previous project would come with many difficulties. To start, at the time, I struggled with poly counts so the model had a higher than desired poly count that I would have had to spend extra time to sort out. Also the structure of the model was not designed with animation in mind, I focused on appearance therefore areas such as the feet were left with little detail, if I were to animate it I would also have to spend time before hand enhancing the model first.
With my original model out of the question it would be between using an existing model or creating my own. I chose to create my own model but make sure not to keep it to complex as to take too much time ( I would later have to scrap this plan).
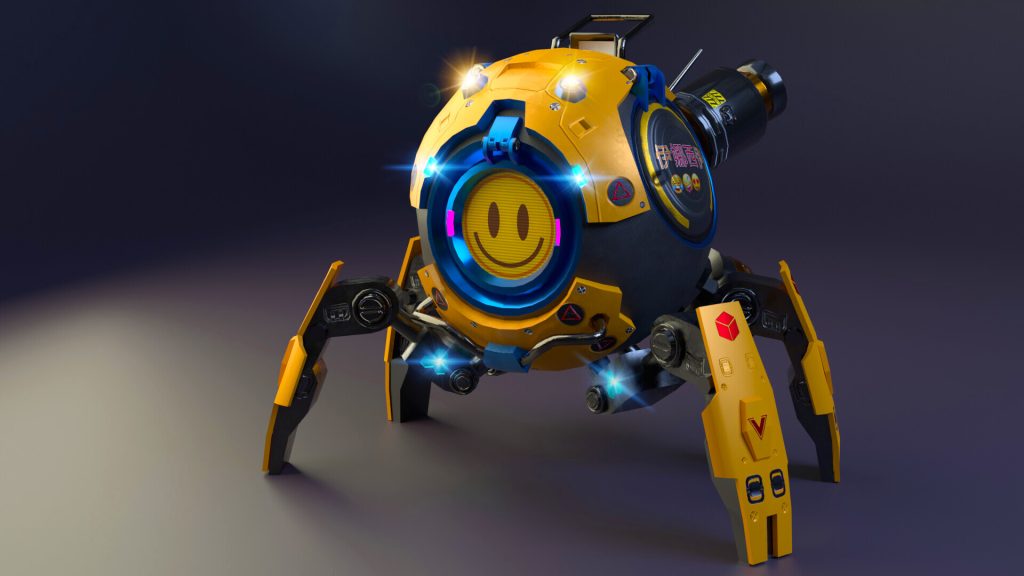
After doing some research I decided to go with a ball like robotic design much like the reference images below.
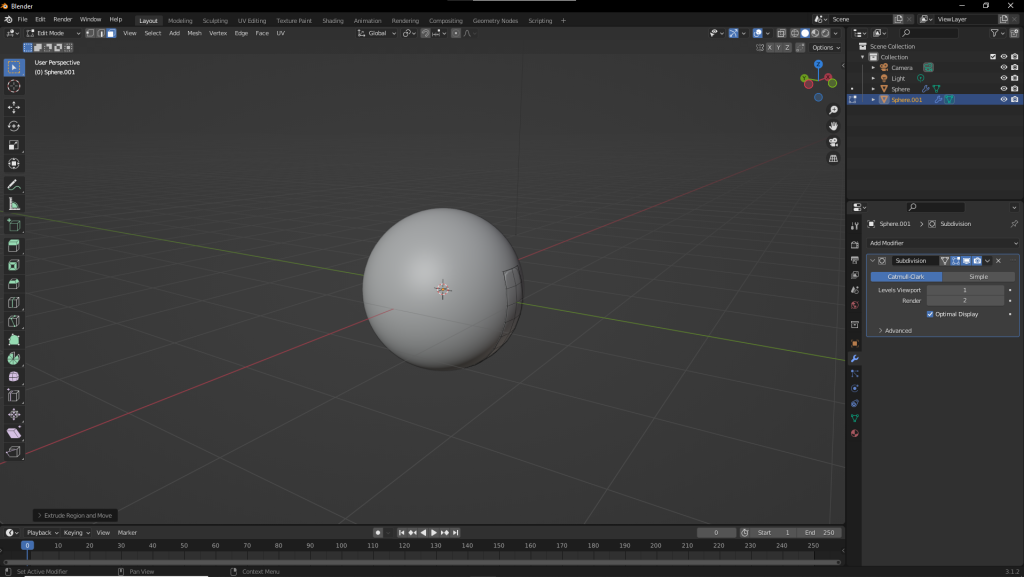
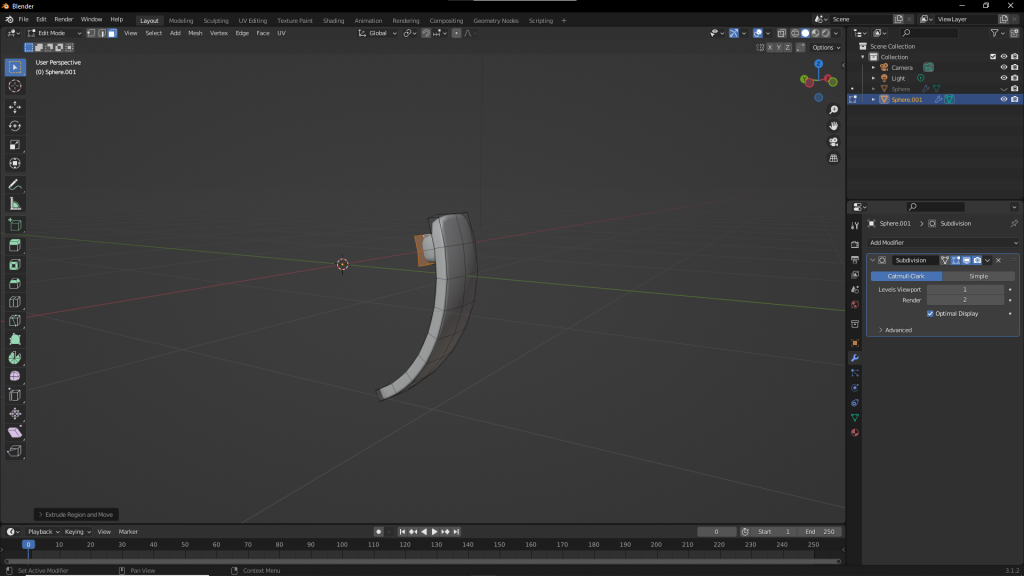
I was at first going to use Maya and Zbrush, however I had recently started using Blender and found that software more comfortable therefore I chose to use blender to create the character. The shape of the character was simple and I decided to separate out the legs to get a better view when modelling.
First Model
Around this time I realised that because of some unrelated reasons of not having access to my PC, I would not be able to finish both the model and the animation in time. From this point on I decided that it would be better to focus on the animation rather than the model, since that is the more important part. I resorted to using one of the premade models kindly provided by the lecturers, in particular the ‘Max’ character, and would animate as well as rig that. I do hope to continue my previous model in the future however even with unexpected issues I should still have planned out the design process better to get a grasp of how long each part would take to complete, this would decrease the impact of problems as it would take less time to create a work around.
Rigging
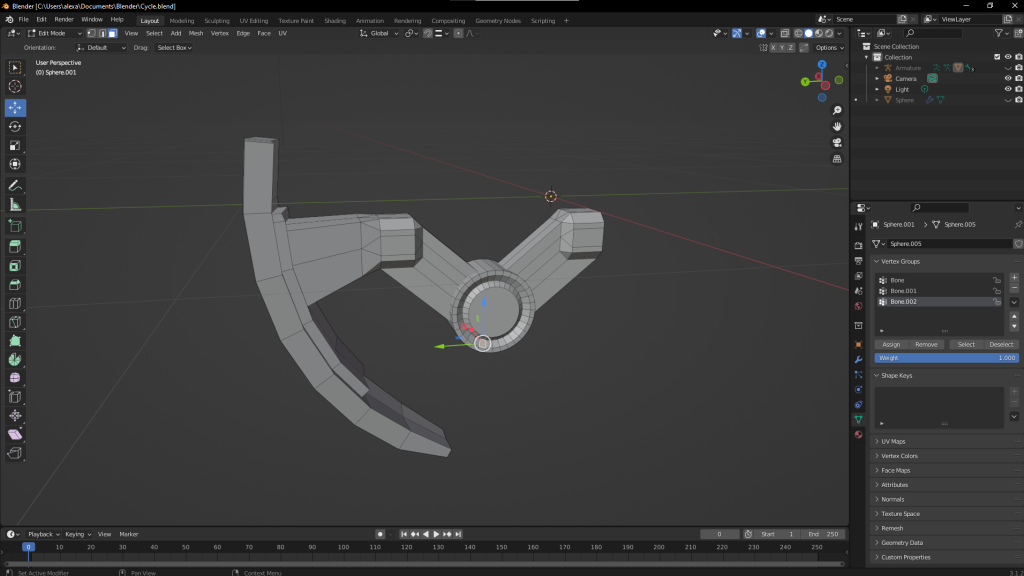
The first thing I would have to do is rig the character. Due to the nature of the character, rigging would follow that of a simple human form. I added individual bones for the hands, arms, legs and body. I also had single bones for the head and feet which in hindsight I would come to realise that I should have added some more complexity to the rig in these areas as it would create problems in the future.
For the legs I added Inverse Kinematics, this would help give the appropriate motions to the legs when moving the feet. In terms of weight I was lucky, in part due to the model, that it didn’t require any editing however if it did I learnt the steps to take encase. At this point I was happy to move on to animating, although if I had more time I would have liked to create an advanced rig with custom bone shapes.
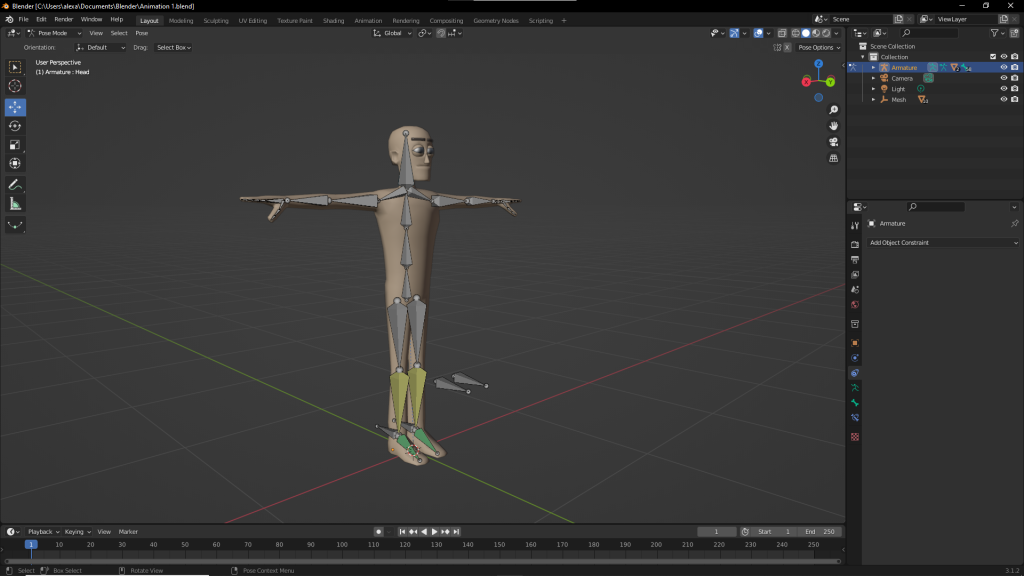
Idle Pose
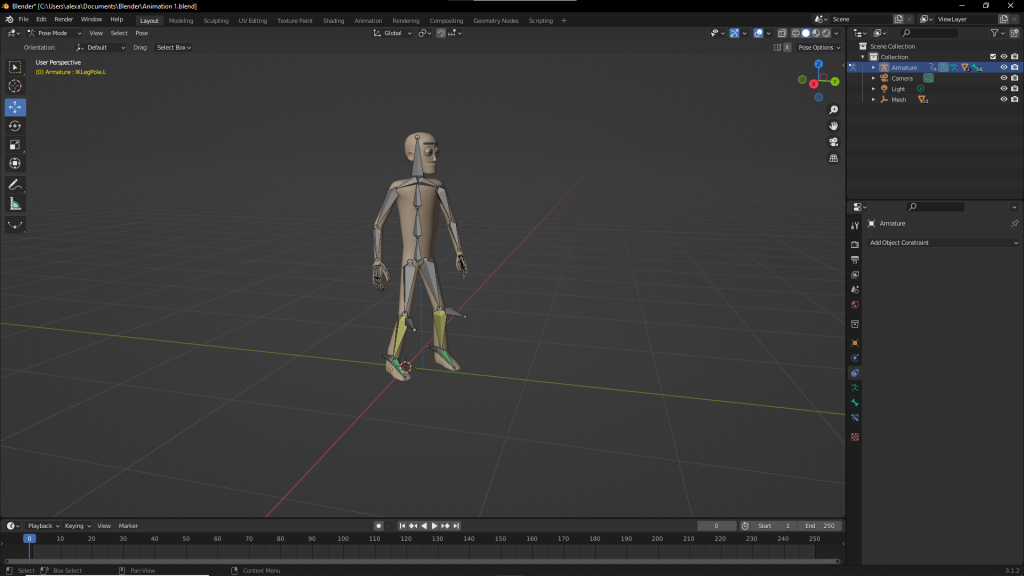
The first thing I did for animating was develop a starting pose. I aimed to make the pose not look basic and by extension symmetrical. As with some of my future animation I didn’t use a reference for this pose. It can be said it is a bad idea that im not using references but part of the reason I chose to do this was because I wanted to improve my memory with these processes.
After I had constructed a pose I would then look at it carefully to assess if it looked right or not. I would also sometimes recreate the pose if possible just to visually and physically see how it feels compared. With this first pose as it was my first time animating I did struggle a bit tying to move the bones, a reason why it would have been better to have advance custom bones, but after a while I started to understand it. An important part of the process for me was using the different axis, first for view to see the model on one plane to make sure every thing lines up correct, I would also use this view to examine the arcs created by the character, arcs being a principle of animation, making sure there are clear straight lines/arcs rather than jagged ones. Another use of the axis was for moving and rotating the bones, by using the axis the bones wouldn’t become unaligned and rotate in awkward ways.
When posing I realised a problem with the rigging of the model. Due to the amount of bones on the feet, as well as the head on occasion, I didn’t have as much control over the poses I could create. I found that the feet would clip through the floor if not flat and in order to fix this I would have had to create an additional bone on the foot, however due to the stage I was at I decided to just carry on with that flaw in mind. In the end I believe this did hinder the animation a bit as the feet would slide across the floor at a few select moments in some of the animations.
Animation 3
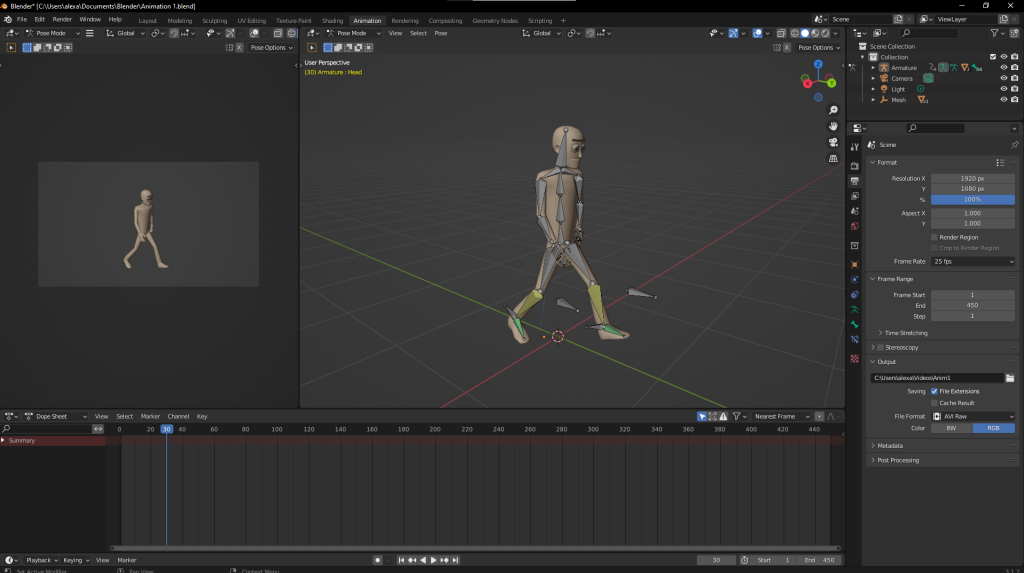
The first animation I did was a walk cycle. As I have done one before this wasn’t the hardest animation to do however since I’m using a new software it wont exactly be simple. I decided to go by the processes of creating keyframes for each major position of each leg being fully extended out each way and I then went back and created intersecting keyframes in the middle of the other keyframes. I believe this was a good decision as I wouldn’t have to create every keyframe from scratch and I would be able to assess the look of the poses multiple times.
After completing the poses for the first time I did notice a rigidness to the animation, to combat this I looked at the different principles of animation. I felt that In this situation squash and stretch as well as follow through would help, as well as arcs which I was already trying to implement. To achieve these principles I tried to loosen the shoulders making them sway with the arms. I also made the head and body bob as he walked, I took. These changes helped make the walk look less robotic however in the end I think that the head bobbing was a bit excess as well as repetitive.
Animation 3
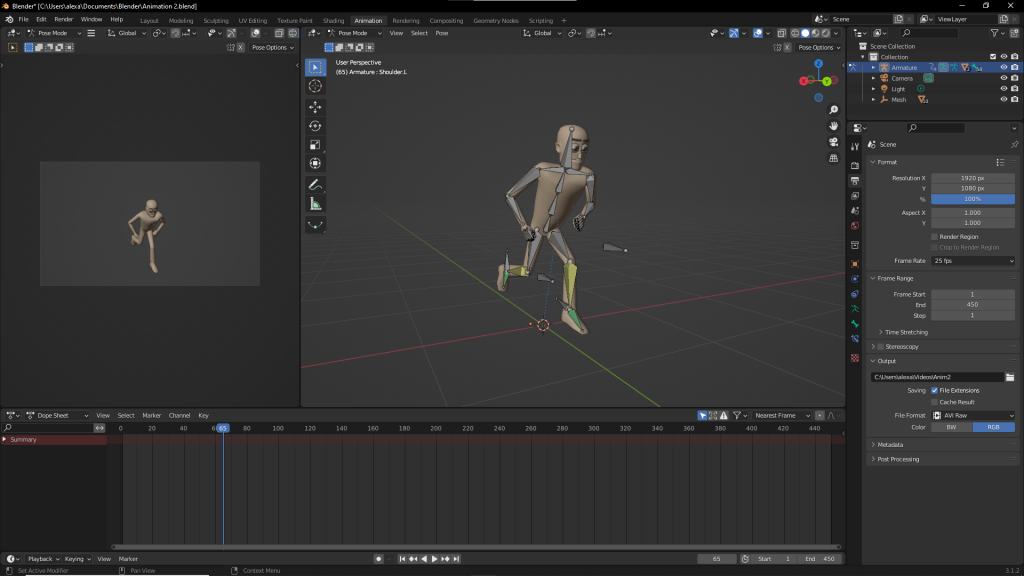
The second animation was a run cycle. As this was my second animation I feel as though I had better experience by learning from the first however this was balanced out by the complexity of this animation being higher. The animation cycle was similar to the walk cycle however I chose to give the character a heavier feel. To achieve this I used exaggeration through bobbing the character up and down to make him seem heavy, I also gave the arms more movement than in the walk with knuckles clenched for added personality. I also kept his limbs closer to his body, I don’t really know how to explain this but I think It makes him look more serious. As the characters speed was higher at times during the cycle both feet leave the floor unlike when walking, I noticed this when creating as any other way it did not look right.
Animation 3

For the last animation I wanted to do something different. After thinking for a while and playing with different poses I decided to go with a ‘Hero Landing’ of sorts. For this animation I had no real plan or idea so I took a different approach than the first two. This animation took a lot of trial and error as I tried many different iterations of poses trying to create better ones. Due to this process I also experienced a lot of problems and errors however in a way this helped me better learn how the rig works. In order to do a landing I realised that I would need to have some sort of start point. Since just the landing wouldn’t last very long I decided to also do a lift off. To achieve something realistic with no examples I re-enacted the different stances I thought up in my head in order to understand the position of arms and legs in those positions. From there I could then mimic my poses onto the character. In order to give the jump the proper feeling I used squash and stretch to compress the characters body down as if he’s sapping energy into his feet from his body and then after a short delay expends that energy to lift himself off into the air.
The landing was difficult as I don’t think that sort of position makes total sense for landing therefor I tried to take the most logical route in order for the characters body to reach that form.
Evaluation
Overall I’m happy with the result of the three animations, as I’m using different software than normal, using my own rig as well as having to make big changes mid project I think the animations came out well. This being said there are of course improvements that can be made. The most major improvement in my mind is time management, as having done a better job I would have had a chance to achieved more than I ended up being able to. With more time allocated in better places I would have been able to spend more time on the more important aspects such as the rig and of course fleshing out the animations.
When it comes to the animations there are parts of each one that I think could be improved. For the first more work on the movement of the head would make it look more fluid and by extension adding facial features controlled by bones would have largely improved the personality of the character. For the second animation the speed of his movements are to sluggish even for a heavy character and should have been sped up, also the swinging of the arms doesn’t look very fluid so more variation to that animation would have likely helped. For the last animation I think adding a setting and maybe even vfx would enhance the feel of both the lift off and landing and also as mentioned earlier emotion in the face would improve the pan of the head at the end. As a whole I think I would have improved had I put more work into creating a story behind the animations as it would help give personality and reason to the movements.
Below are videos of the three animations
References:
ArtStation, Gisselle Panqueva (2019) Robot Ball [Image] Available at: https://www.artstation.com/artwork/dOJ1qx
ArtStation, Haider Ali (2019) Mech Ball Robot [Image] Available at: https://www.artstation.com/artwork/zAN0Xq