
Character Description and Inspiration
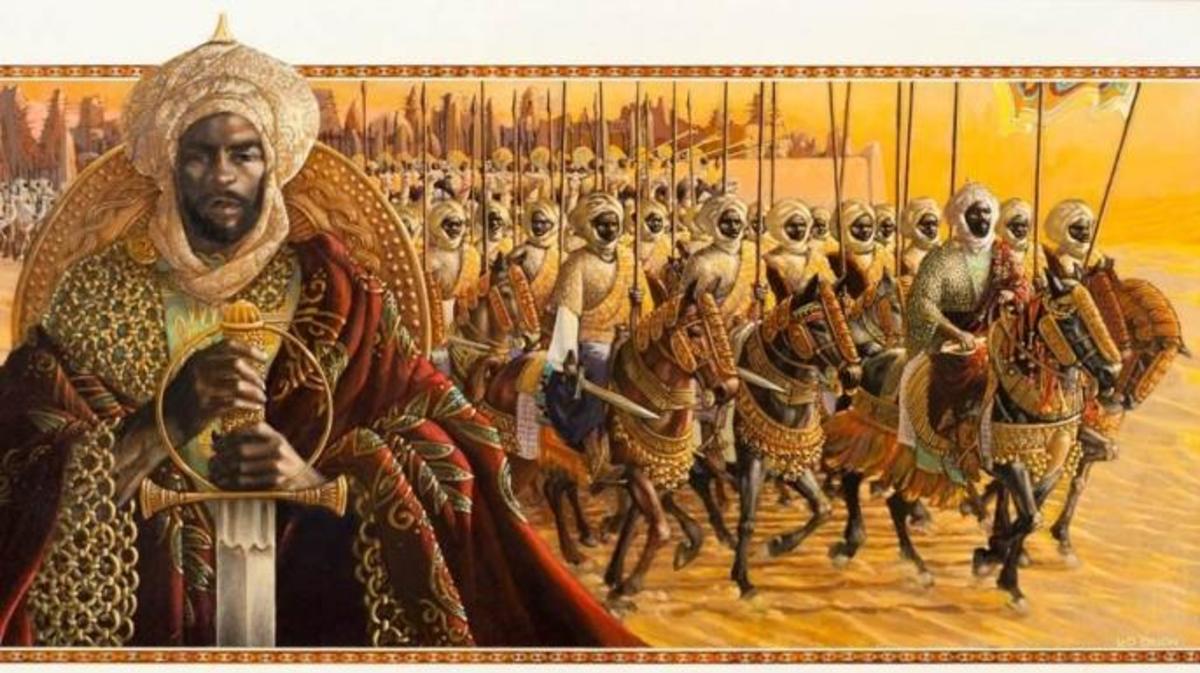
“The Mansa” is a boss character in my fictional rouge-like game. As the name implies he is the king of his nation and has amassed inconceivable levels of wealth. “The Mansa” is based off of the Mansa of Mali, Musa Keita. In the past Musa was a incredibly wealthy figure, estimated to be the richest person to ever exist, due to his large span of territory conquered over his reign, he had access to large amounts of trade that lead to him owning almost half of the old worlds gold among many other goods. Due to his position, “The Mansa” is very wealthy and that is portrayed in the way he dresses. His body is covered with gold from head to toe, from necklaces to his coveted crown and even parts of his body itself are made of pure gold and other lavish materials that portray his infinite wealth. His clothes also draw inspiration from that of past African royalty/monarchs. One of the aspects of the game is that the bosses were reanimated, therefore “The Mansa” is also undead. Being undead his appearance is not quite human as such his exterior has decayed only leaving bone. In addition, as shown by the necromancy causing his rebirth, “The Mansa” also possesses some magical power.
In terms of colours I will most likely follow that of the setting of his kingdom, the desert arid wasteland. These colours would vary from yellow to darker reds. The other main colour would be gold, due to The Mansa’s status he would access to and flaunt very large amounts of gold.
For the visual style I plan to go somewhat realistic but smoothed in some areas as to not create to many points. As with other popular games I want the character to feel vibrant but not so much that it takes away from the characters original description. This balance won’t be easy especially with a bad character however due to the origins of the character and the colours associated it should not be too hard.
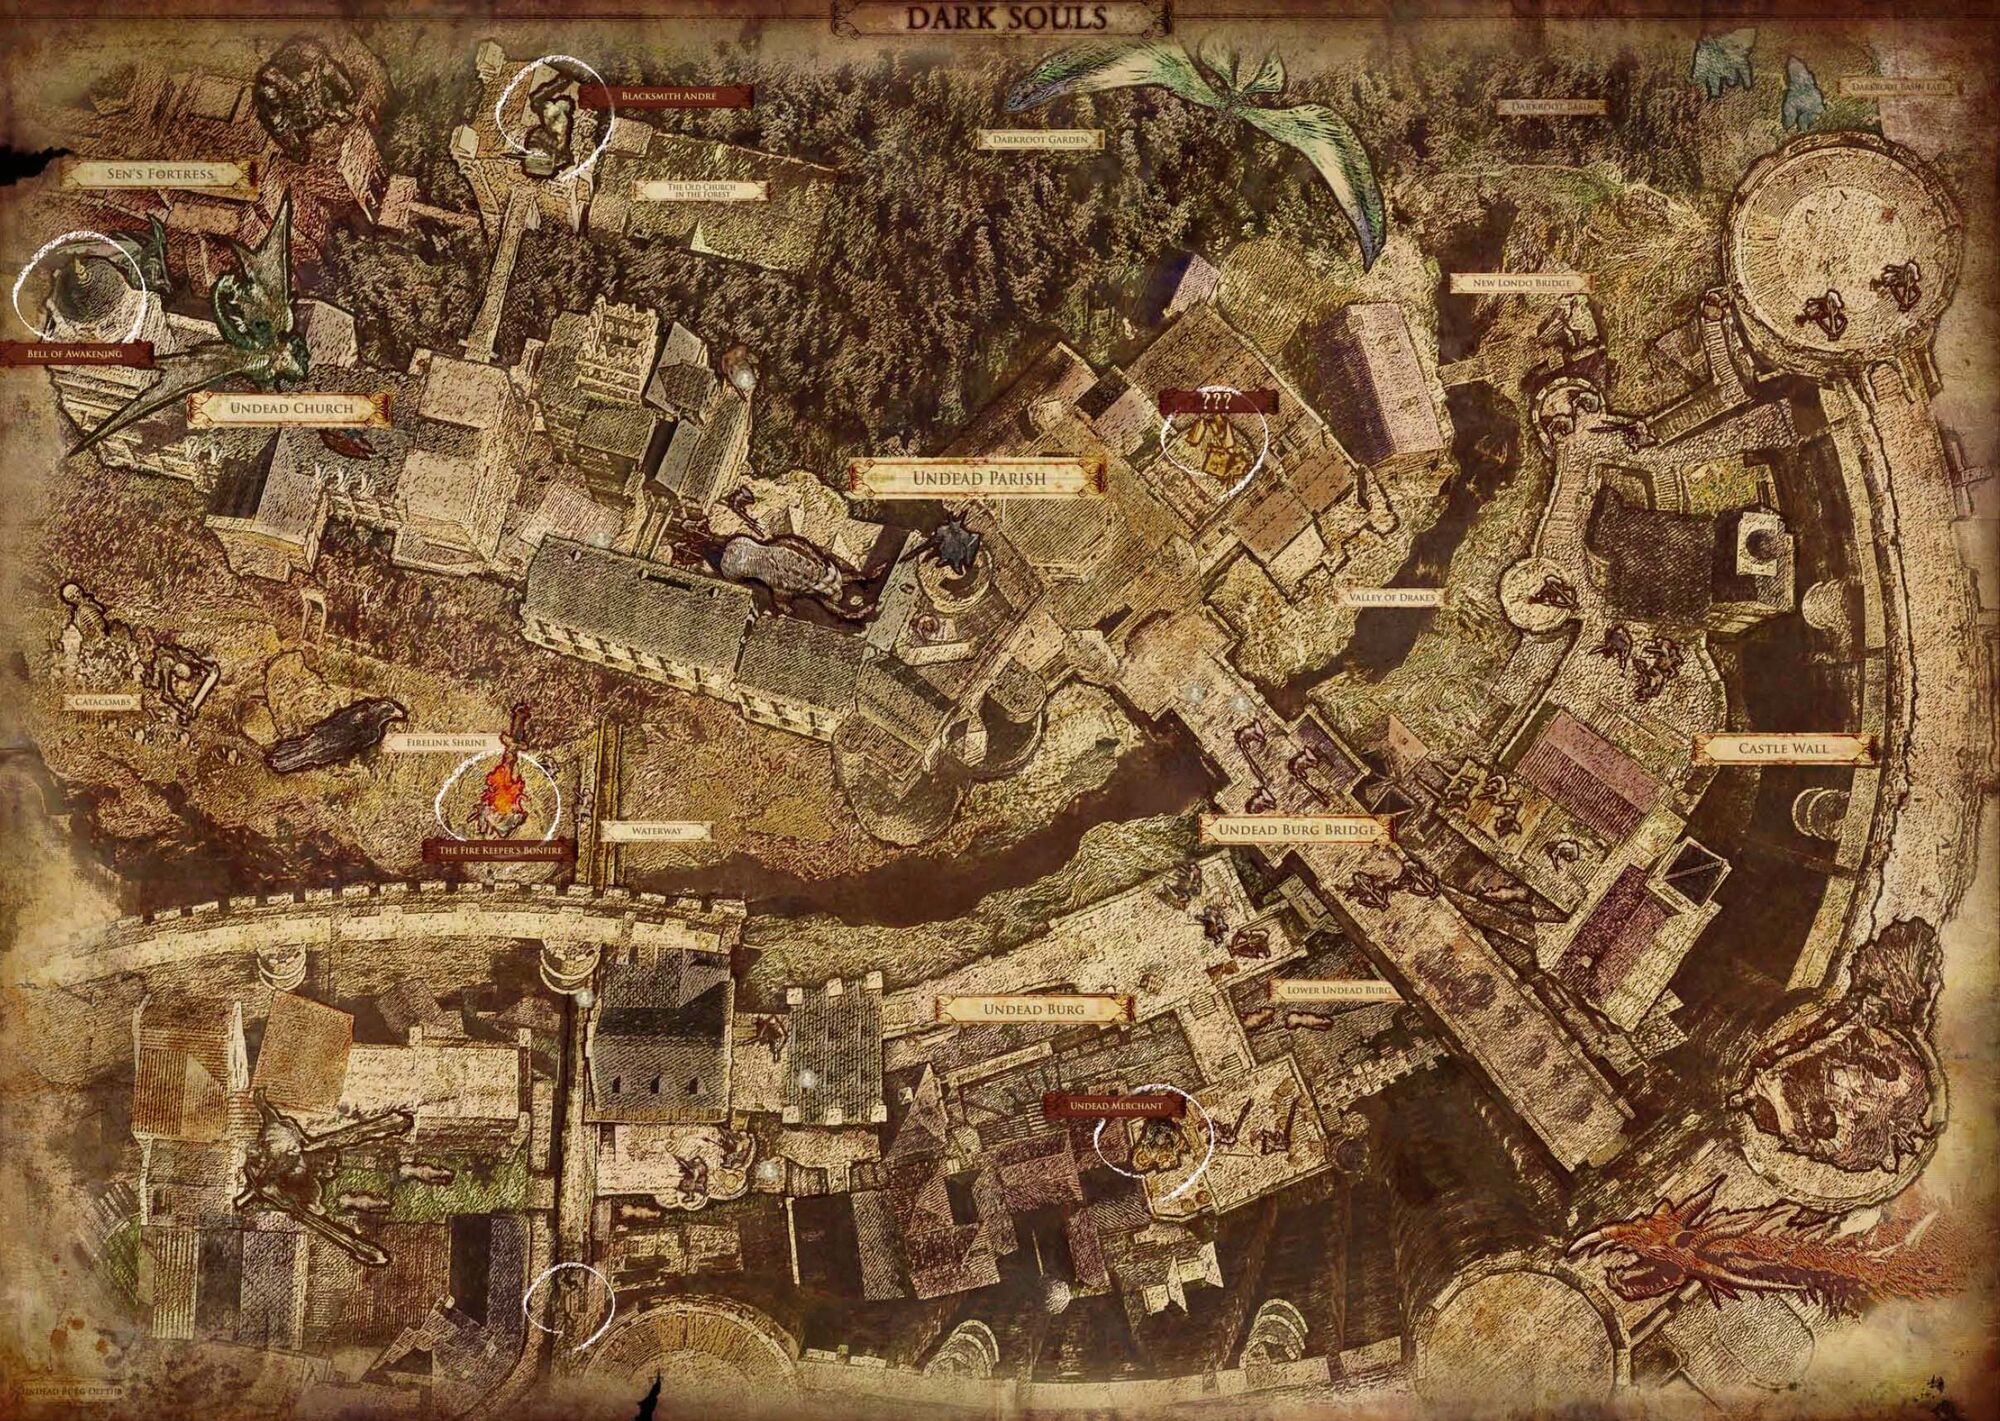
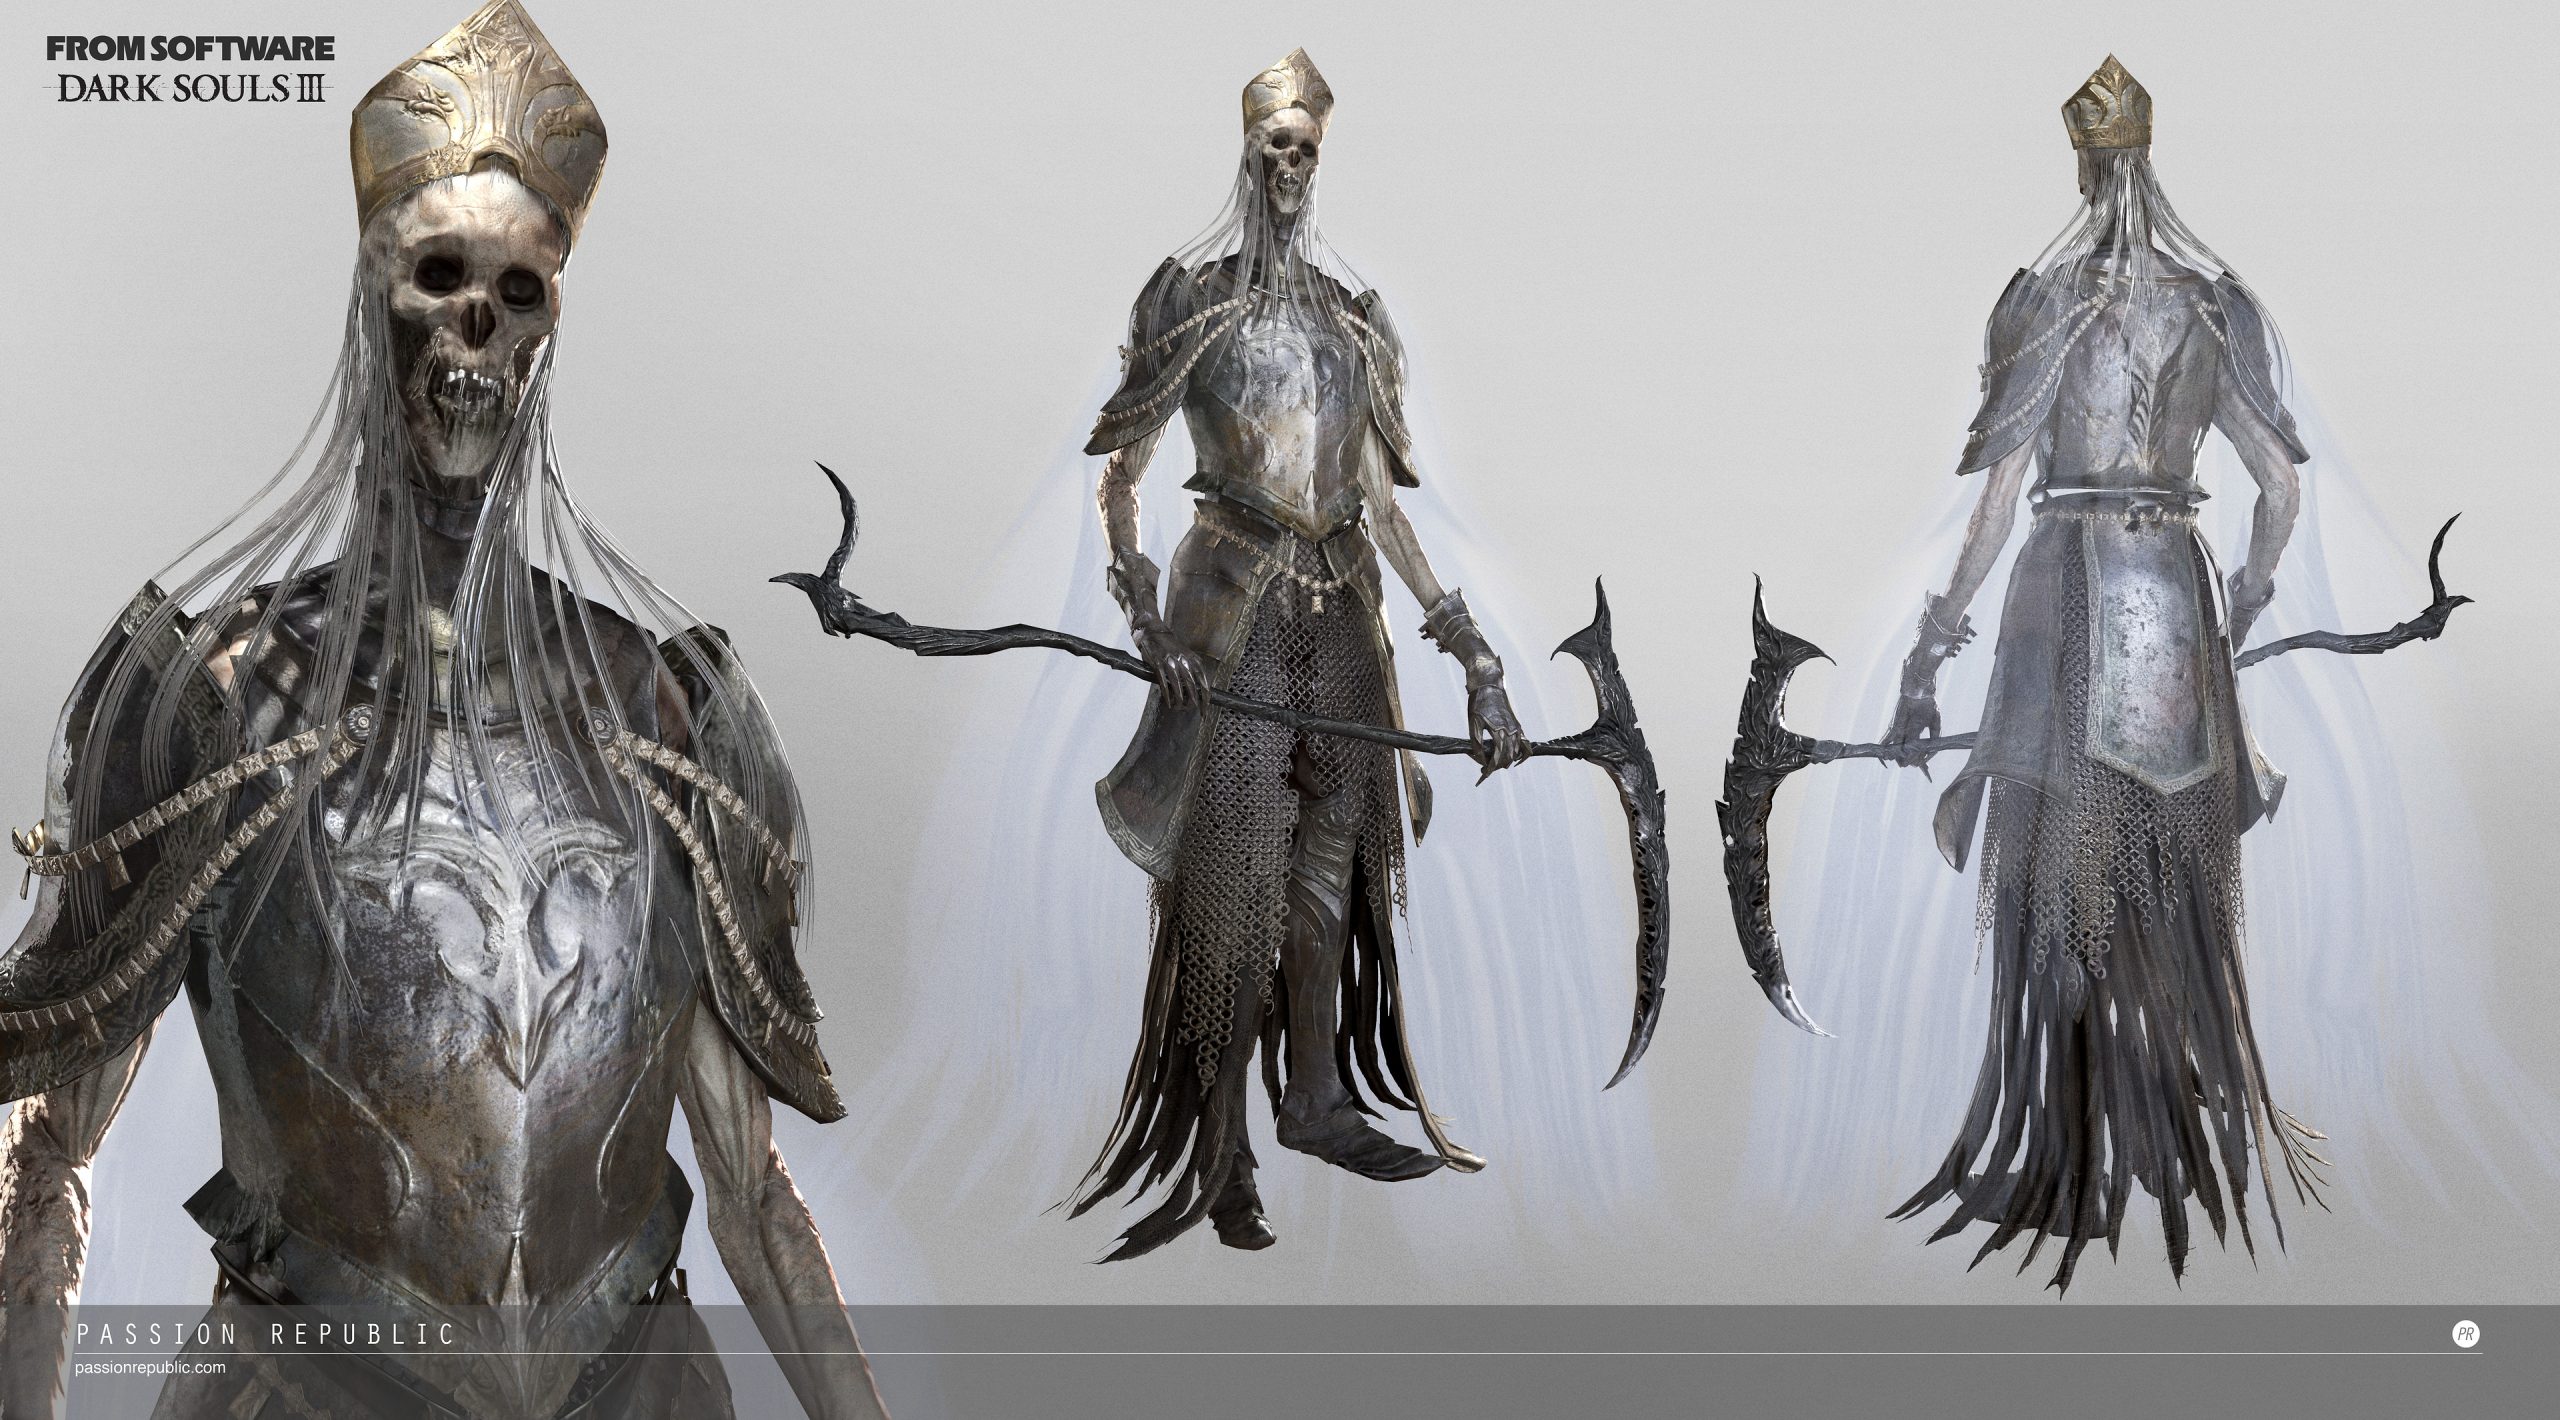
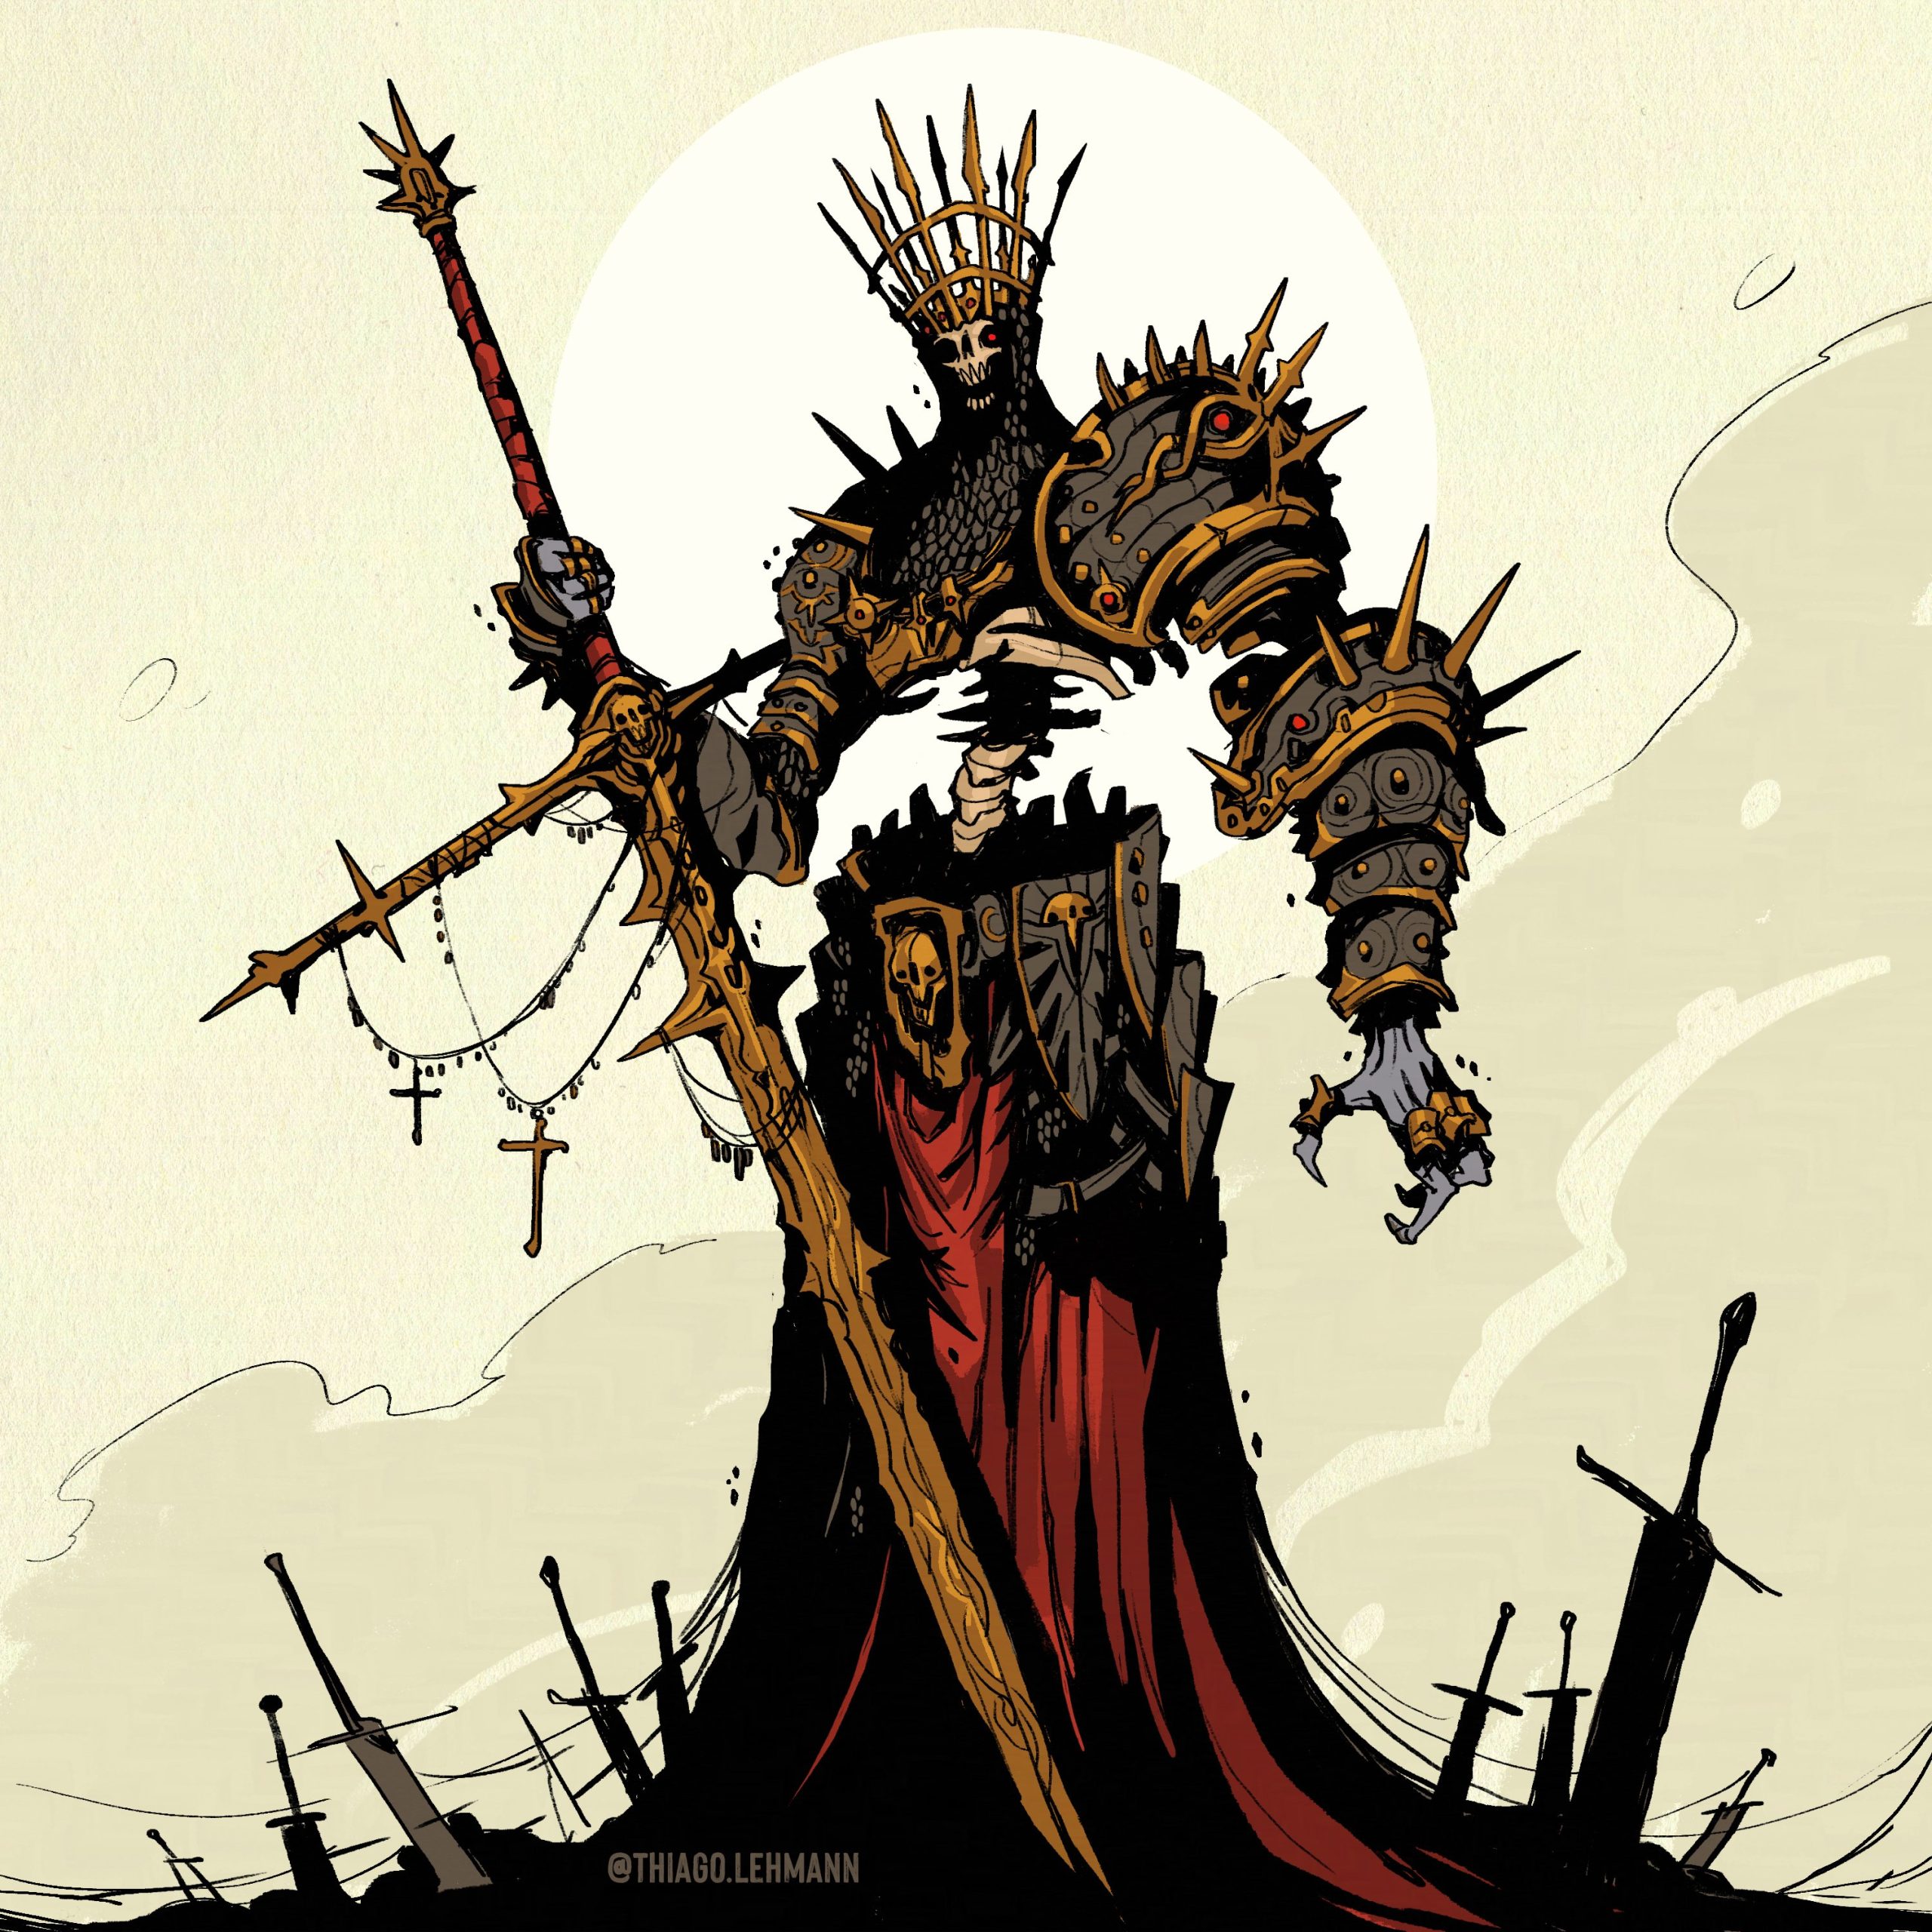
In terms of existing media I’m drawing inspiration from various media in different areas. The biggest inspiration for my character would have to be the video game franchise Dark Souls. Dark Souls is a franchise set in a fictional kingdom known as Lordran. The game is known in part for its gothic look and supernatural characters and monsters. I also drew inspiration from the lore of Dark Souls, which includes various characters being brought back to life.
Initial Modelling
After consideration I decided to start with the head. As this was the early stages I was still experimenting with different ideas so I will explain my thought process throughout.
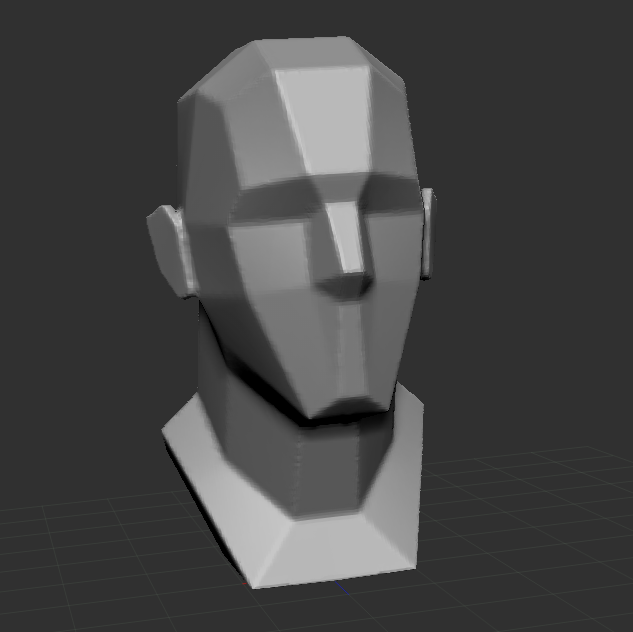
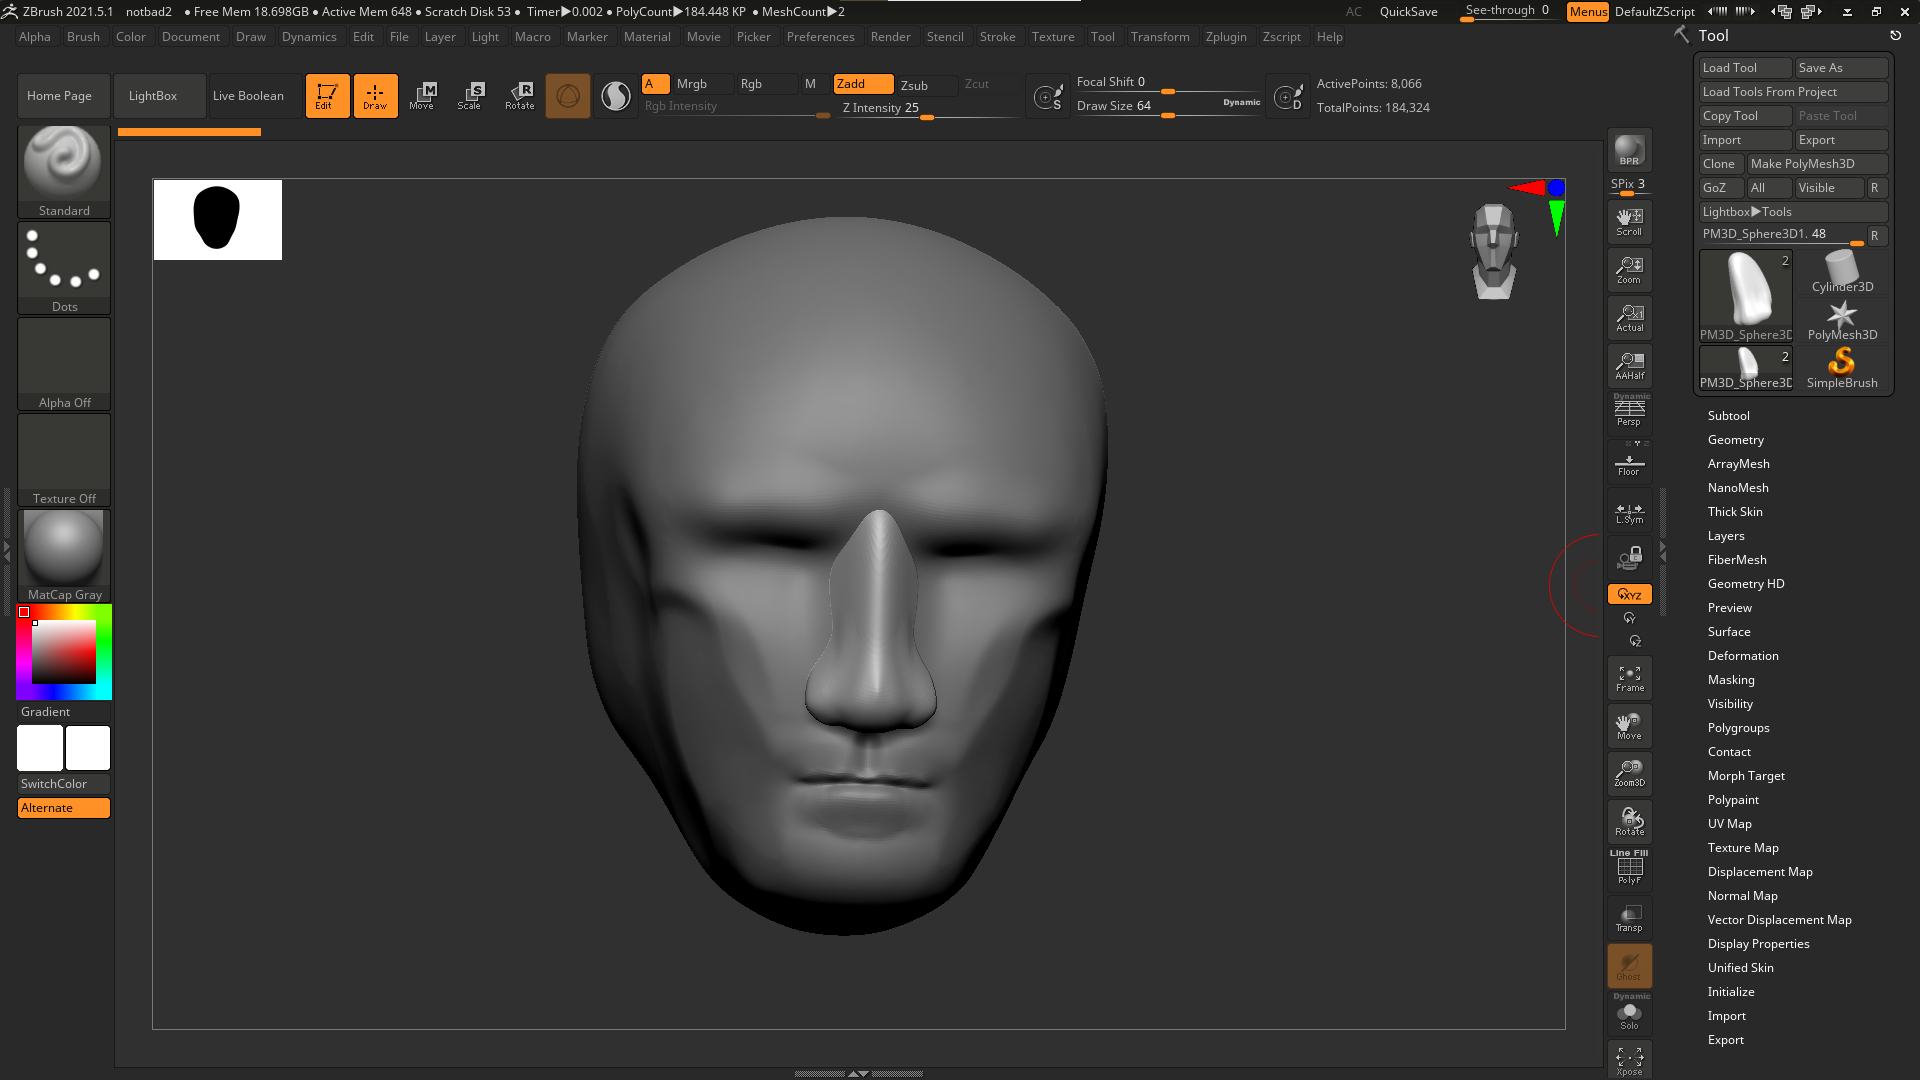
I started with a basic head plane to give me a simple shape of a human head. I then began layering and smoothing out to add more prominent features to the model. I then used the subtool section to add two spheres in place of eyes, this also involved mirror and welding the first sphere to replicate it on the other side. Once i had the eyes in place i could then model over them with eyebrows. This image below was the result.
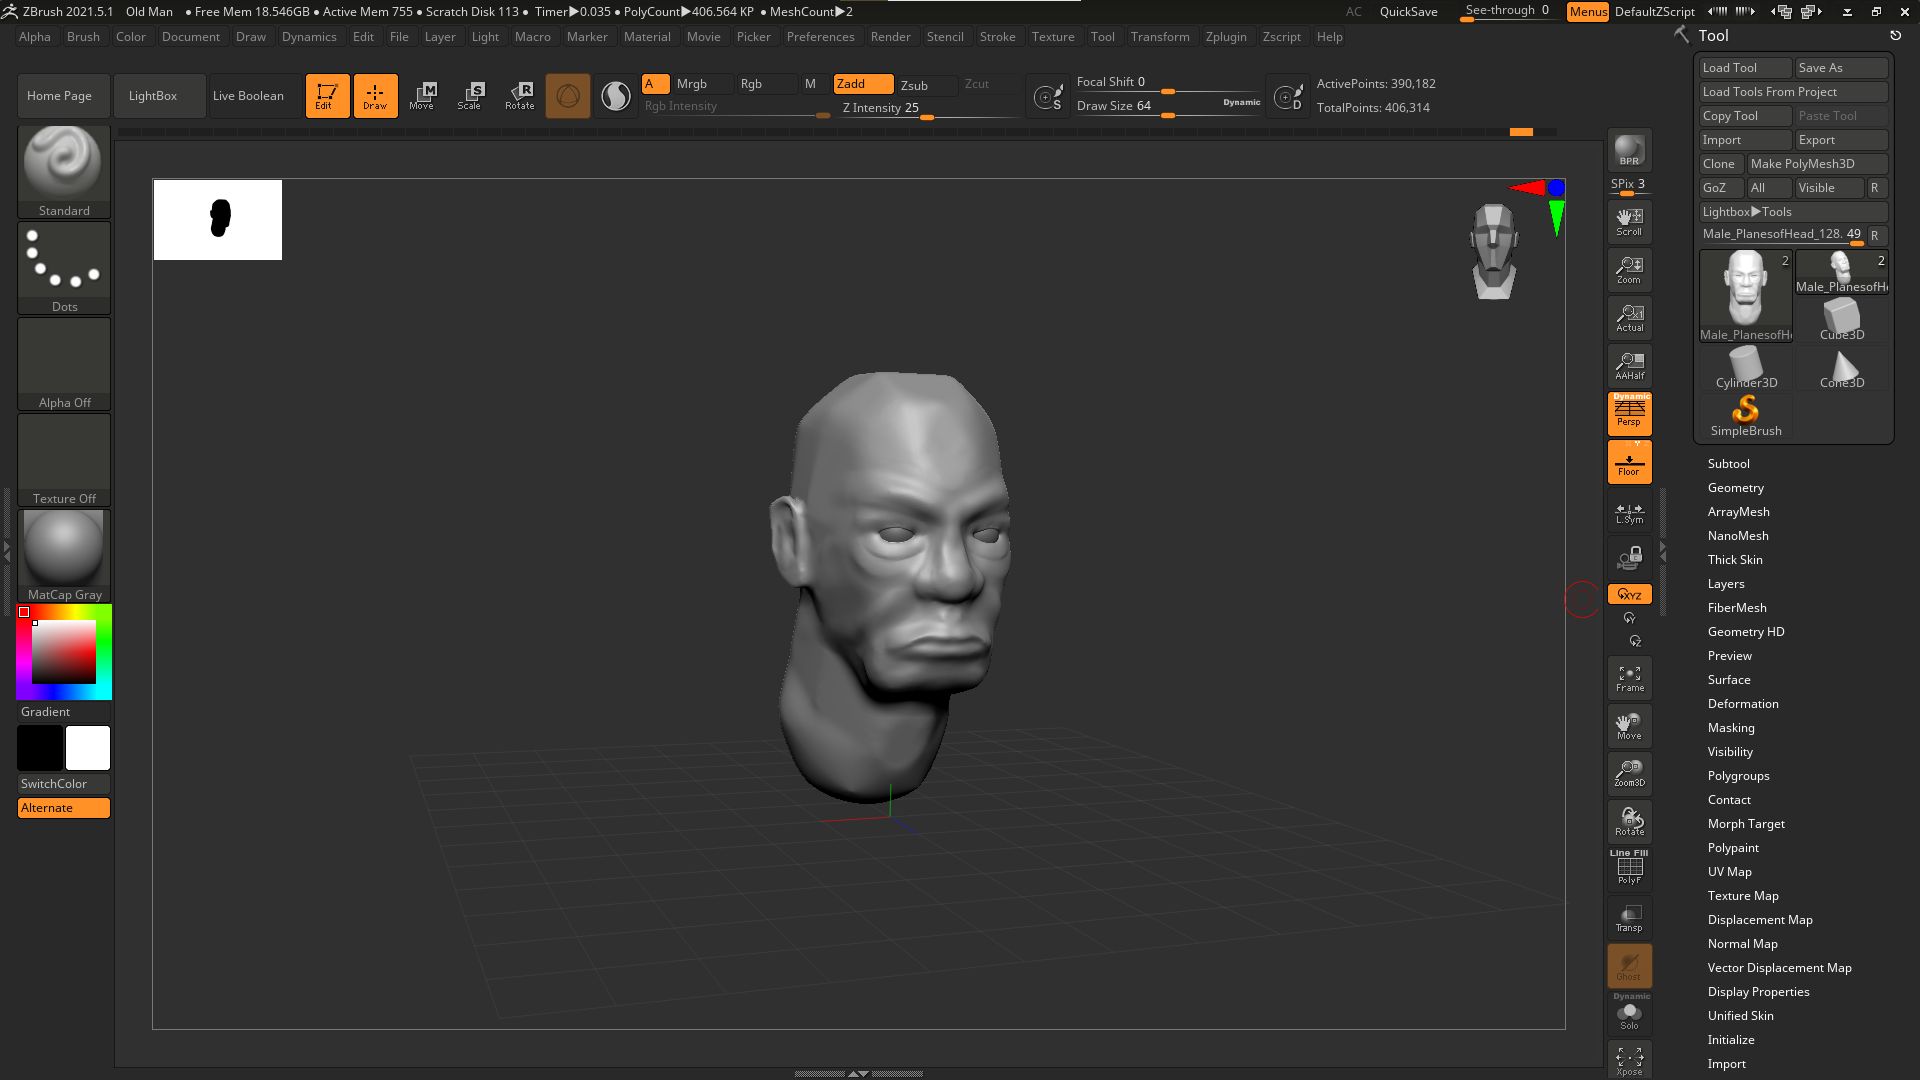
Although not bad, I personally wasn’t that interested in the look of this model. I think that the wrinkles and marks do help define the character and give them personality, but I also believe that this face doesn’t fit well with the original idea I had. After this i made another attempt as shown below before starting my final iteration.
This face also wasn’t what I was looking for but I believe through both attempts I was able to improve my skills in modelling and shaping which also helped me further along in the project. In particular I was able to get an understanding of the subtool tool allowing me to use multiple objects.
After trying human faces I decided to take a different approach. Looking back at my character description it made sense to make a skull as the character is undead. I started with a sphere and started shaping as normal, I used the images on this website as reference: https://www.sciencedirect.com/topics/neuroscience/skull. Going by the references I decided to make a more realistic looking skull, at the start.
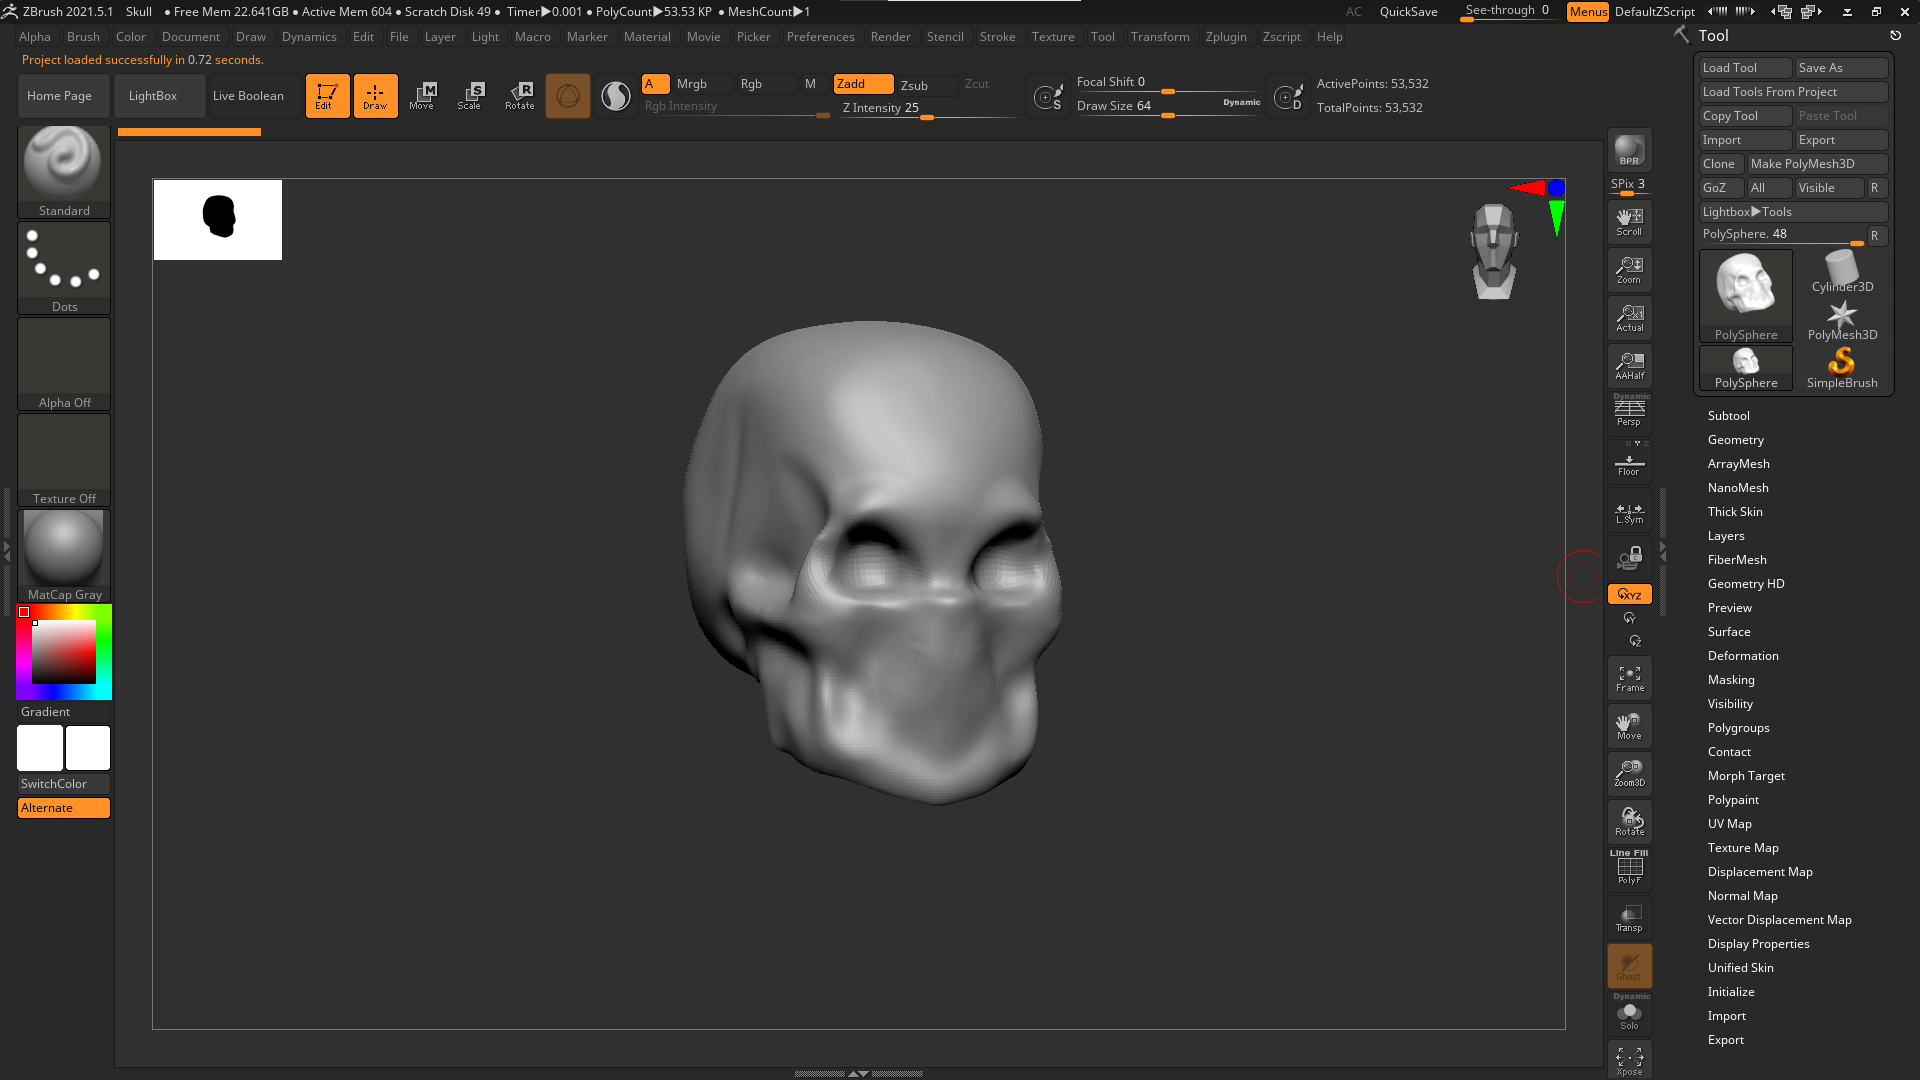
After I had a rough shape that I was happy with I could then start adding details. A tool I used a lot was the DamStandard brush, this brush allowed me to add outlines of features and sharpen corners. I made sure to sharpen edges as it helped give a more realistic form to the skull. I also made sure to add some additions not usually done in simple sketches and models of skulls such as cracks around the skull and bumps on the forehead. This step took a long time as adding a detail would often mess up the surrounding area, to prevent this next time I should make use of the masking pen more often. At the end of the process this was the final product.
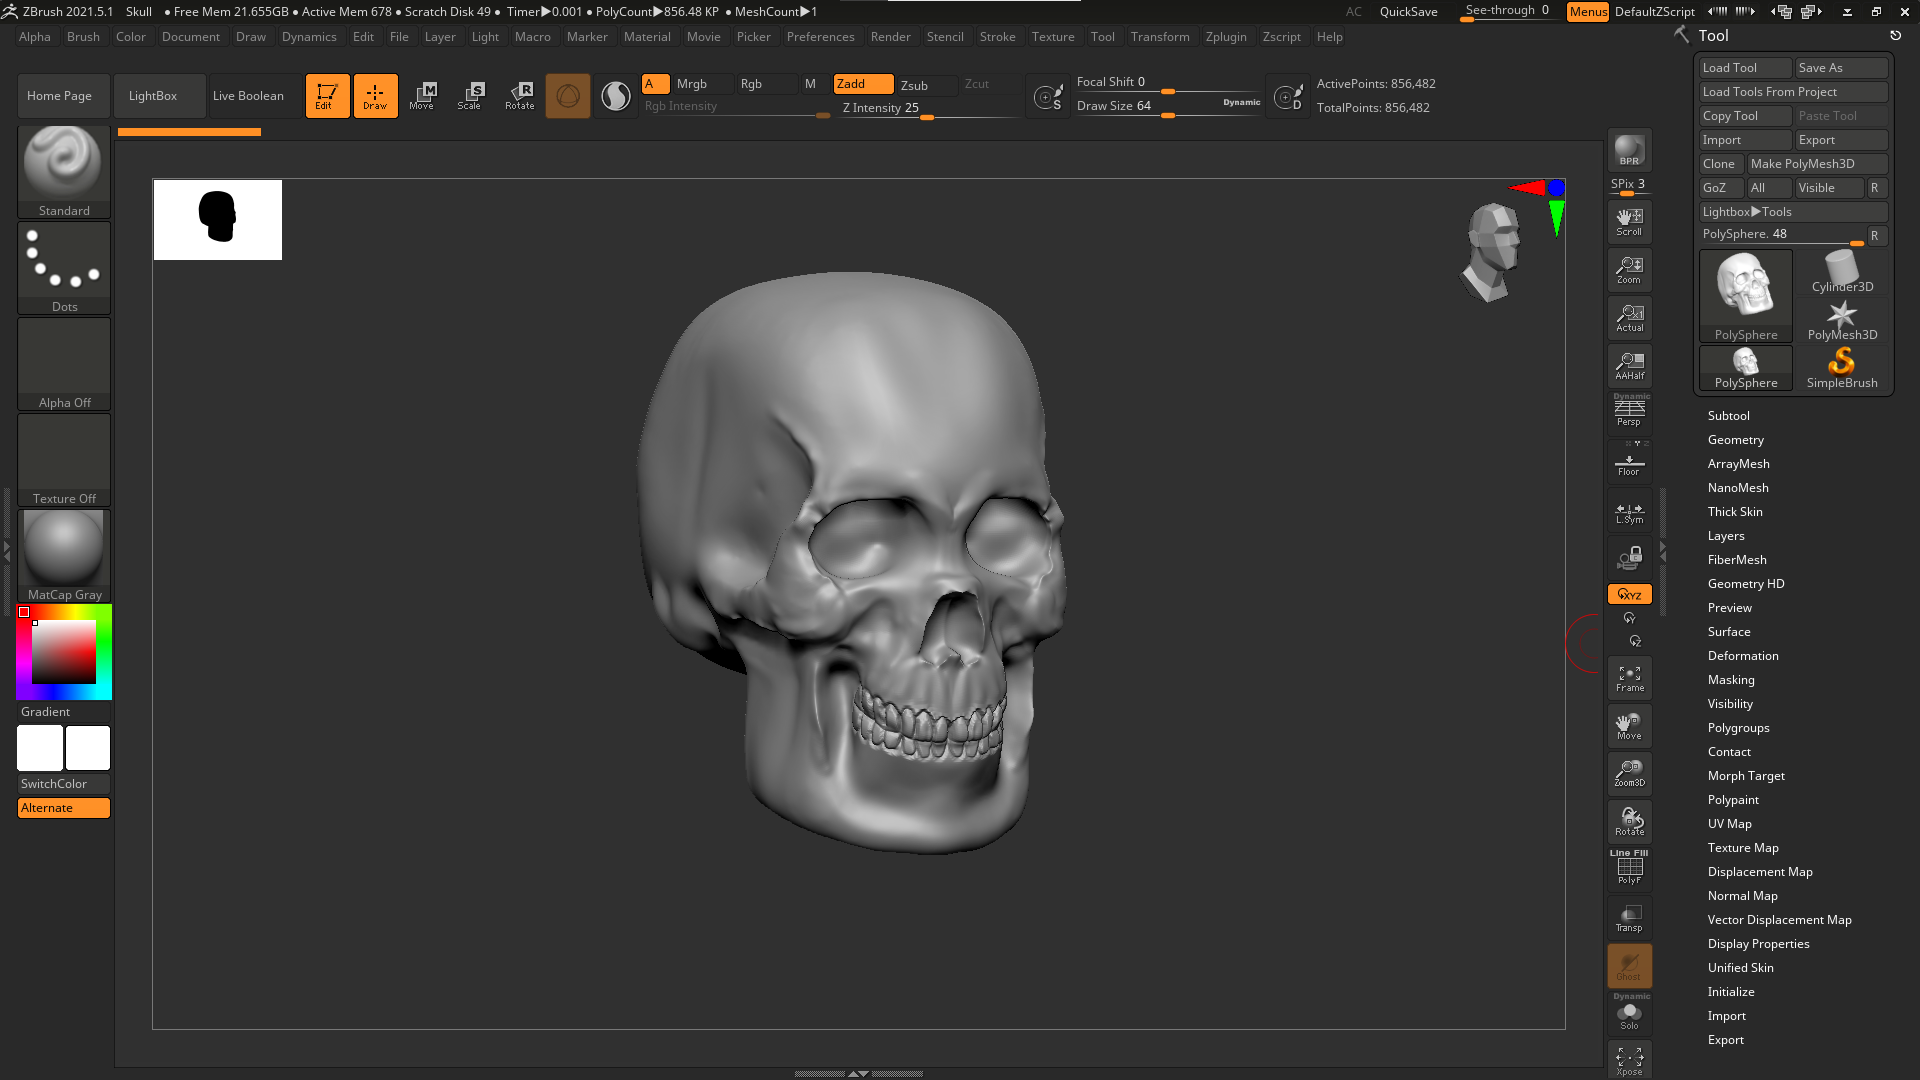
I was somewhat pleased with the outcome however I do believe that given more time I could have improved it further. I also think I could have made the skull more unique by adding impurities such as holes or cracks, this would make the character more distinctive giving it flair.
With the model of the head done I would then move on to other body parts before returning back to the head to add texture at the end.
Body and Clothing
At first I started experimenting with ZSpheres in order to create the right body shape. I wanted to keep the body parts skeleton and add clothing on top so I started by making a rib cage. I used the image below as a reference.
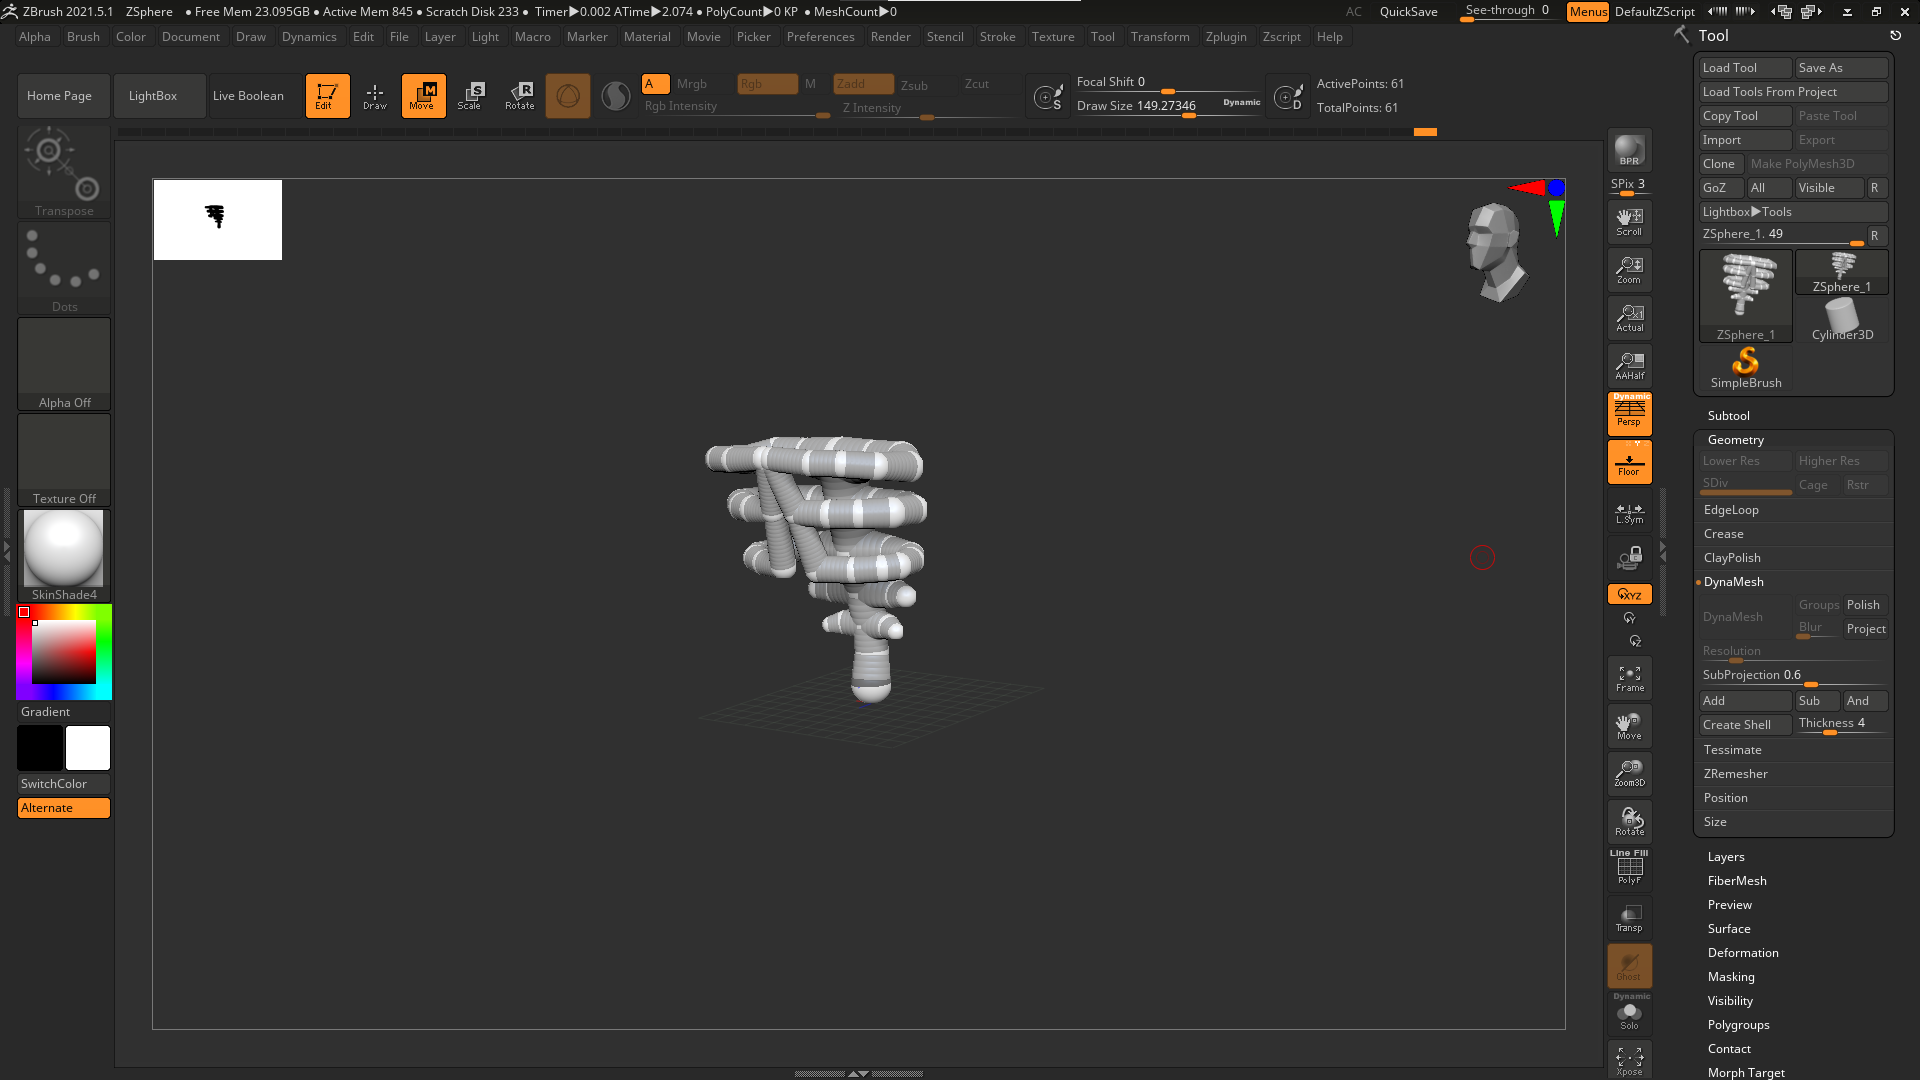
At this point I was unsure If this design would work but I decided to go as far as getting the whole body shaped out first before deciding whether to go forward or not. From this point I went a similar direction as the reference and decided to cover the rest of the body with clothes and armour.
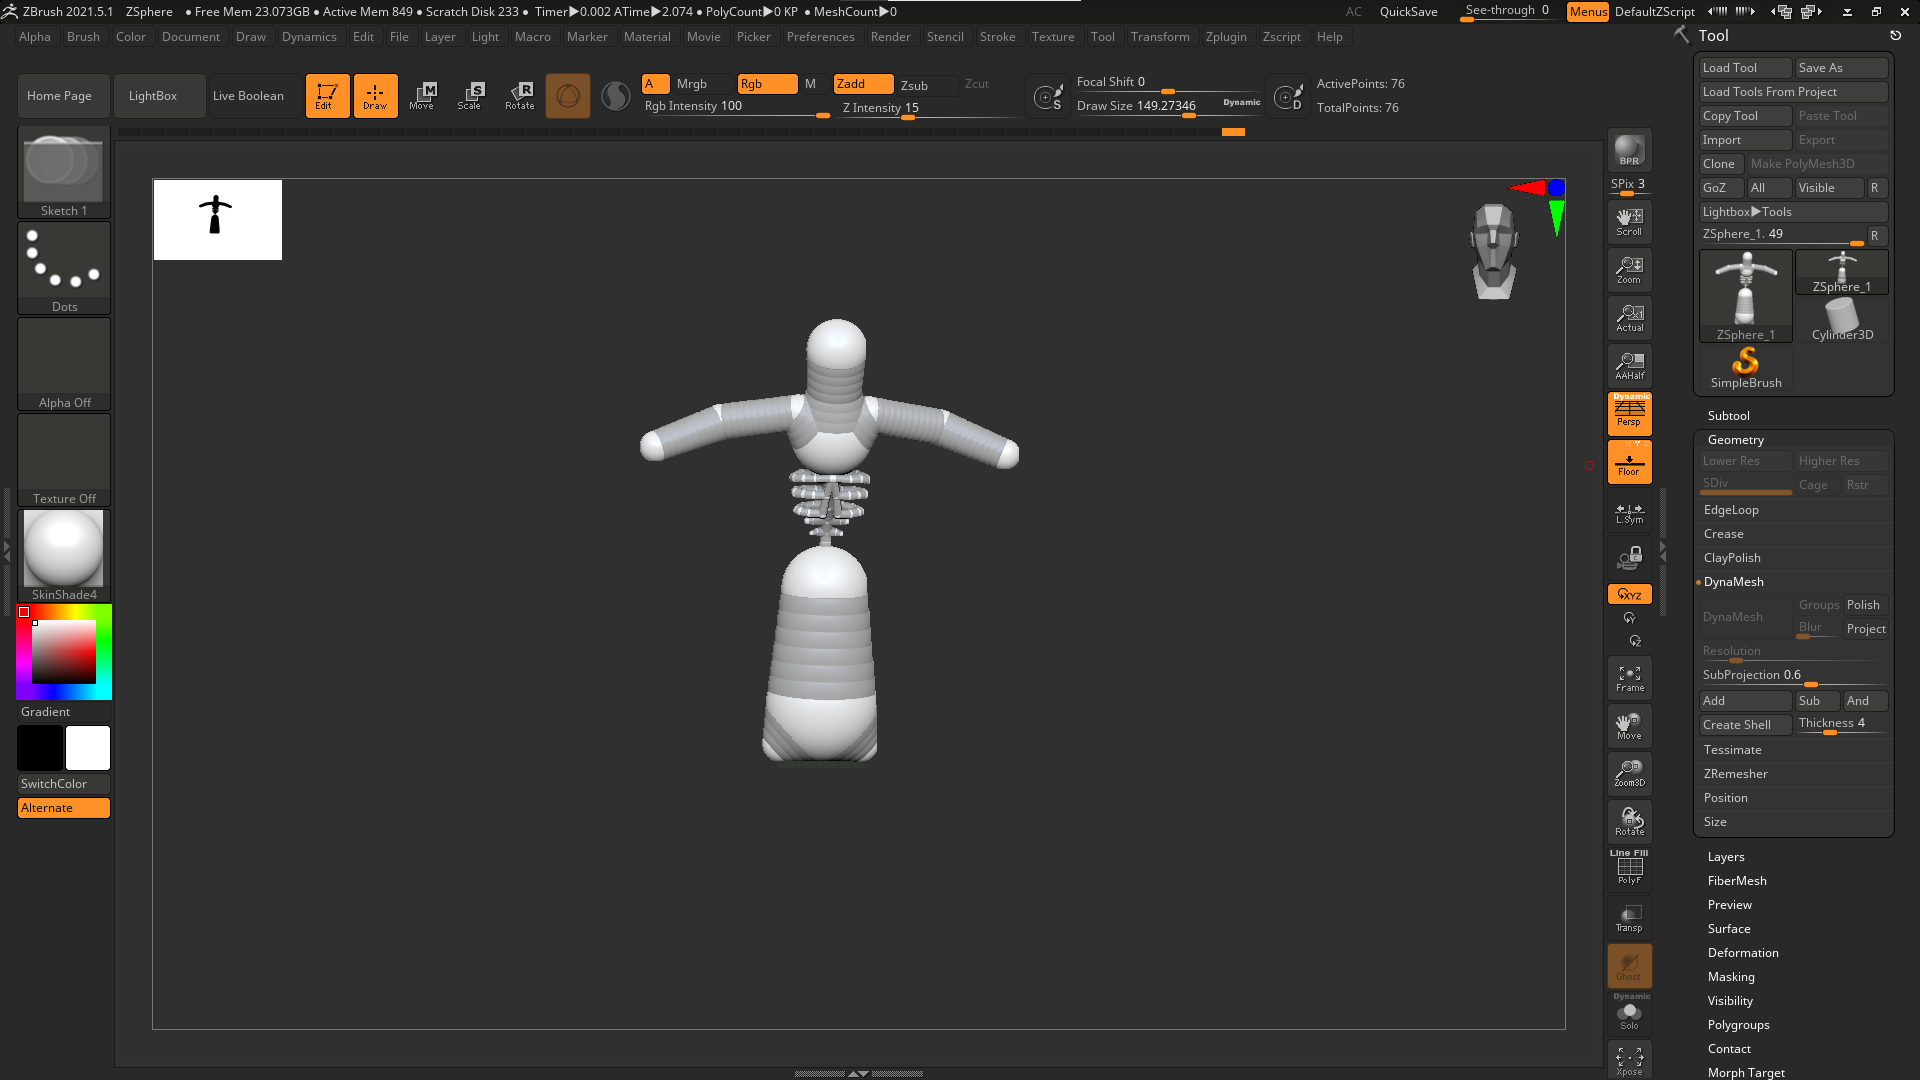
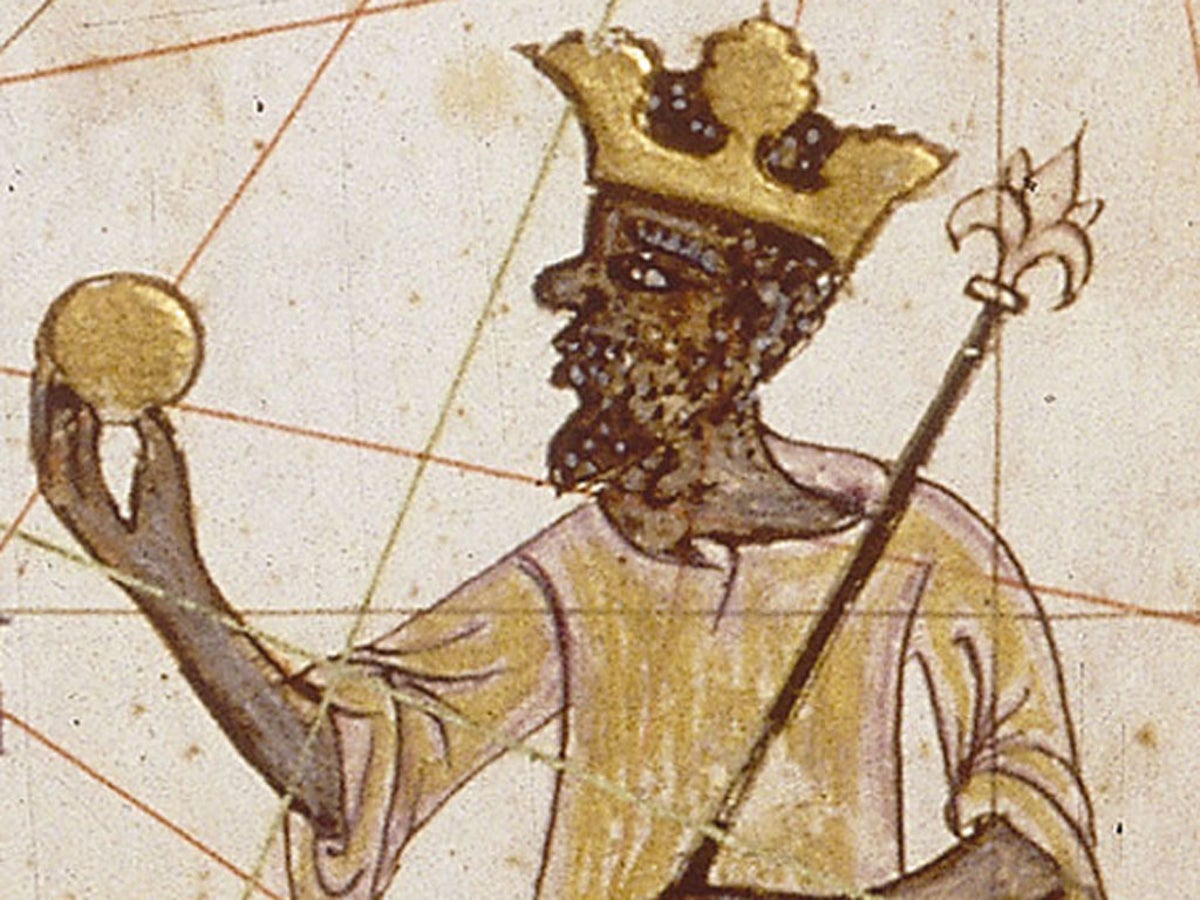
Once I was at this stage I then new that what I had wasn’t working so I decided to abandon this idea for now and try something else. As one of my characters biggest inspirations, I looked at images of Mansa Musa, After looking at the images below I noticed that most of the bodies are almost fully covered up from head to toe so instead of focusing on the body I decided to focus on the clothing.

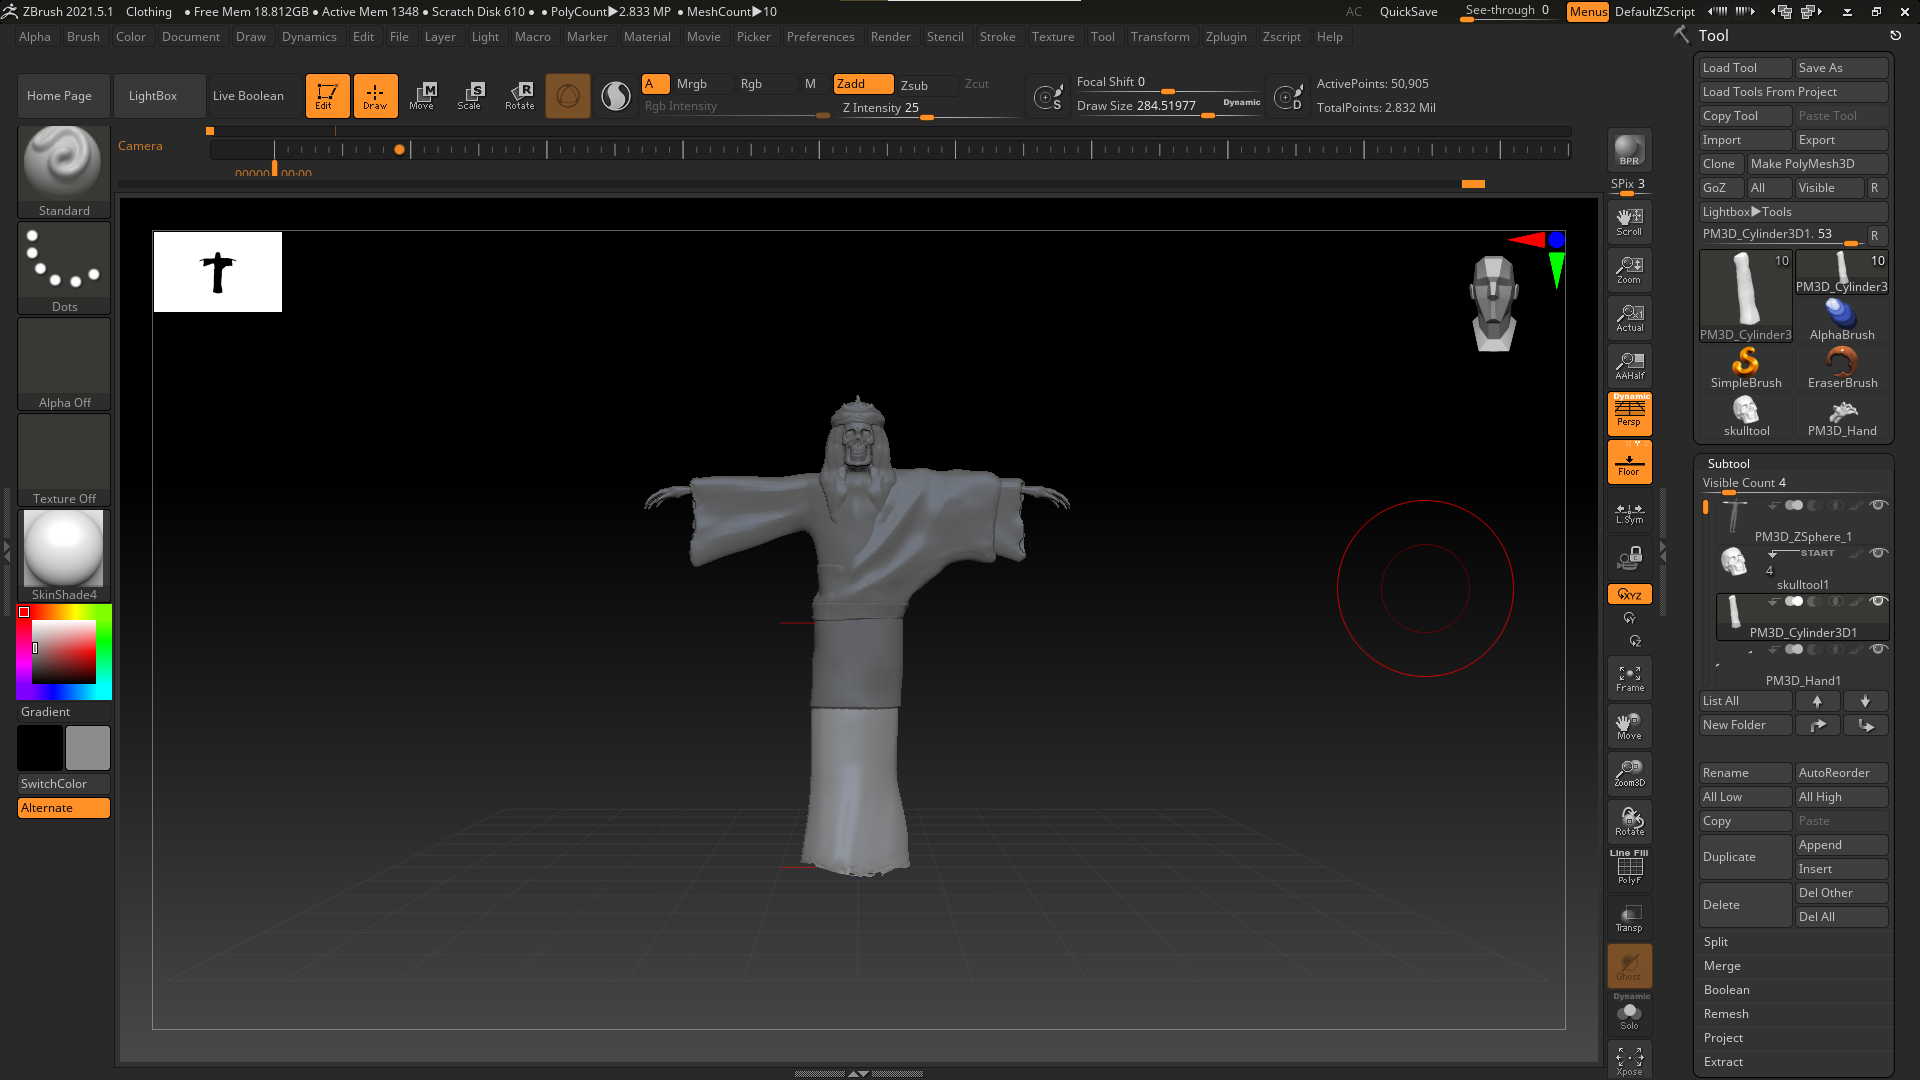
The first area I focused on was the shirt. As a base I used a mannequin model pre-set. I used the subtool menu to add two cylinders to form the basic shape of the clothing, from this point I could tell this shape was going to work better than the last so I continued on.
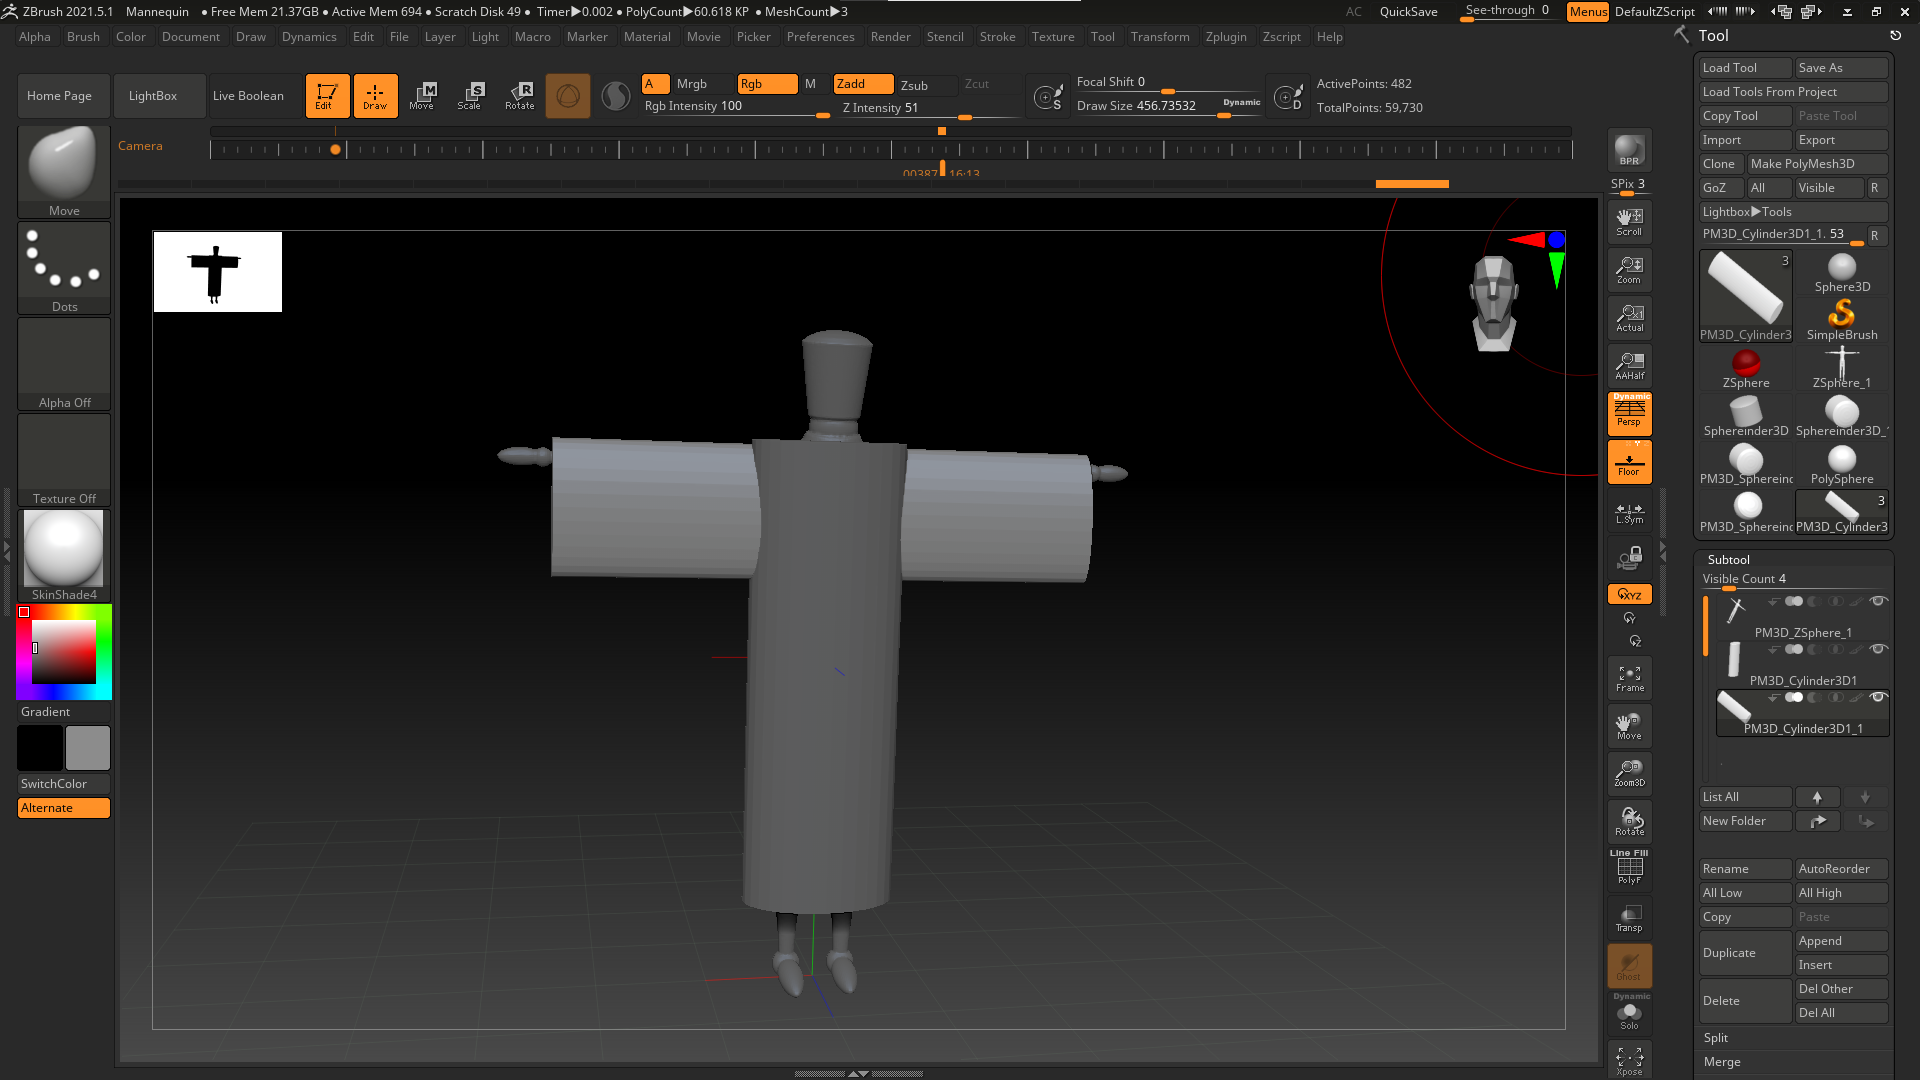
With a basic form down I then began sculpting. Through the process I tried to use the references and create a shape I would imagine the clothes in those images taking in this form. Most of the clothes are made up of long fabrics this would mean gravity would apply to them easily changing the shape depending on the persons position. Another aspect of the references is the laying of clothing, to add authenticity it would be best to add multiple layers of clothing. With the first layer I tried to create a simple robe, I left the cuffs wide to give off the appearance gravity is pulling it down. As I was working I used the DynaMesh tool and due to the shape of the robe the edges became worn and displayed holes, although by accident this effect worked with my character as he was dead at one point so his clothes would become worn. After this I tried to mimic this effect in other areas.
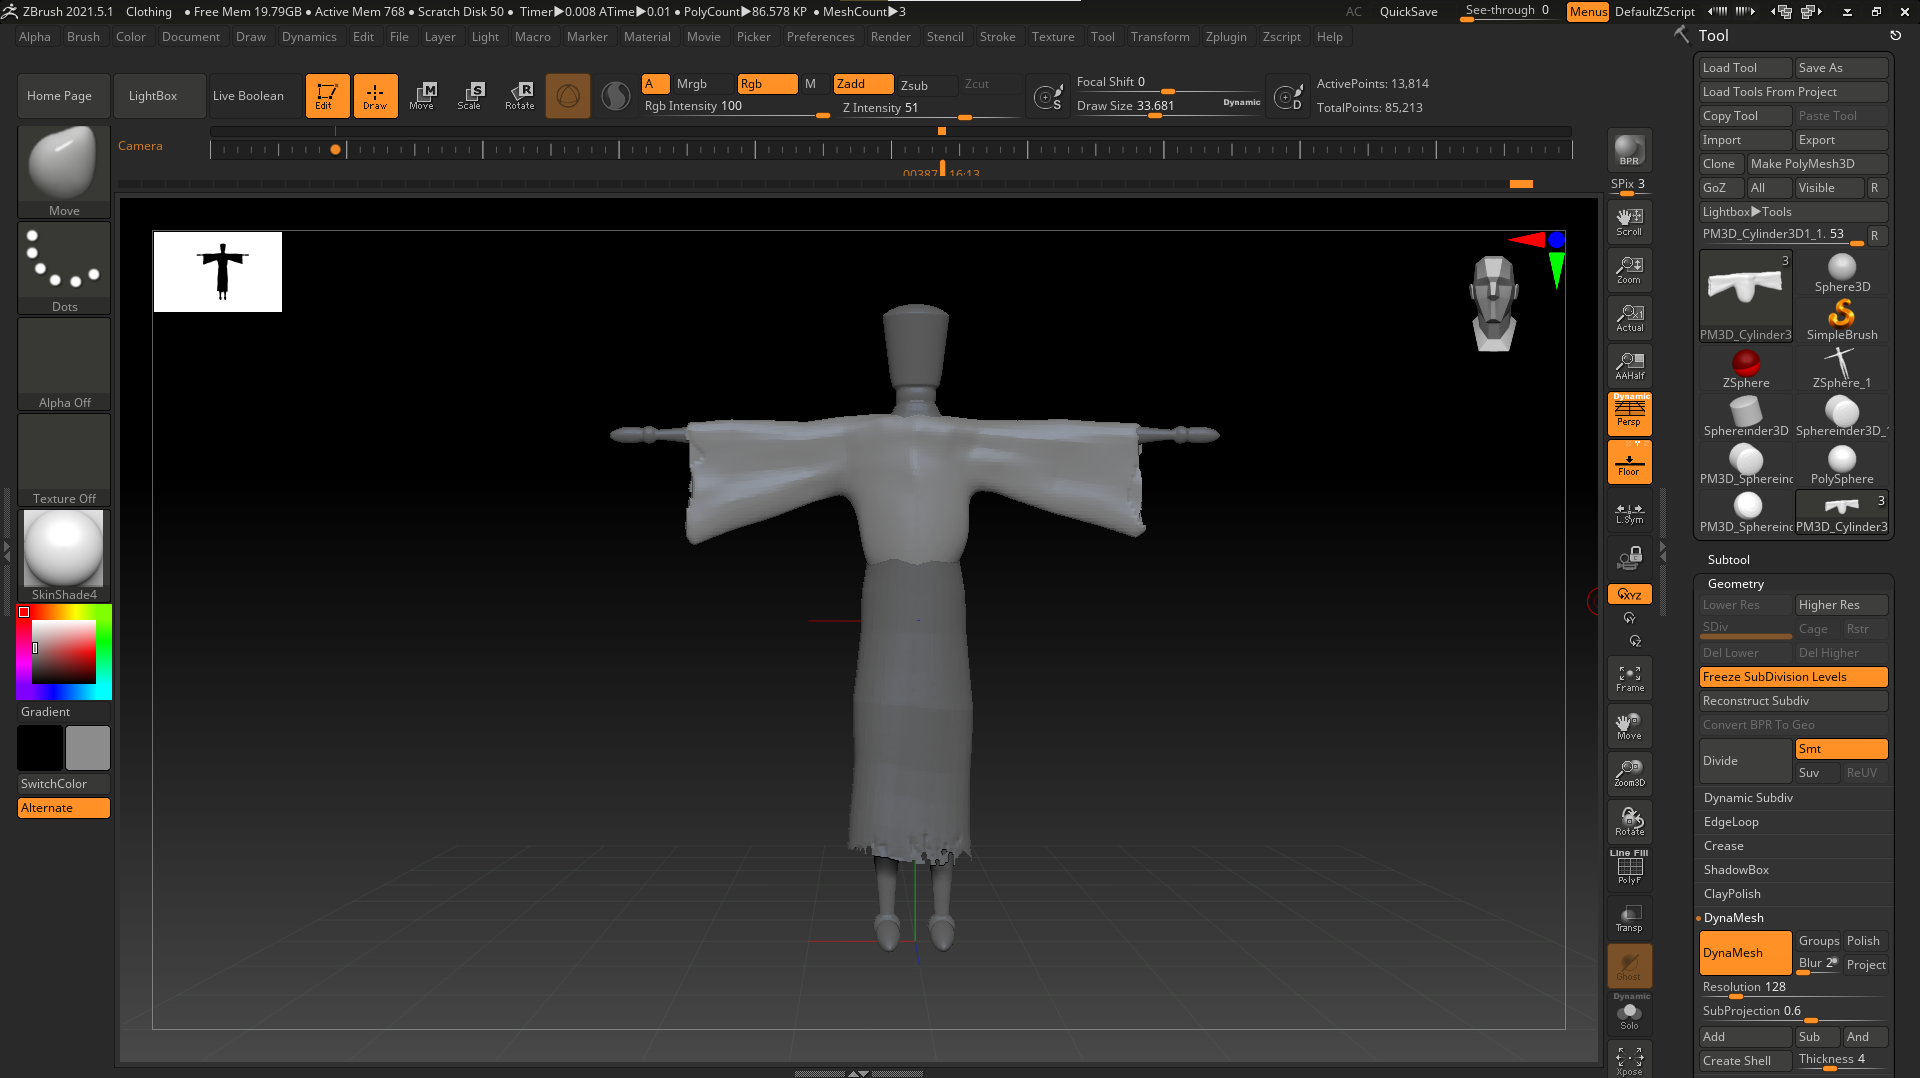
At this point I decided to combine the body and head so I would be able to more easily visualise the final product. As I did this I realised that I should also change the neck to fit with the head. I smoothed down the head of the mannequin and fashioned it into part of the spine, due to the detail I put into the skull I already had the socket/hole where the spine enters the skull shaped out so it was as simple as matching them up. With both combined I could move on to the next piece of apparel. One piece of clothing I wanted to include after looking at the references was a head wrap, sheet of cloth that wraps around a fez used to protect the head from scorching of the sun. I used the image bellow as a reference.
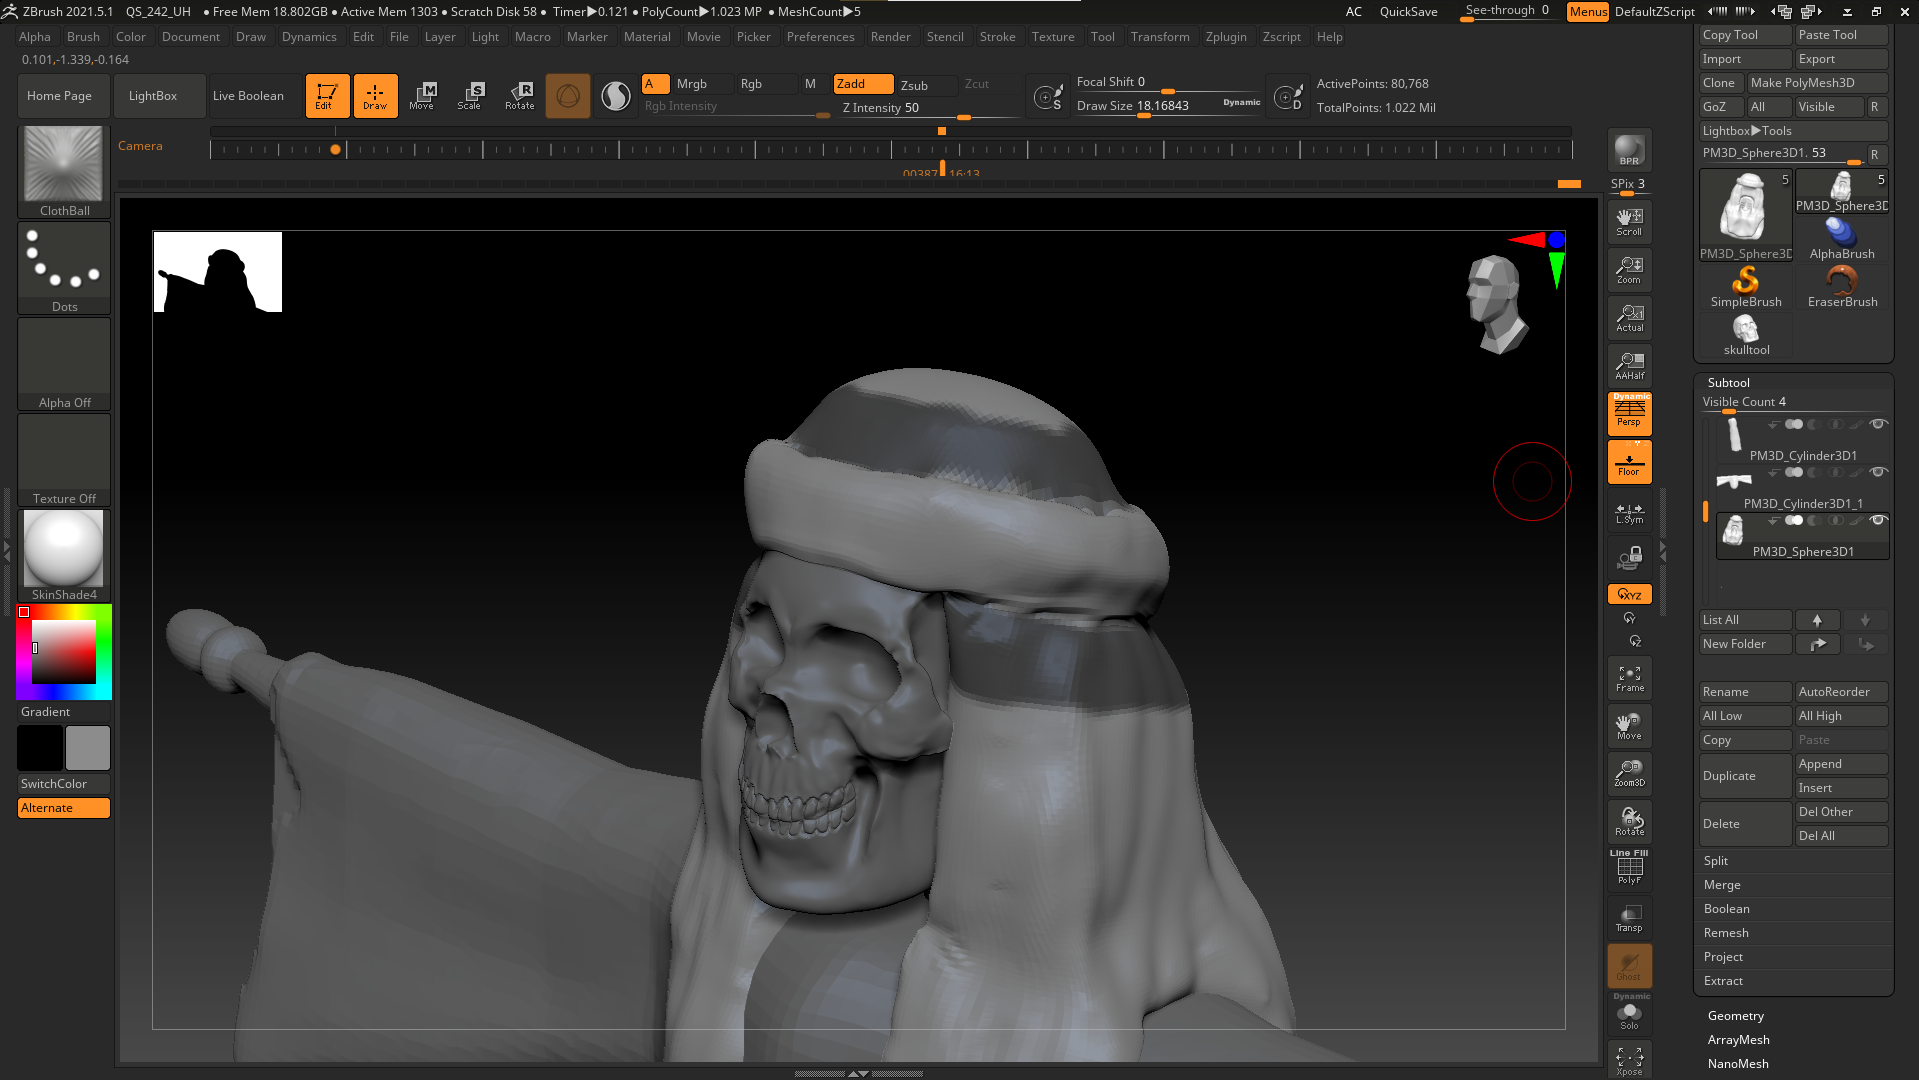
After I had the general shape I then tried to add some details making the shape more cloth like. I tested several cloth brushes and found the most help in the ClothBall brush, so using the previous reference I followed the shape of those lines/creases. This was made easier using masking so I could focus on one area. On top of the cloth wrap I also added a crown which is an important addition as it consolidates The Mansa’s title as a king. One thing I thought important to get right is displaying The Mansa’s wealth, this would be expanded upon later through means such as more accessories and the use of colours.
Then I focused on the next layer of clothing. I decided to add another layer of cloth less tight to the body that would cover his chest and abdomen and be held up by his shoulder. I took some time and found difficulty during this part as I didn’t have much reference as to how this should look. I simply solved this through trial and error and eventually I was able to find a shape that I was happy with.
Once this piece of apparel was done I knew that I would need more layers in the abdomen area in order for it to look more flush. So I decided to add a belt that would hide the excess cloth.
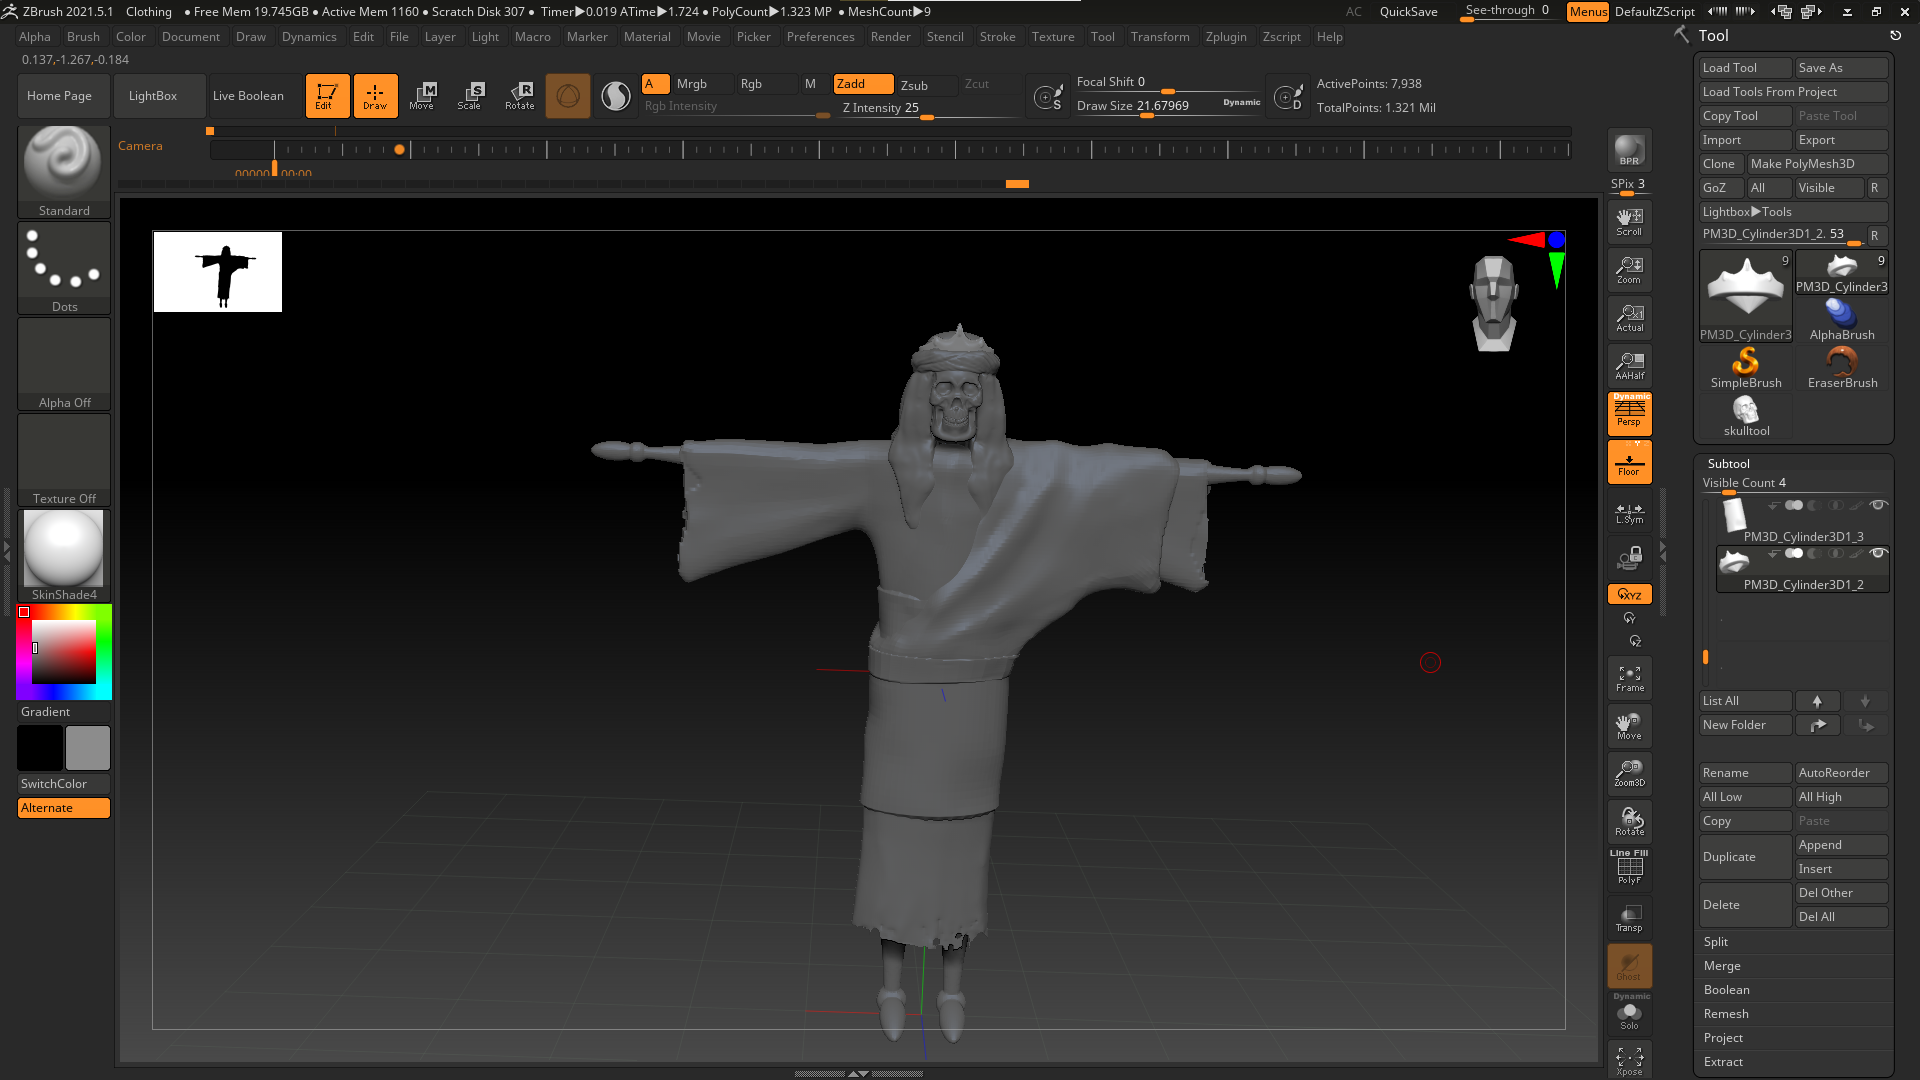
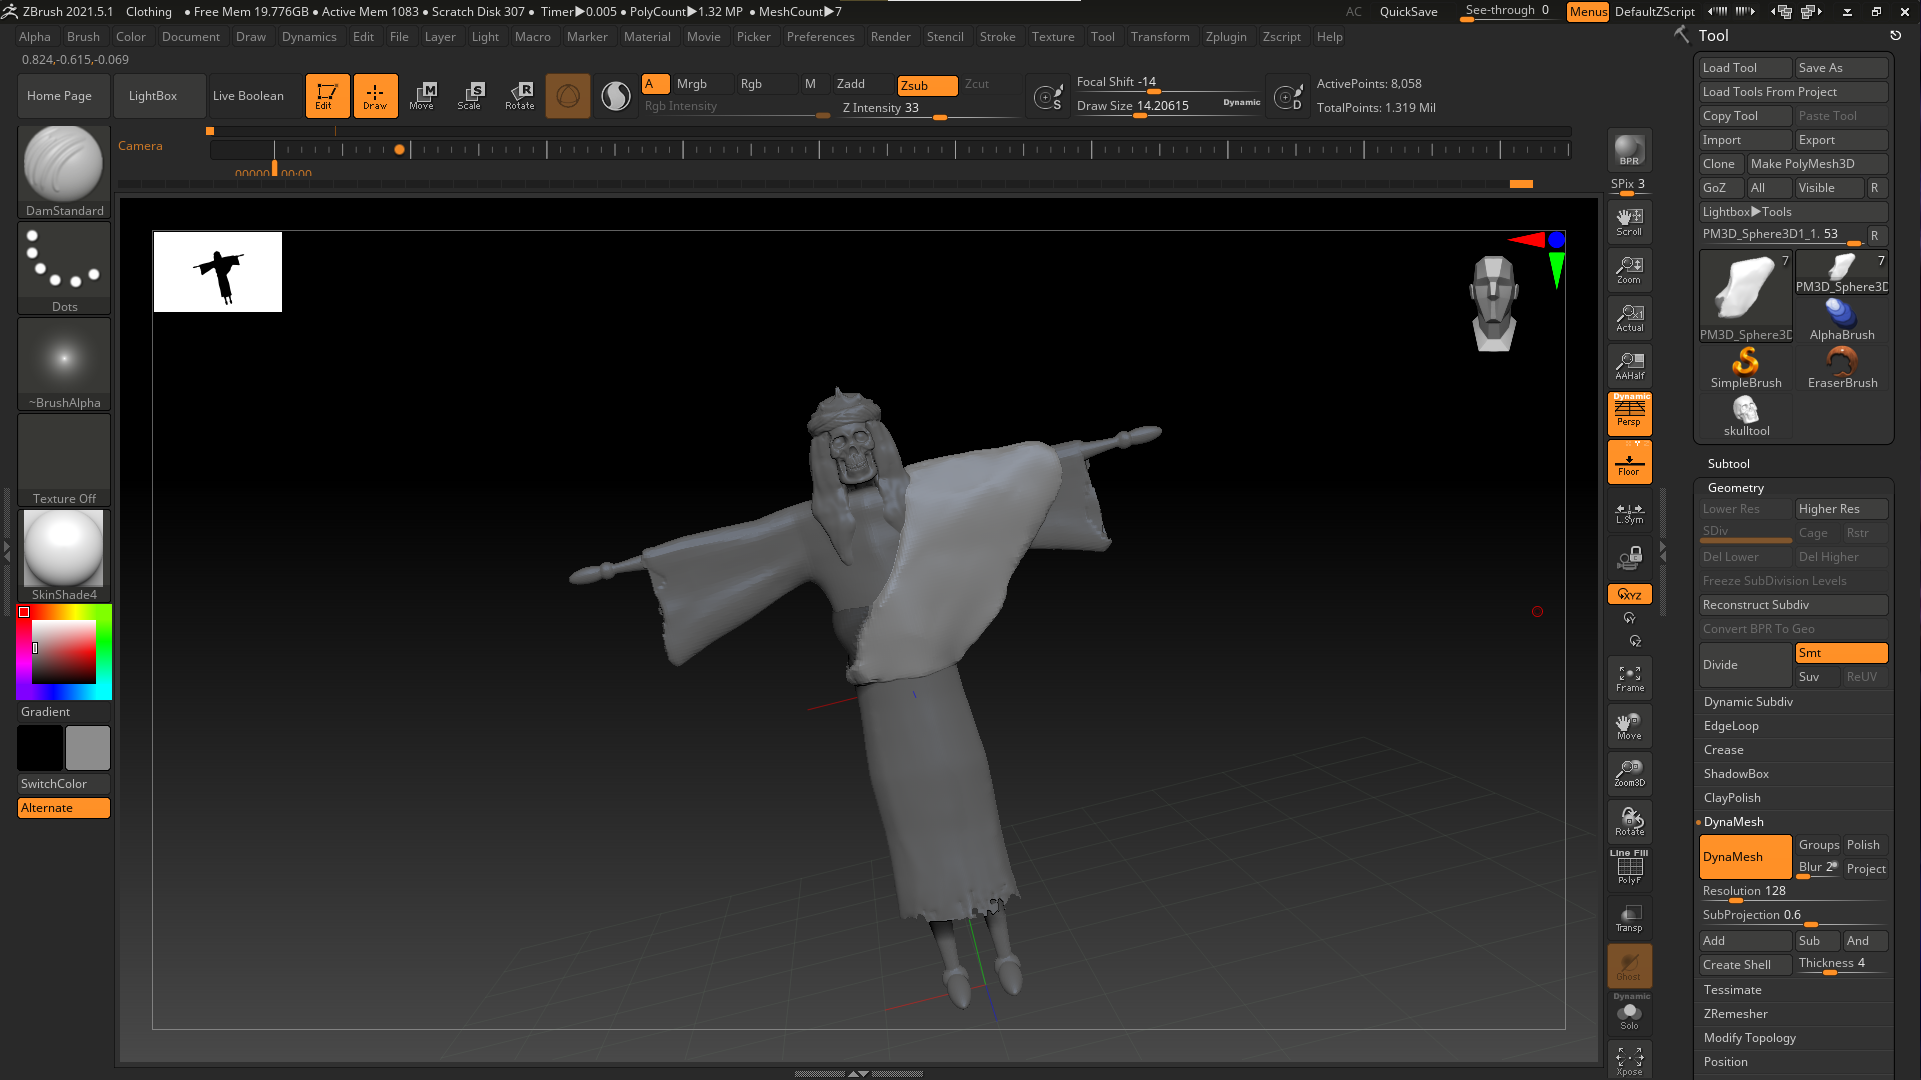
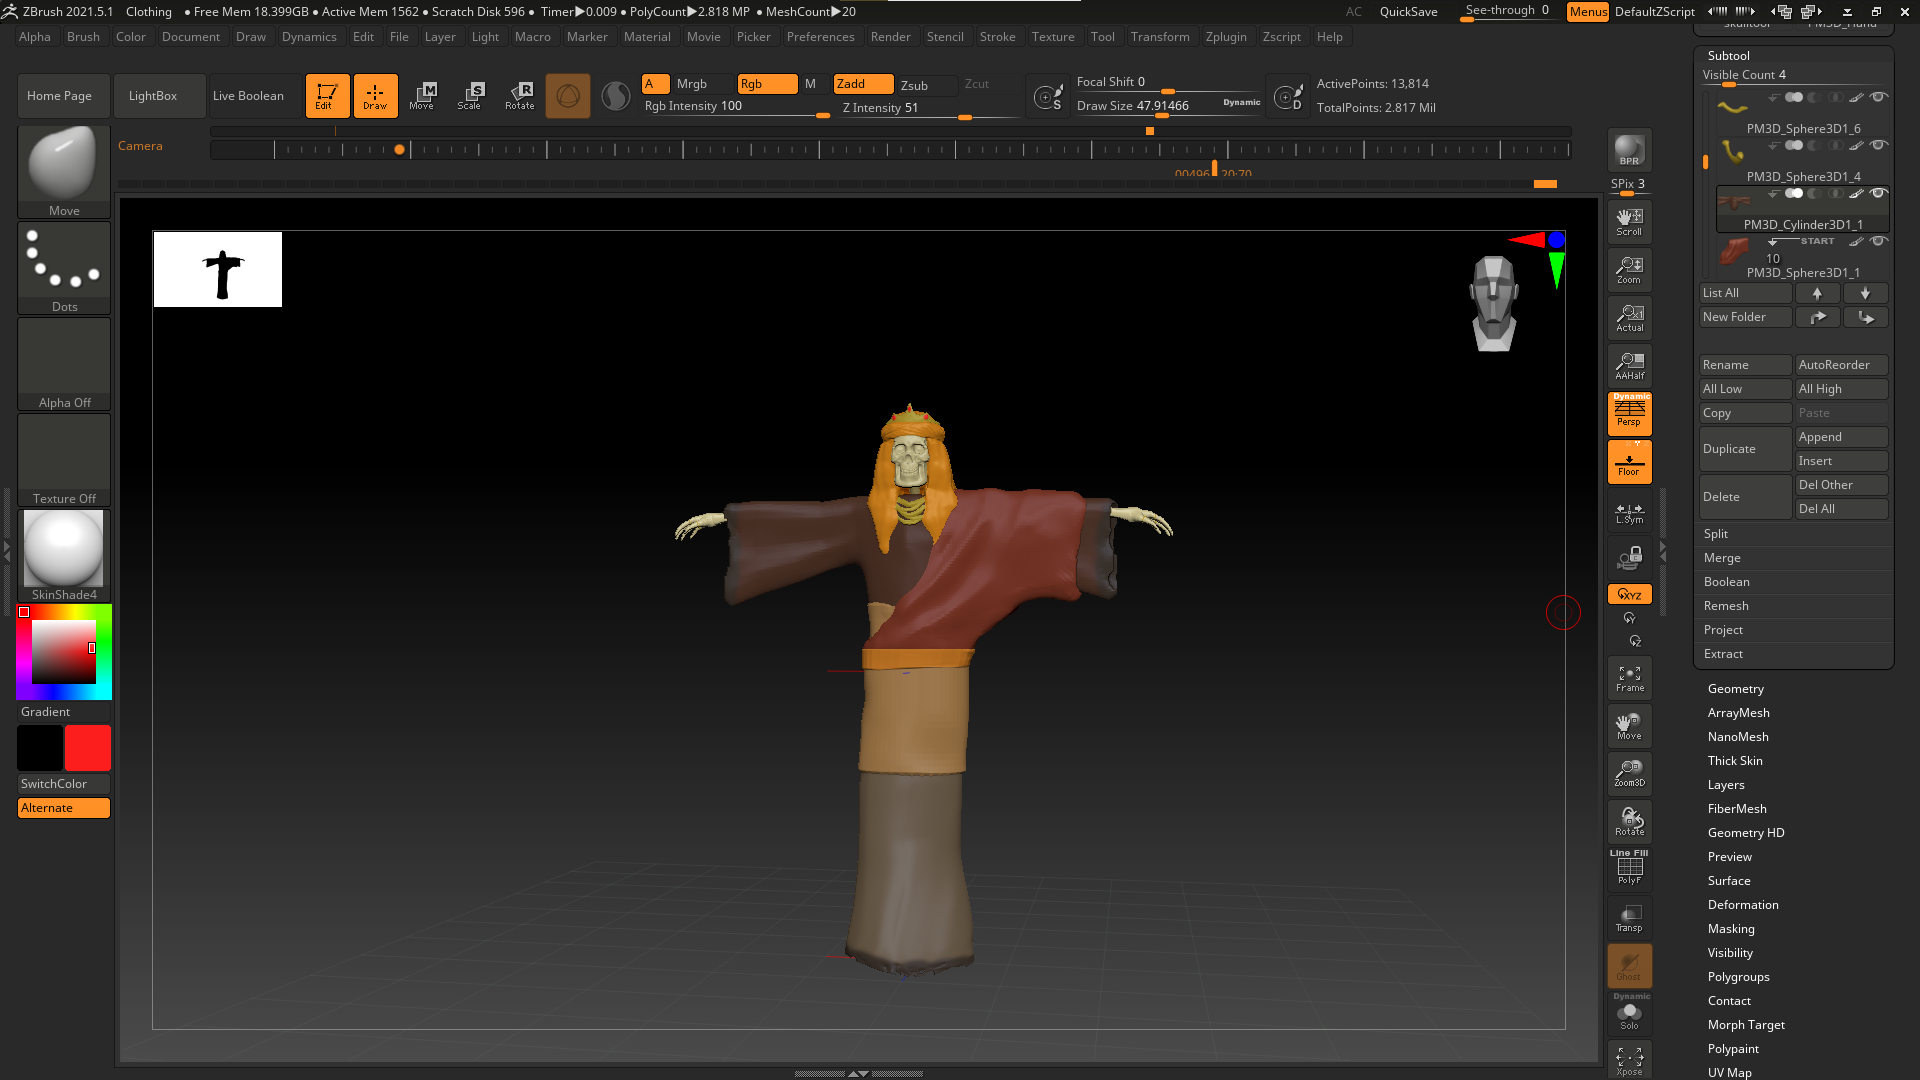
At this point I was done with the clothing. I believe the overall look is good, I went through a lot of different ideas and I think that overall this was the best choice. I would still need to add accessories however I first wanted to sort out the hands and feet. Matching the theme I would make the hands like that of a skeleton. I did also think about normal hands and hands with only muscle and bones but I think they would look out of place with the current arrangement. For the hands I started with the mannequin pre-set.
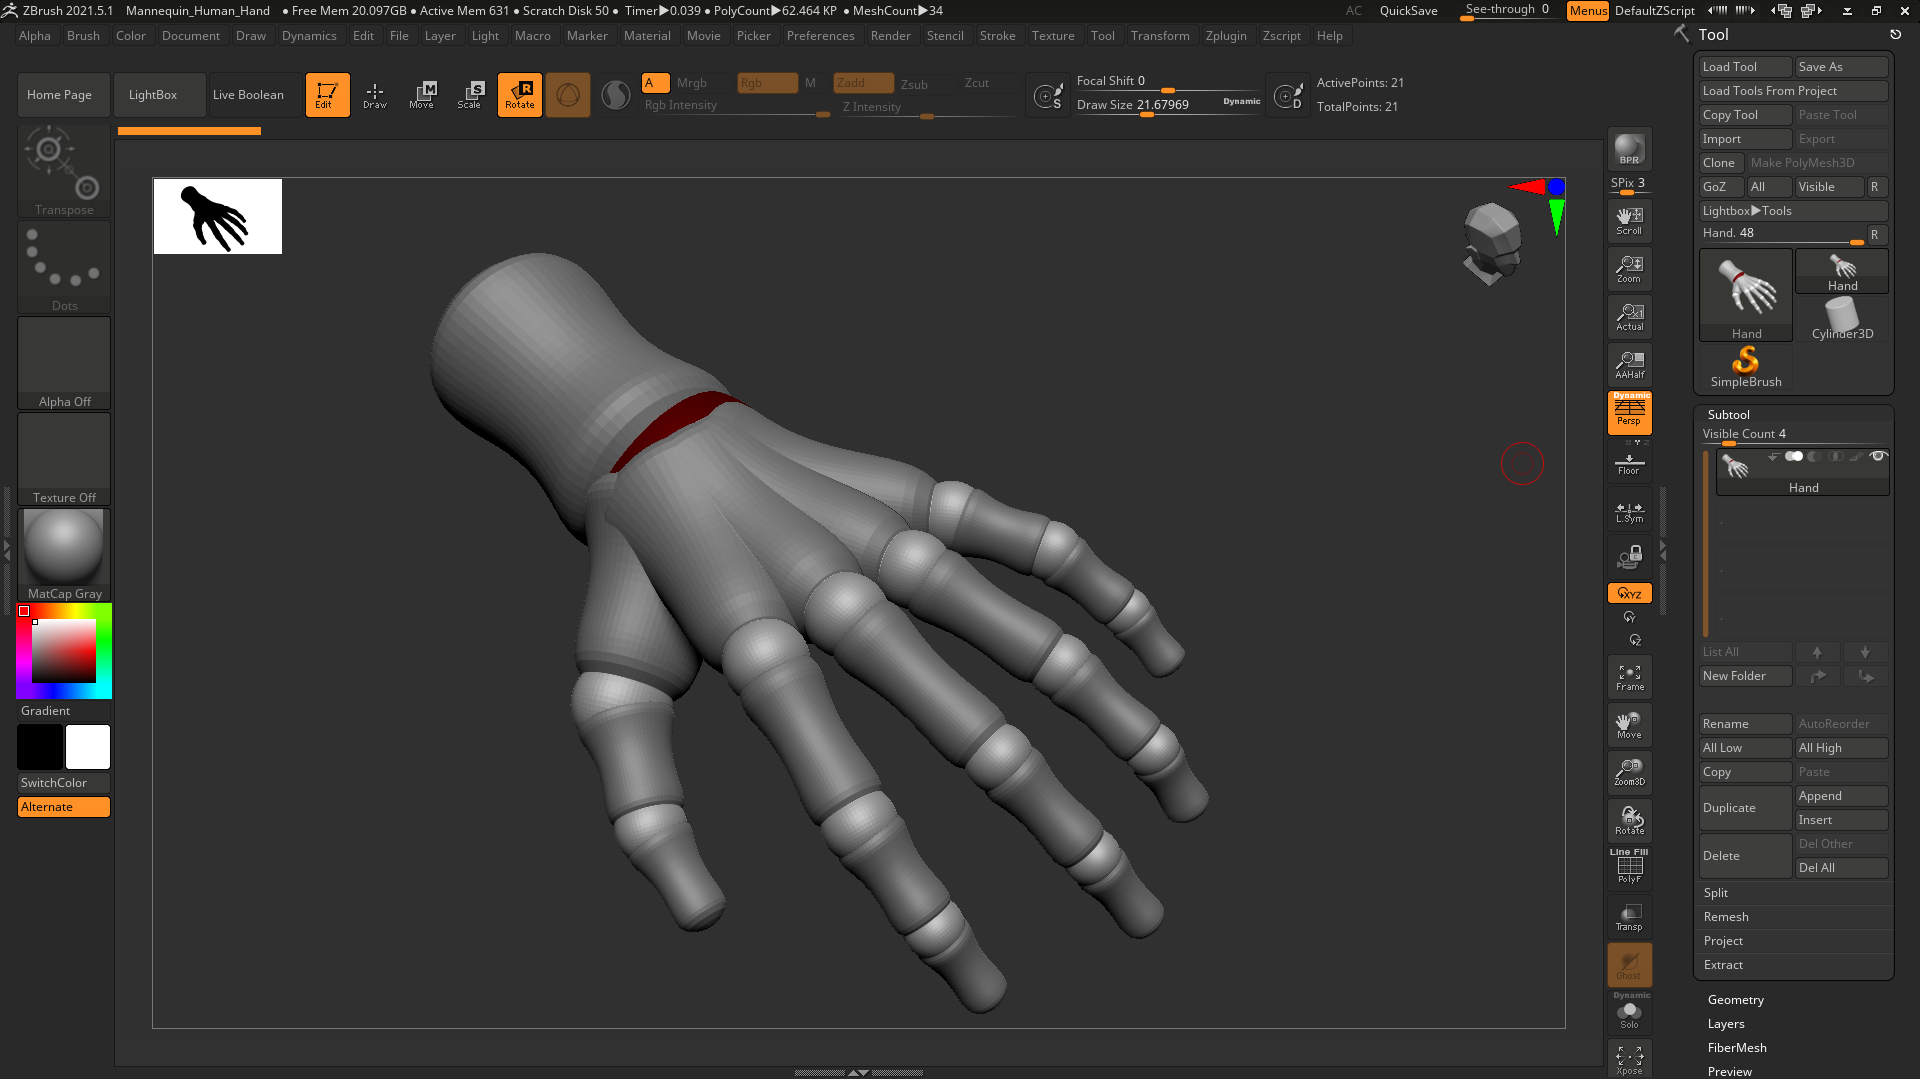
Although at first glance this may already look like a skeletal hand, after some research I realised several differences between this and an actual bone hand. In order to make it more realistic I started by smoothing out the hand, this would let me add my own details on top. I then made dams across the hand showing separate bones and gaps in between. I also separated the visible part of the arm to make it look like the radius and ulna. One inaccuracy of the previous hand was the number of joints on the fingers, three instead of four, I made sure to correct this. After this I decided that I would fit the character if the finger tips were pointed, I chose this as although not as realistic it helps give character and works with the themes of undead, evil and the mystical.
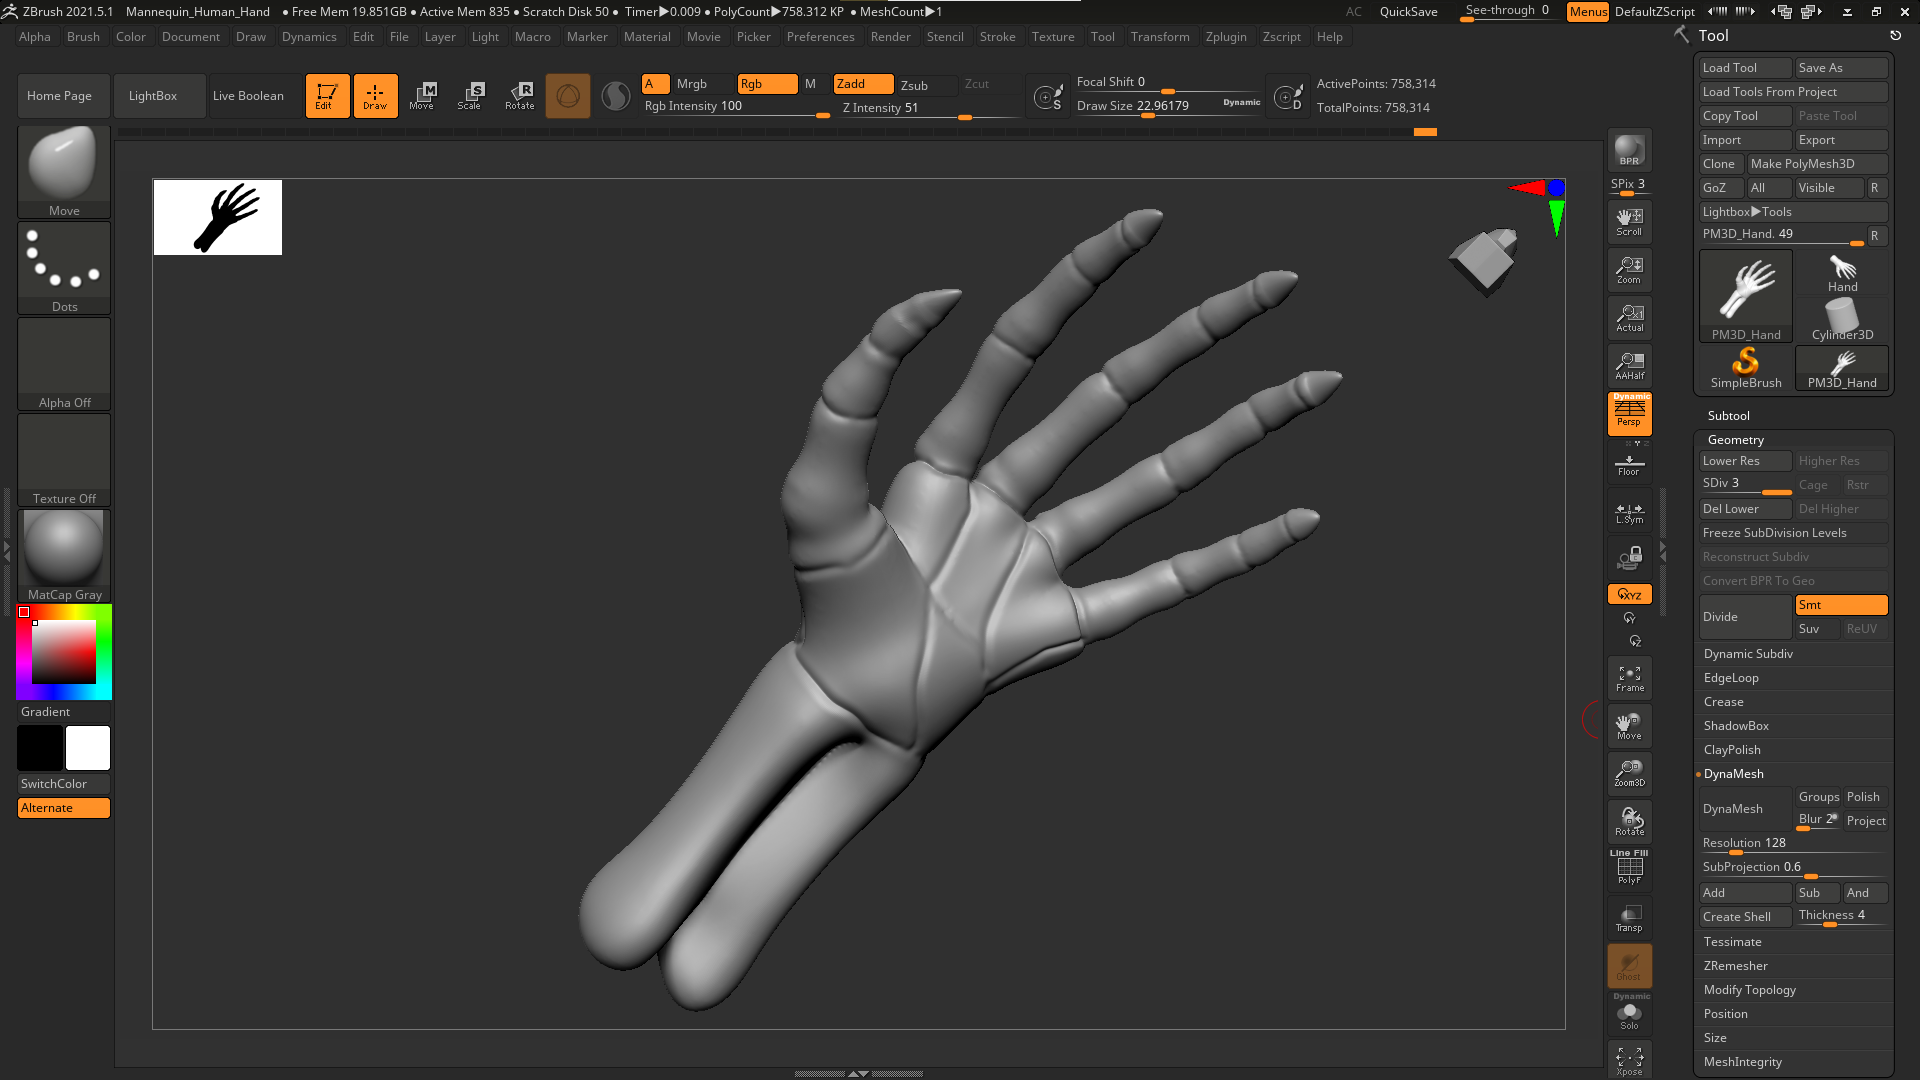
Once the hand was done I could then add it to the body, replacing the mannequin.
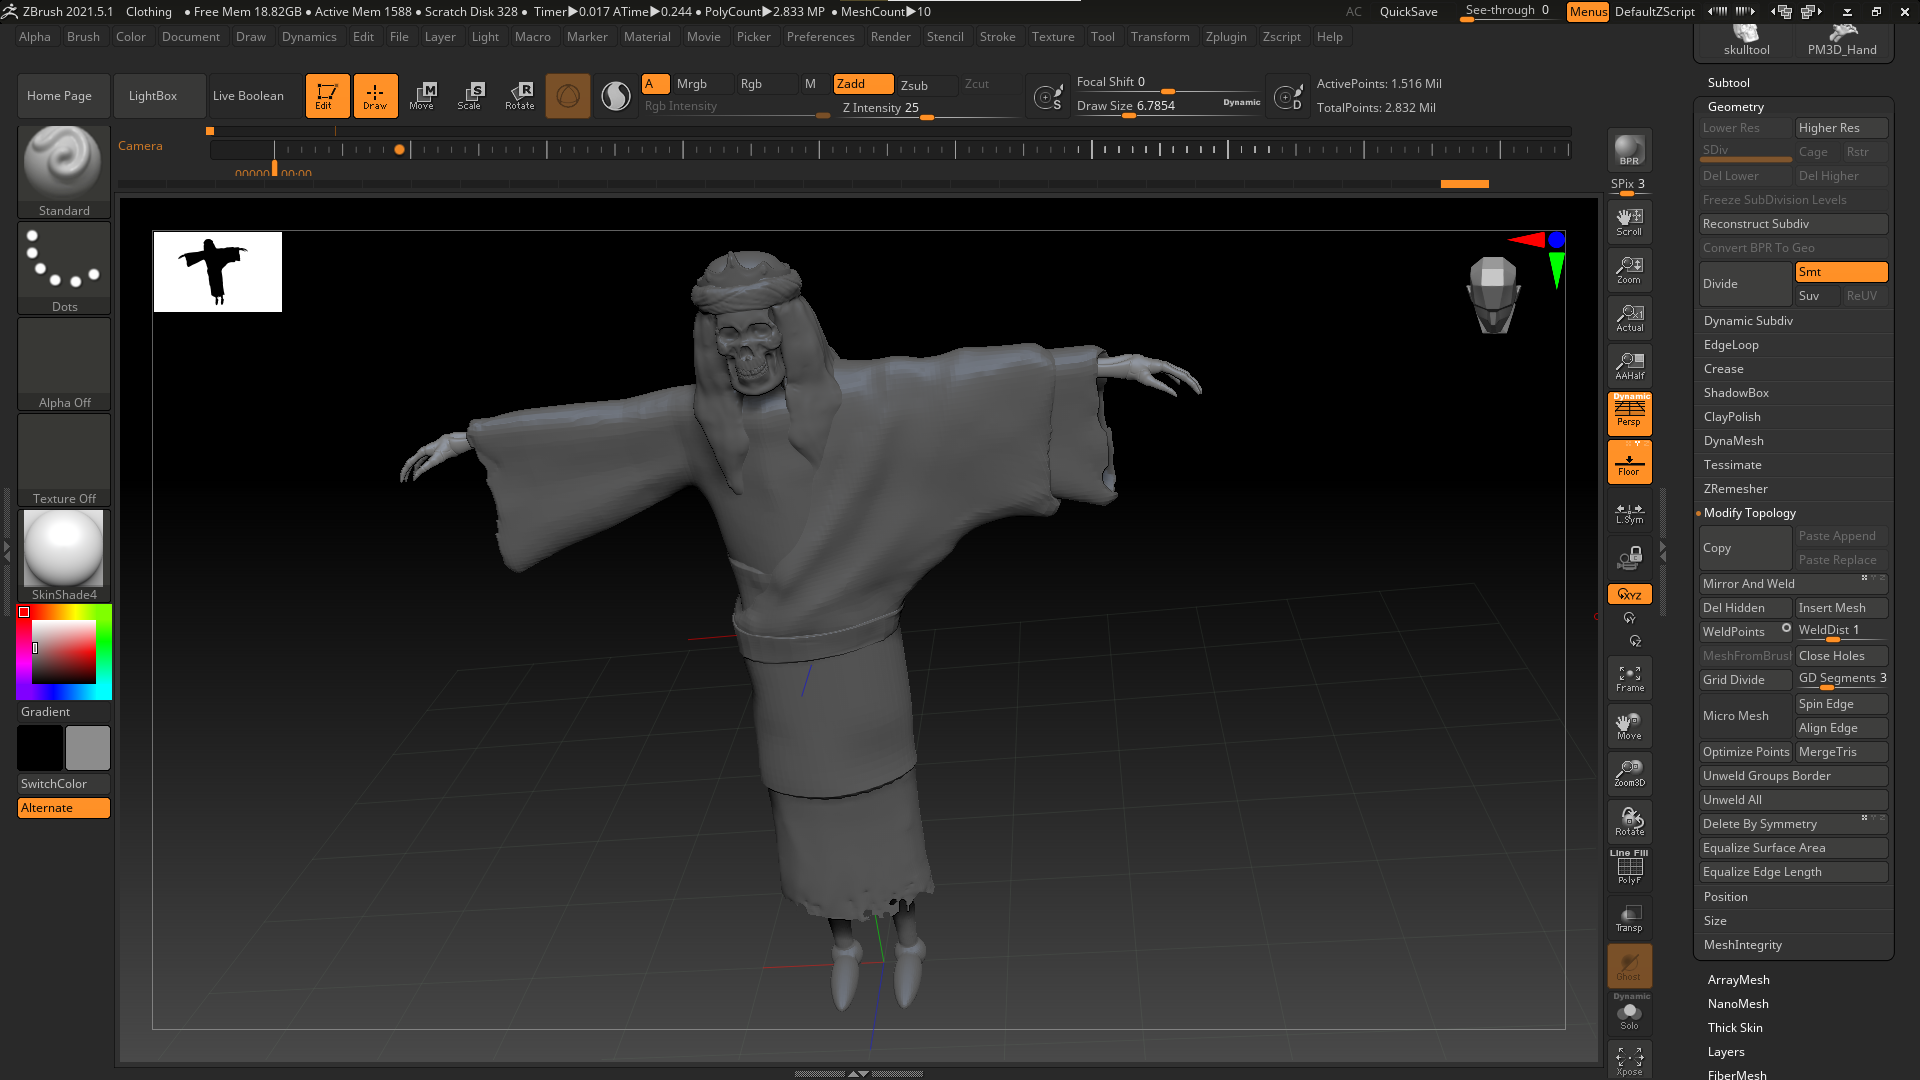
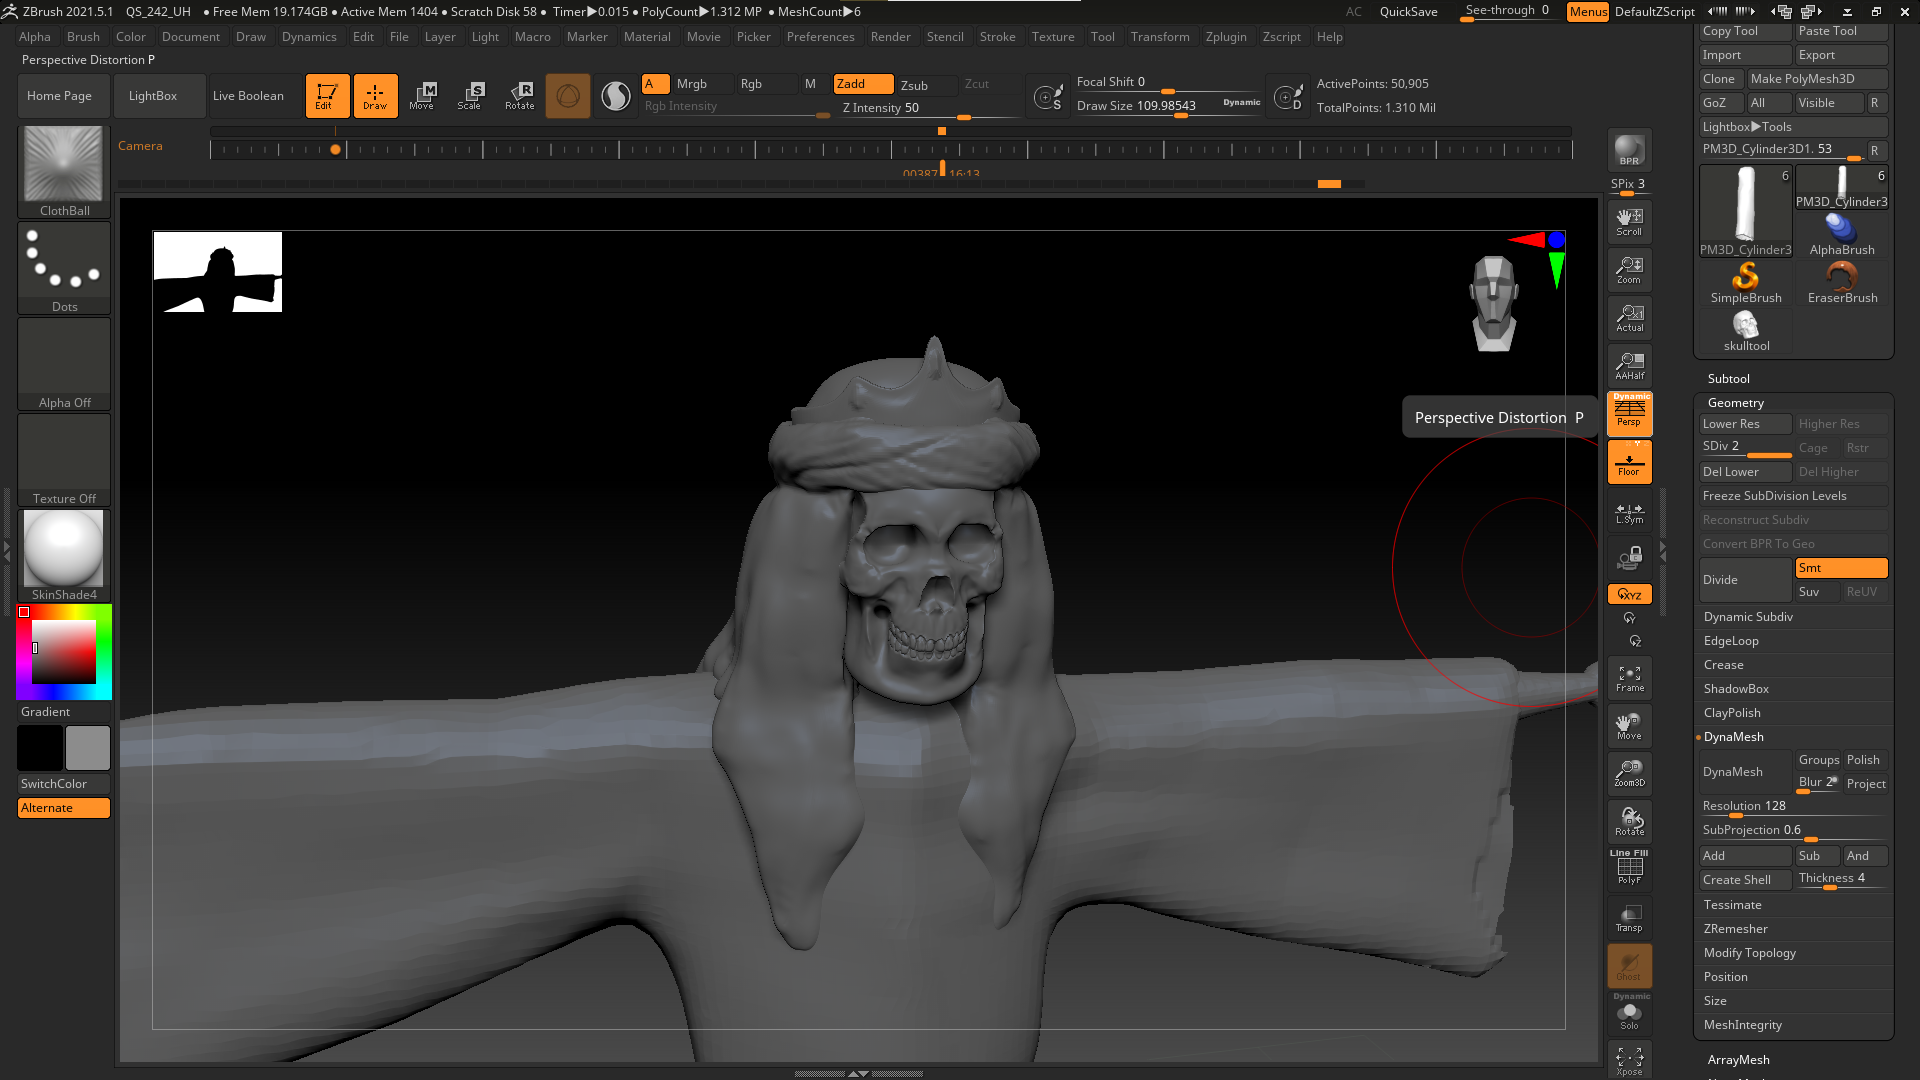
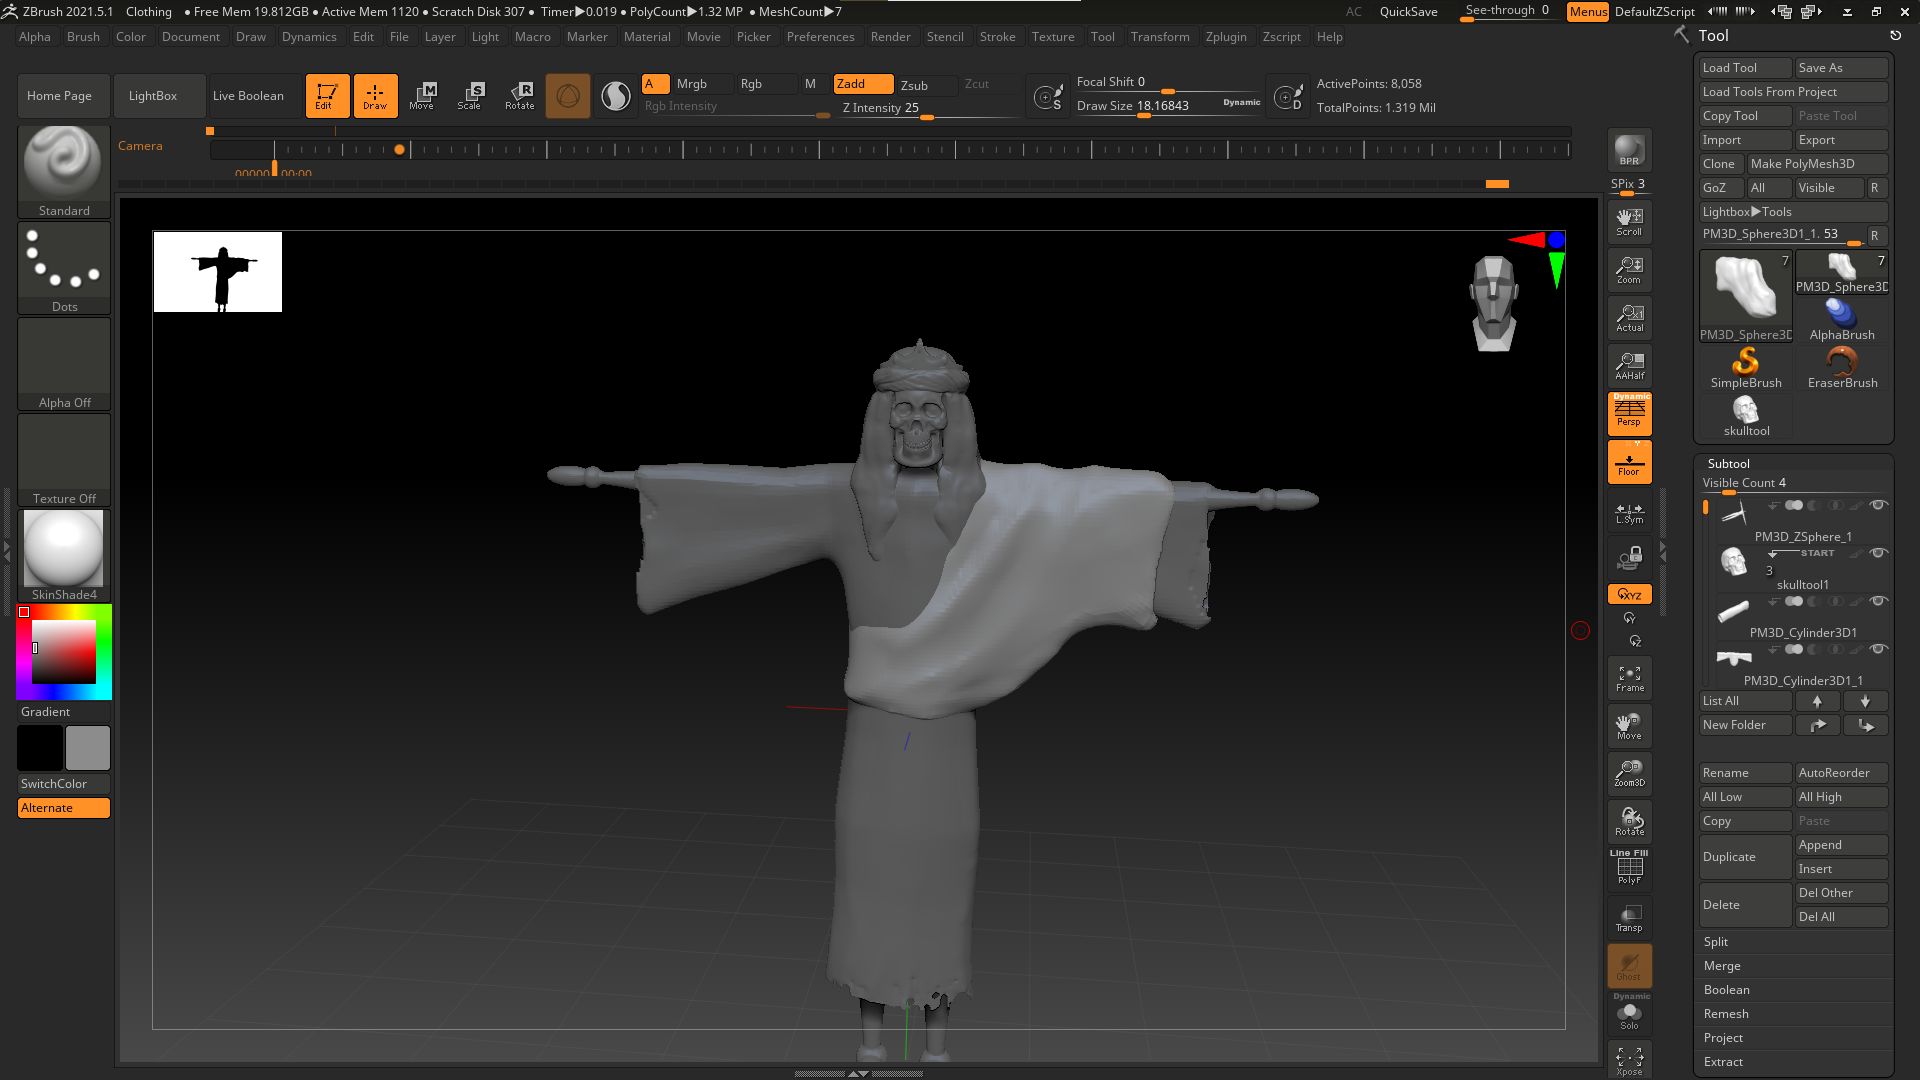
After some small adjustments with the sleeves and arms to make them fit the hands, I then moved onto the feet. At first I planned to do the same as I did with the hands and make them out of bone, however after some experimentation I wasn’t working out. I thought about other alternatives and came up with a different idea. Since the character has a magical aspect I thought what if he floats. In this case the length of his robe would mean it would pass by where feet would be and cover it, so I pulled down the cloth below the feet.
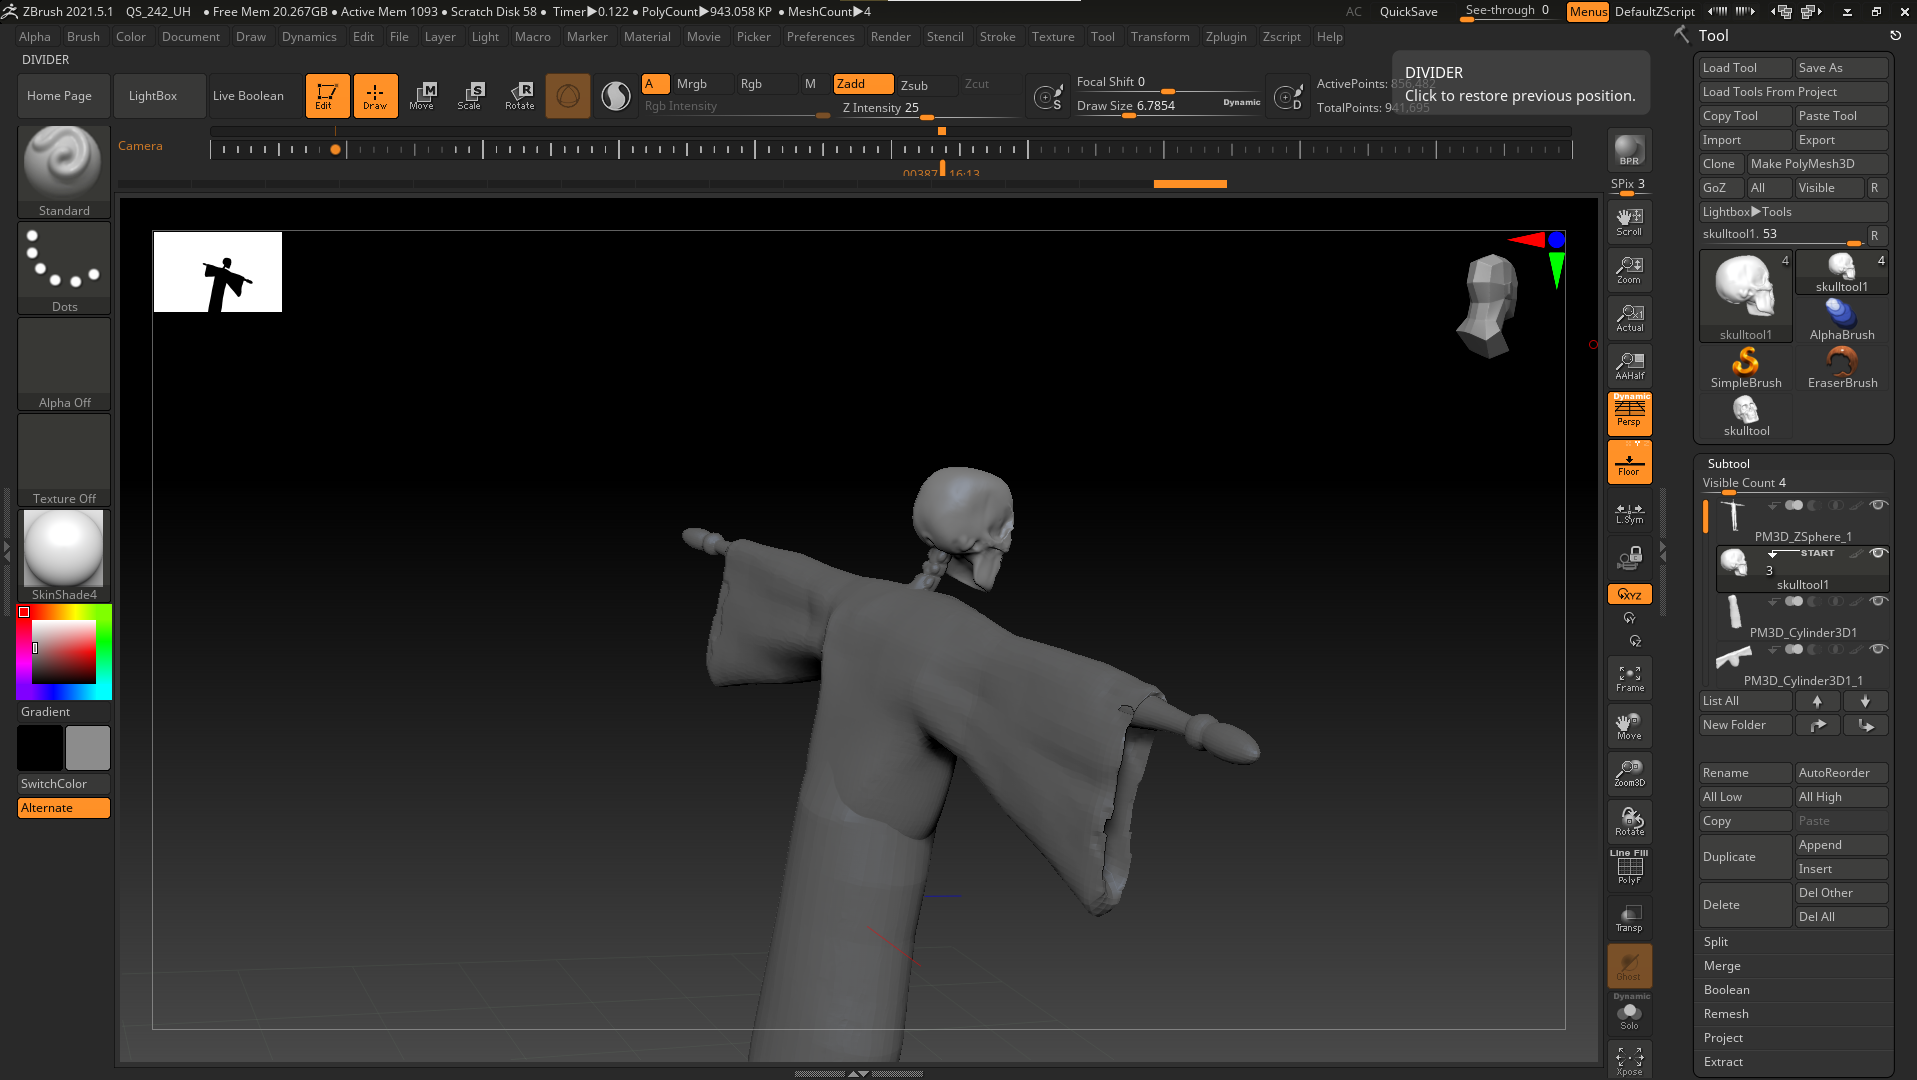
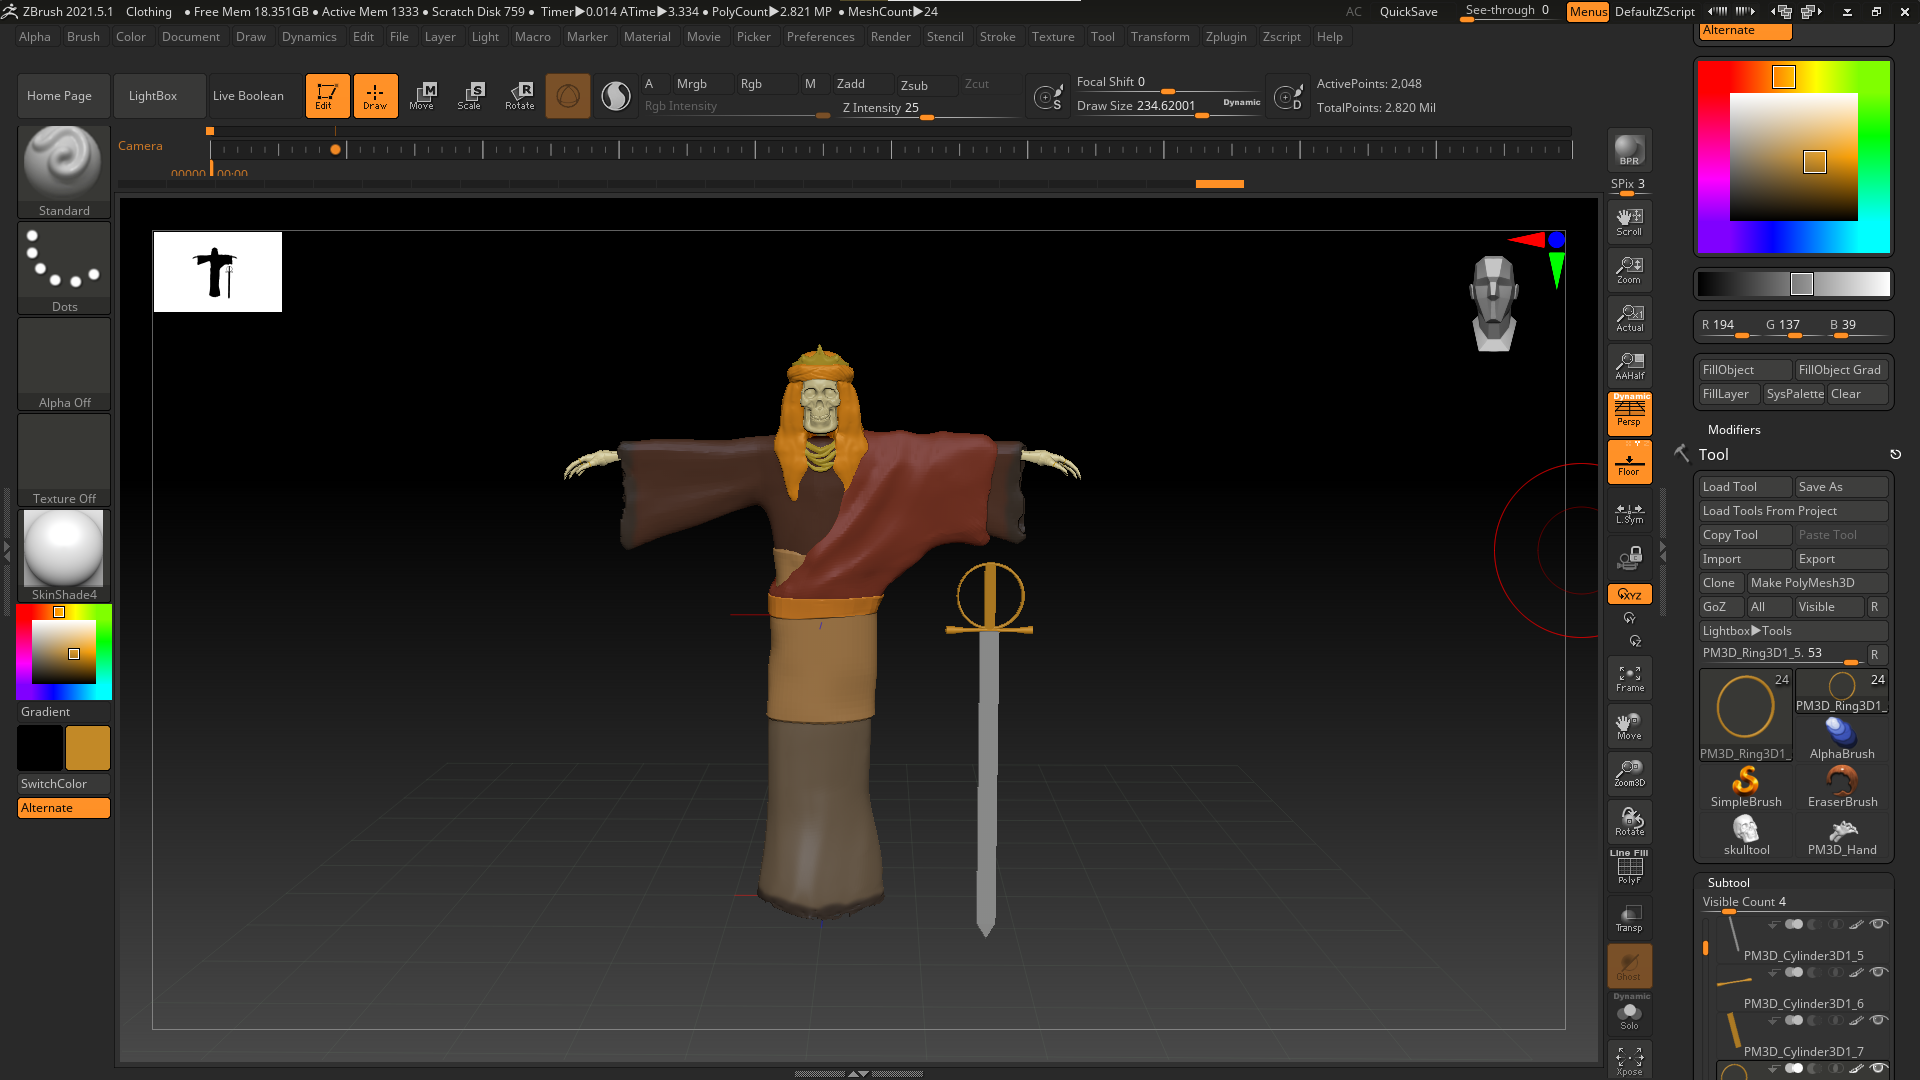
After this I could say the main model is done. however I wanted to add more character so I decided that I would add some accessories. Although small these add flair and make the character more befitting of a king. I decided to go with rings and necklaces, multiple. Each finger has a ring on it which later on will be gold as well as multiple gold necklaces.
Colouring
Normally adding colour to a model would be done using Substance Painter however I chose to try something different this time. I chose to use ZBrush’s Polypaint as it would be a first for me. In the end it was pretty simple and effective, however I would either need more knowledge of Polypaint or use a different software if I wanted to add more detailed textures. I chose the colours based on the colours used In the reference images for Mansa Musa and tweaked some of them so they worked together. For the clothing brown and maroon was used along with orange for the headdress, these colours relate to The Mansa’s setting of deserts and arid environments, similar to Mali. I also coloured the jewellery gold as mention earlier.
One last thing I overlooked until the end was the addition of props. I had a few ideas for props but some were too complex so I decided to keep it simple and make a sword. I used the references of Mansa Musa and went for a long sword with a circle guard around the hilt. I used a typical colour for the blade and made the hilt gold.
Conclusion
With the prop done the overall character was done. I made a few very small tweaks such as reducing total points and fixing a few jagged edges but after that I was done. In terms of good and bad I think the final product physically looks good and fits the description I previously wrote, on the other hand I think that there are improvements that can be made that would make the final product better. One thing I had previously planed had the character with a large inhuman neck and monster like features however through experimentation I was not able to make it work, I believe with my experience now I would of had a better chance making that. Another improvement would be to the colours, the colours used are quite simple and using some patterns on the clothing for example would add some flair. In the future I would also try to use textures to make the surface of the model look more realistic, however with the time I had I still believe this suffices.
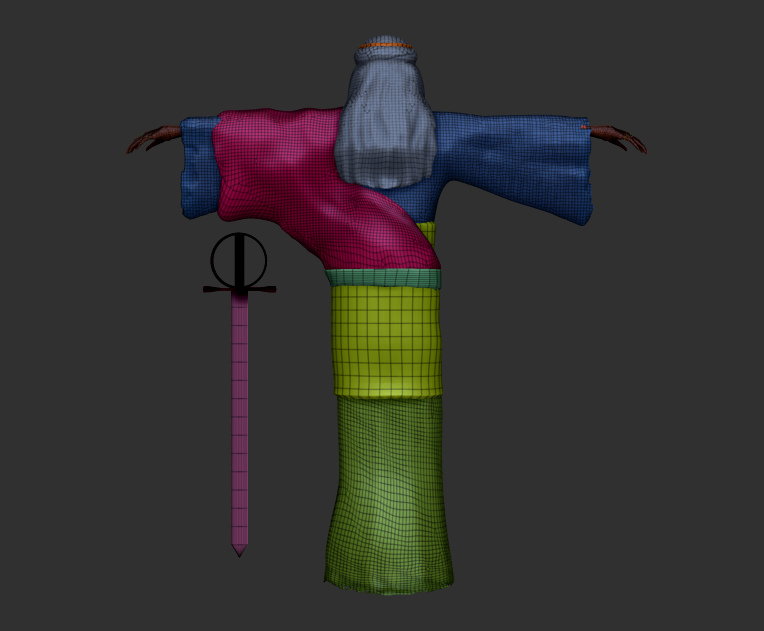
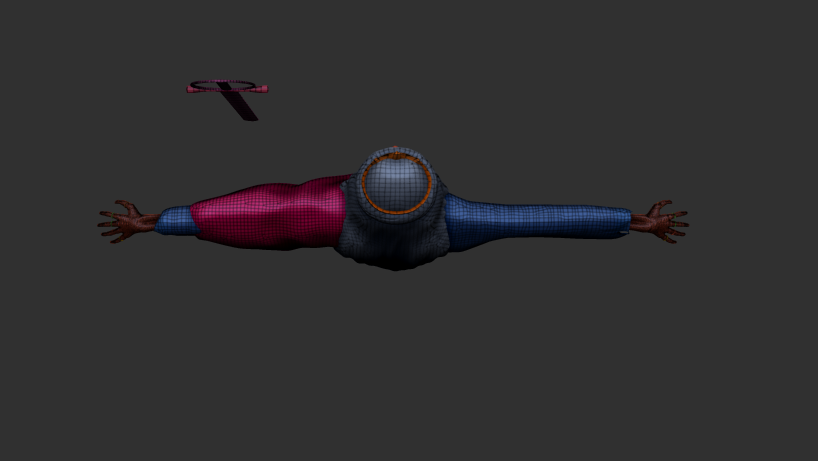
Below are various wireframes of the model followed by a turntable video.


References:
Dark Souls Wiki (2017) Overhead map of Lordran [Image]. Available from: https://darksouls.fandom.com/wiki/Lordran?file=Map.jpg
Passion Republic (2017) Dark Souls 3 Character Modeling [Image]. Available from: https://www.artstation.com/artwork/3roJJ
ScienceDirect (2012) Skull – An Overview [Website]. Available from: https://www.sciencedirect.com/topics/neuroscience/skull
Thiago Lehmann (2021) [Image]. Available from: https://twitter.com/lehmannthiago/status/1425582961915842570/photo/1
HistoryNmoor (2018) Empire Mansa Musa [Image]. Available from: https://commons.wikimedia.org/
Independent (2012) Mansa Musa I of Mali [Image]. Available from: https://www.independent.co.uk/news/world/world-history/meet-mansa-musa-i-of-mali-the-richest-human-being-in-all-history-8213453.html
Leo Dillon (2001) Mansa Musa [Image]. Available from: https://www.nytimes.com/2012/05/31/books/leo-dillon-illustrator-of-childrens-books-dies-at-79.html
DomiNations (2015) Mansa Musa [Image]. Available from: https://dominations.fandom.com/wiki/Mansa_Musa